
Kids love making and eating Rice Crispy Treats – they're a classic, no-bake dessert with a gooey, crunchy texture that's truly delightful. The recipe's origins trace back to the 1930s, and it's evolved over decades with fun variations. To make them, you'll simply melt butter and marshmallows, then stir in puffed rice cereal until fully coated. Press the mixture into a pan, let it cool, and cut into squares. They're perfect for sharing at parties or enjoying as an after-school snack. And if you keep reading, you'll discover even more tips for making these nostalgic treats.
Key Takeaways
- Rice Crispy Treats are a classic, no-bake dessert made with puffed rice cereal, marshmallows, and butter that are easy for kids to prepare.
- The recipe has evolved over decades with various flavor variations, making it customizable for different occasions and events.
- The simple cooking process, which involves melting butter and marshmallows and then mixing in the cereal, allows for kid-friendly participation.
- Rice Crispy Treats can be stored for up to a week in an airtight container, making them a convenient snack option.
- These treats are a nostalgic, crowd-pleasing dessert that can be enjoyed by people of all ages, from lunchboxes to holiday celebrations.

UNGLINGA 150 Experiments Science Kits for Kids Chemistry Lab S.T.E.MToys
- Number of Experiments: 150 science experiments for kids
- Educational Topics: Earth, surface tension, chemistry, physics
- Instruction Manual: Well-illustrated, step-by-step guide
As an affiliate, we earn on qualifying purchases.
History
The origins of rice crispy treats can be traced back to the 1930s, when Kellogg's first introduced their iconic Rice Krispies cereal. This revolutionary breakfast food became an instant hit, thanks to the unique "snap, crackle, pop" sound it made when milk was poured over it.
It didn't take long for creative cooks to start experimenting with the crunchy cereal, leading to the invention of rice crispy treats. As a fun fact, similar to how diverse investment options can enhance a portfolio, the benefits of including Gold IRAs in retirement planning can provide stability and growth.
The first known recipe for this gooey, marshmallow-bound confection appeared in a 1928 edition of a Kellogg's company booklet. Over the years, the classic recipe evolved, with variations featuring different mix-ins like chocolate, peanut butter, or fruit.
Today, rice crispy treats remain a beloved childhood treat, enjoyed by kids and adults alike. Whether you're making them for a school bake sale or a family movie night, these nostalgic bars are sure to delight.
Recipe
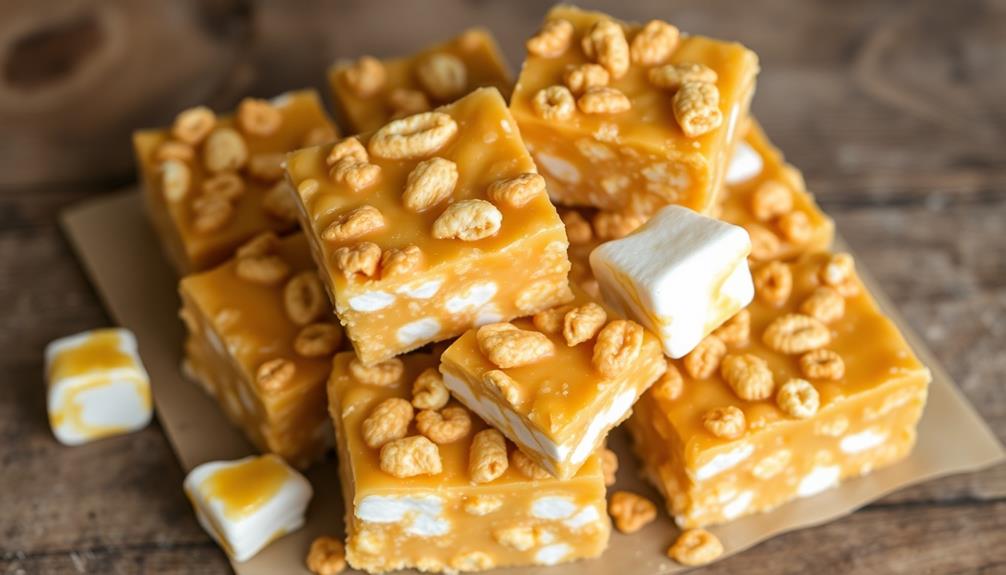
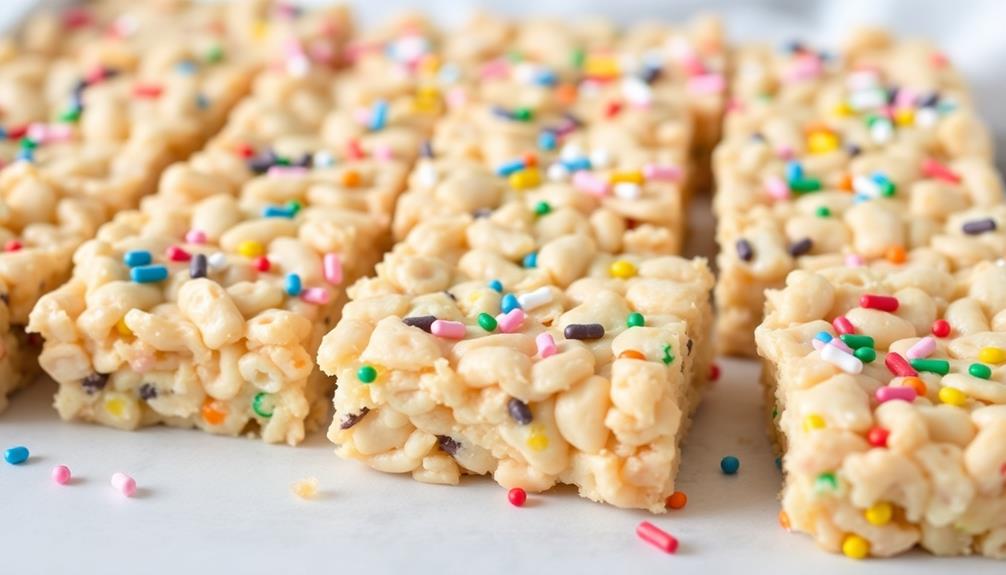
Rice Crispy Treats are a classic, no-bake dessert that are easy to make and loved by kids and adults alike. These gooey, sweet treats are perfect for parties, bake sales, or just a fun snack any time.
The base of the recipe is puffed rice cereal, which is combined with melted marshmallows and butter to create the signature sticky, crunchy texture. The simplicity of the ingredients and the quick assembly make this a great recipe for kids to help out with in the kitchen.
- 6 cups puffed rice cereal
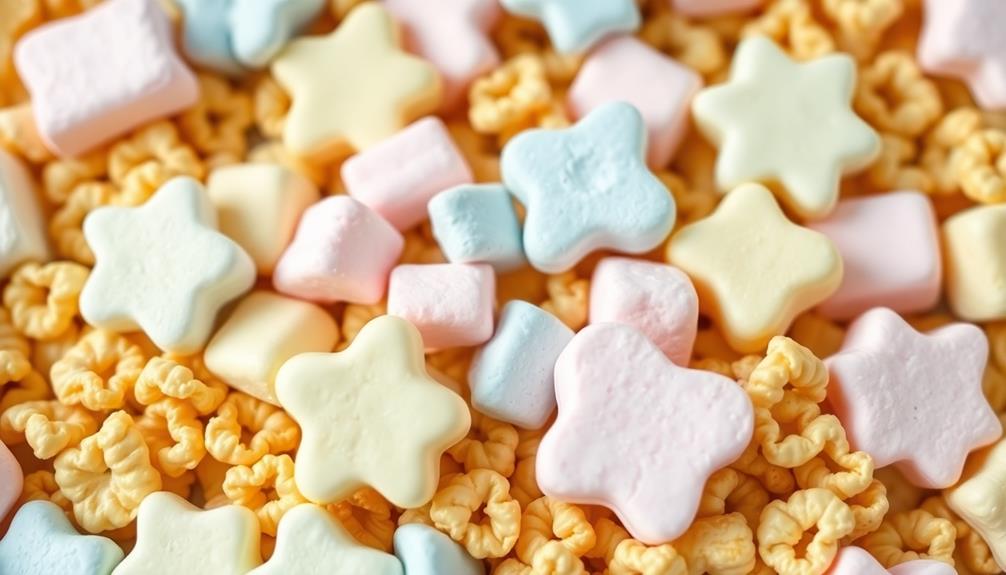
- 4 cups miniature marshmallows
- 3 tablespoons unsalted butter
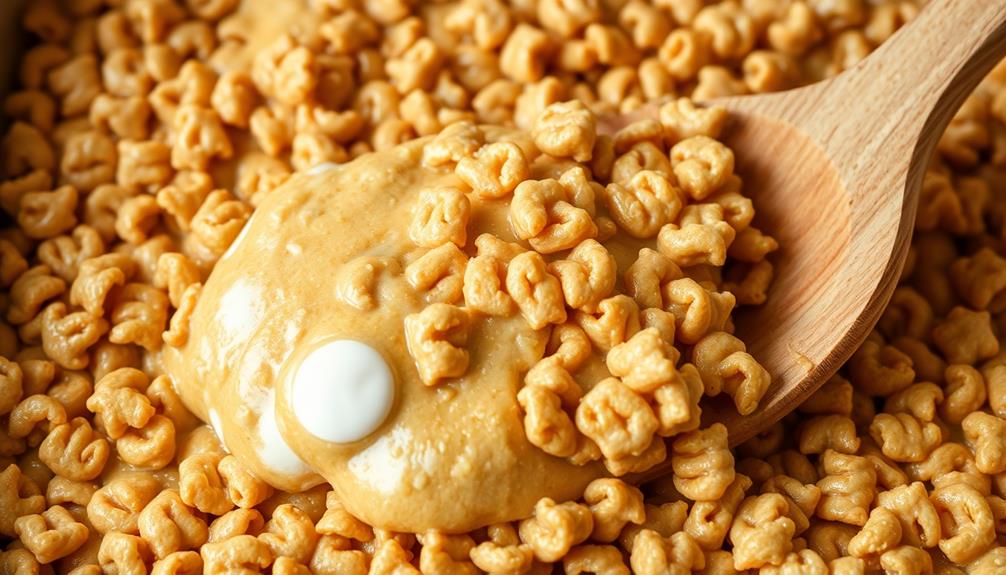
In a large microwave-safe bowl, melt the butter and marshmallows together, stirring frequently, until smooth and fully combined. Remove from the microwave and immediately stir in the puffed rice cereal until evenly coated.
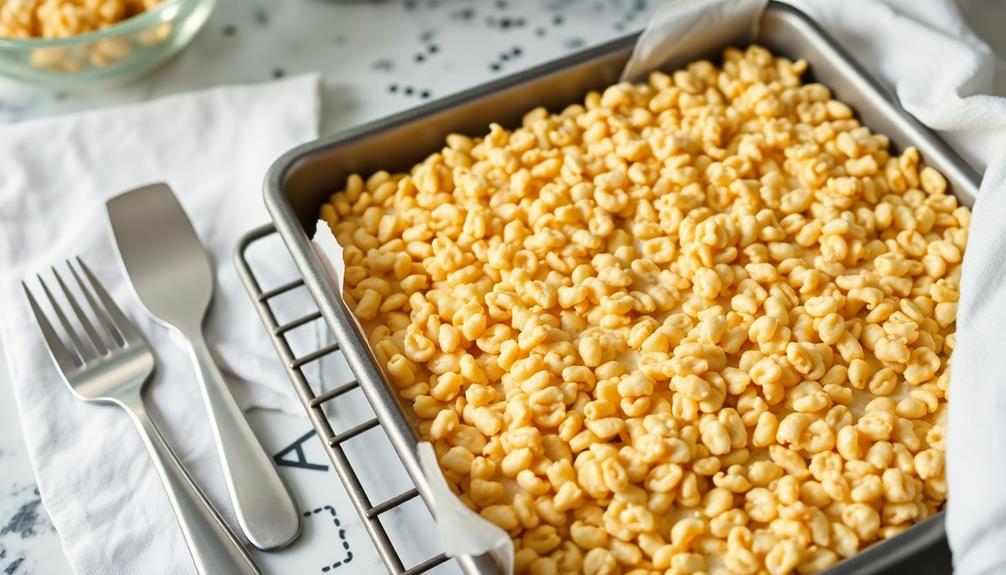
Press the mixture into a greased 9×13 inch baking pan. Allow to cool completely before cutting into squares.
For best results, use fresh, soft marshmallows and avoid over-stirring the cereal mixture, which can result in a dense, tough texture.
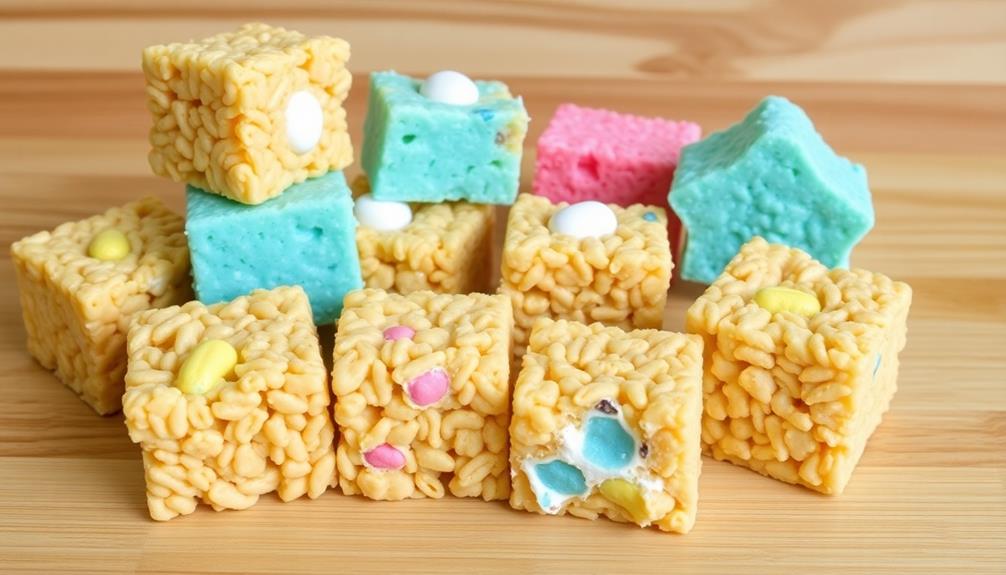
Get creative by adding mix-ins like chocolate chips, sprinkles, or chopped nuts. These rice crispy treats can be stored in an airtight container for up to 1 week.
Cooking Steps
First, melt the butter and marshmallows together in a saucepan over low heat, stirring until smooth.
Next, remove the pan from the heat and quickly stir in the rice cereal until fully coated.
Step 1. Melt Butter and Marshmallows Together
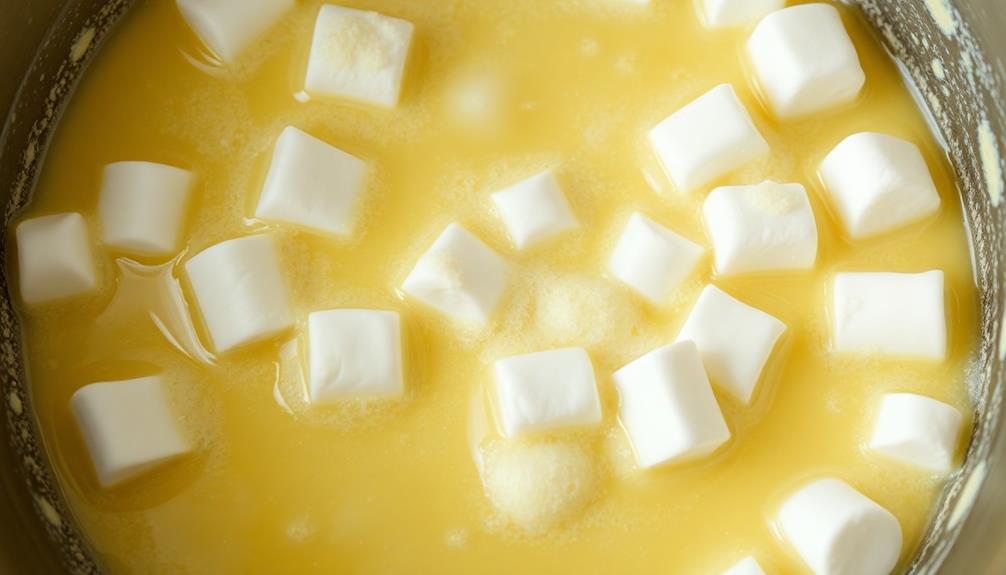
To begin the cooking process, melt the butter and marshmallows together in a large saucepan over low heat. Stir the mixture continuously, being careful not to let it burn. As the butter and marshmallows melt, they'll transform into a smooth, gooey consistency.
Keep an eye on the pan, adjusting the heat as needed, until the mixture is fully melted and well combined.
Once the butter and marshmallows are melted, remove the pan from the heat. This is a crucial step, as you don't want the mixture to overcook and become hard. Allowing the melted ingredients to cool slightly will ensure the texture of the rice crispy treats is just right – soft, pliable, and easy to work with when you add the cereal.
Take your time during this part of the process. Rushing can lead to burnt or unevenly melted marshmallows, which will affect the final outcome of your treats. Patience and a gentle touch will result in the perfect base for your delicious rice crispy treats.
Step 2. Add the Rice Cereal
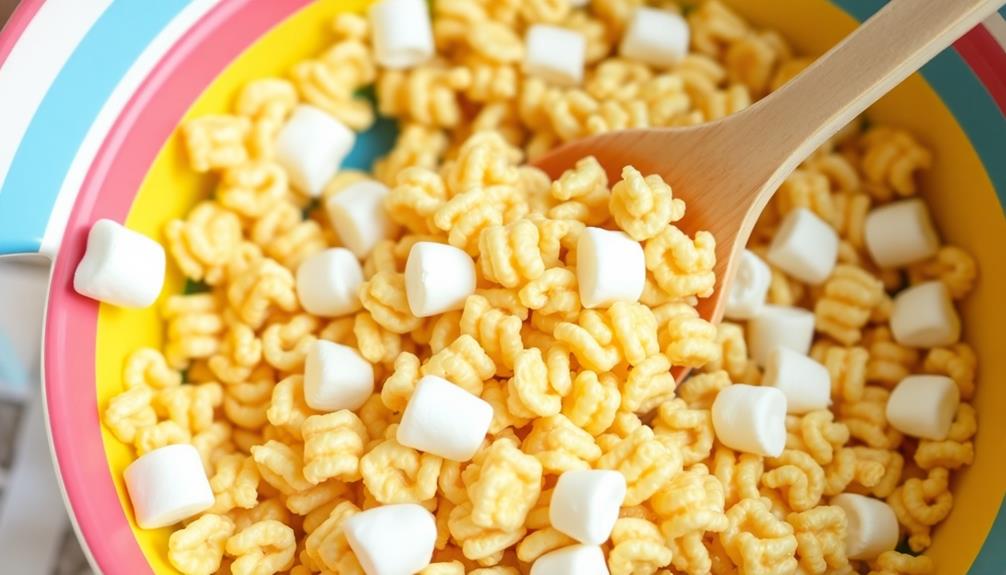
With the butter and marshmallows now melted to a smooth, gooey consistency, you can go ahead and stir in the rice cereal.
Grab a large mixing bowl and pour in the entire box of crispy rice cereal. Using a sturdy spoon or spatula, gently fold the cereal into the melted marshmallow mixture. Make sure to incorporate all the cereal evenly, coating each piece in the sticky goodness.
Take your time and work carefully, as you don't want to crush the delicate puffed rice. Once the cereal is fully coated, the mixture will become thick and difficult to stir.
At this point, you can start pressing the mixture into your prepared baking pan. Use your hands or the back of a spoon to firmly pack down the rice crispy treats, ensuring they set up nicely. Be gentle but firm, shaping the treats into an even layer.
Now that the hard part is done, you can let the pan cool completely before cutting into squares and serving.
Step 3. Press Mixture Into Pan
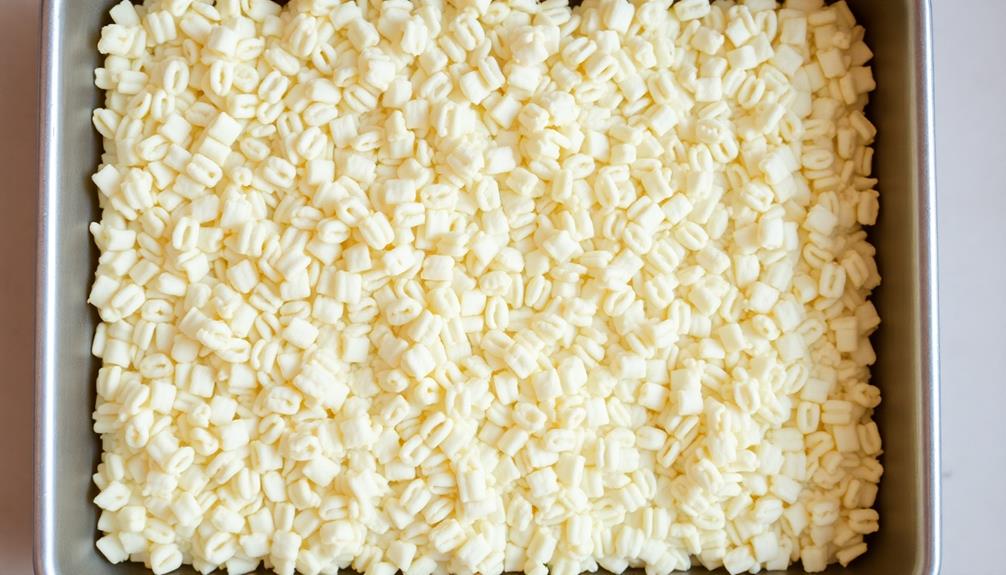
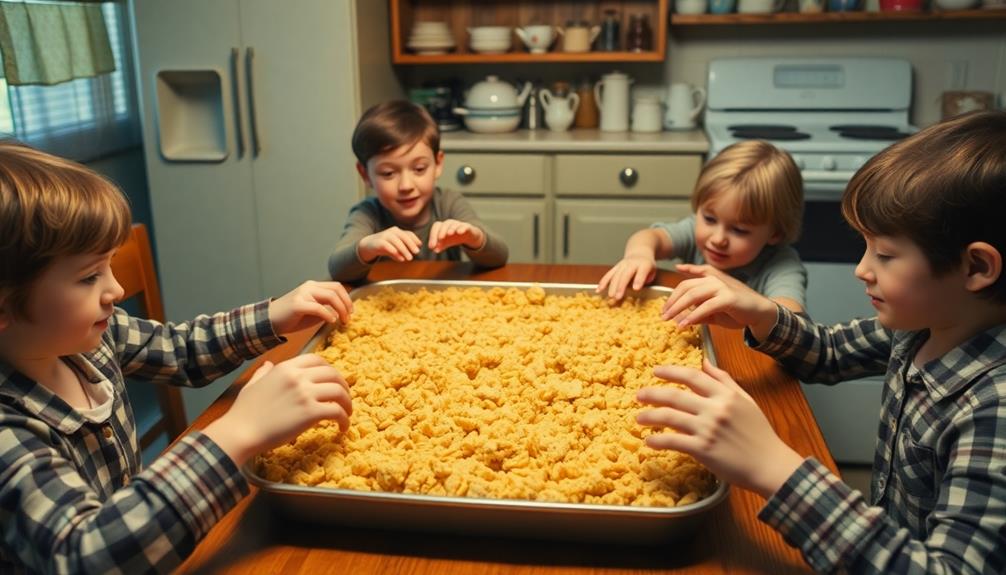
With the cereal now thoroughly coated, it's time to transfer the mixture into the prepared baking pan. Grease your hands lightly to prevent sticking, then press the gooey, marshmallow-coated rice cereal firmly into the pan in an even layer.
Use your palms to really pack it down, ensuring the treats will hold their shape once cooled. Work quickly, as the mixture will start to firm up as it cools. Don't be afraid to get your hands a little messy – the hands-on approach is the best way to evenly distribute the mixture and create a smooth, level top.
Once you're satisfied with the appearance, use a spatula or the back of a spoon to gently smooth over any uneven areas. With the pan now filled, it's time to let the rice crispy treats set. Resist the temptation to dive right in – give the mixture at least 30 minutes to fully cool and solidify before cutting into squares.
This patience will pay off in the end with perfectly structured, gooey-yet-crisp treats.
Step 4. Cut Into Squares
After the rice crispy mixture has set, it's time to cut the treats into squares. Using a sharp knife, carefully slice the pan into even rows and columns. Aim for 12 to 16 squares, making sure each piece is the same size. This will ensure your rice crispy treats have a uniform appearance and texture when served.
As you cut, apply steady, even pressure on the knife. Avoid sawing back and forth, which can make the squares uneven. If the mixture sticks to the knife, run it under hot water for a few seconds to warm the blade. This helps the knife glide smoothly through the treats.
Once you've sliced the entire pan, gently remove the squares one by one. Handle them carefully, as the rice crispies may be delicate.
Arrange the squares on a serving platter or plate, then marvel at your perfectly portioned rice crispy treats! With a little precision, you'll have a platter of irresistible, uniformly cut squares ready to enjoy.
Step 5. Let the Treats Cool Completely
Once the rice crispy mixture is poured into the prepared pan, it's important to let the treats cool completely before cutting them. This step allows the marshmallow mixture to fully set and firm up, making the bars much easier to handle and slice.
Resist the temptation to dive in right away – give the treats at least 30 minutes to an hour to cool at room temperature. You'll know they're ready when the surface loses its shiny, wet appearance and feels firm to the touch. For best results, let them cool for a full hour before attempting to cut.
Once cooled, use a sharp knife to carefully slice the treats into squares. Run the knife under hot water first to get a clean, even cut. Slowly cut straight down through the pan, resisting the urge to saw back and forth.
Be gentle, as the bars can be delicate. With patience, you'll have perfectly portioned rice crispy treats ready to enjoy or share.
Final Thoughts
Rice Crispy Treats are a classic and beloved snack that can bring joy to both children and adults.
Now that you've carefully prepared and cooled your delectable treats, it's time to reflect on the final thoughts. As you indulge in the gooey, crunchy goodness, consider how these simple ingredients come together to create a timeless favorite.
The crisp, golden squares are the perfect balance of sweet and chewy, making them an irresistible snack for any occasion. Whether you're sharing them with friends, packing them in lunchboxes, or enjoying them as an after-school treat, Rice Crispy Treats are sure to delight.
Take pride in your homemade creation and savor every bite. With this recipe in your repertoire, you can now whip up these delightful treats anytime the craving strikes.
Embrace the nostalgic joy of this classic confection and let the deliciousness inspire your culinary adventures to come.
Frequently Asked Questions
Can I Substitute Marshmallows With Other Sweet Ingredients?
Yes, you can substitute marshmallows with other sweet ingredients. Try using honey, chocolate chips, or peanut butter to create a unique twist on the classic treat. Be creative and experiment with different flavors.
How Long Do the Treats Stay Fresh?
The treats will stay fresh for 3-5 days when stored in an airtight container at room temperature. However, their texture and flavor may start to degrade after a couple of days, so it's best to enjoy them soon after making them.
Can I Make the Treats Ahead of Time?
You can definitely make the treats ahead of time. They'll stay fresh for up to a week when stored in an airtight container at room temperature. Just be sure to let them cool completely before packaging them up.
Are There Any Gluten-Free or Vegan Variations?
Absolutely, there are gluten-free and vegan variations you can try. Use gluten-free cereal and substitute the butter with a plant-based alternative like coconut oil or vegan margarine. The basic method remains the same, allowing you to enjoy a tasty, allergy-friendly treat.
How Can I Add Extra Flavor to the Treats?
To add extra flavor, try mixing in chopped nuts, dried fruit, or a splash of vanilla extract. You could also drizzle melted chocolate or caramel over the top for a sweet twist. Get creative and experiment with your favorite flavors!