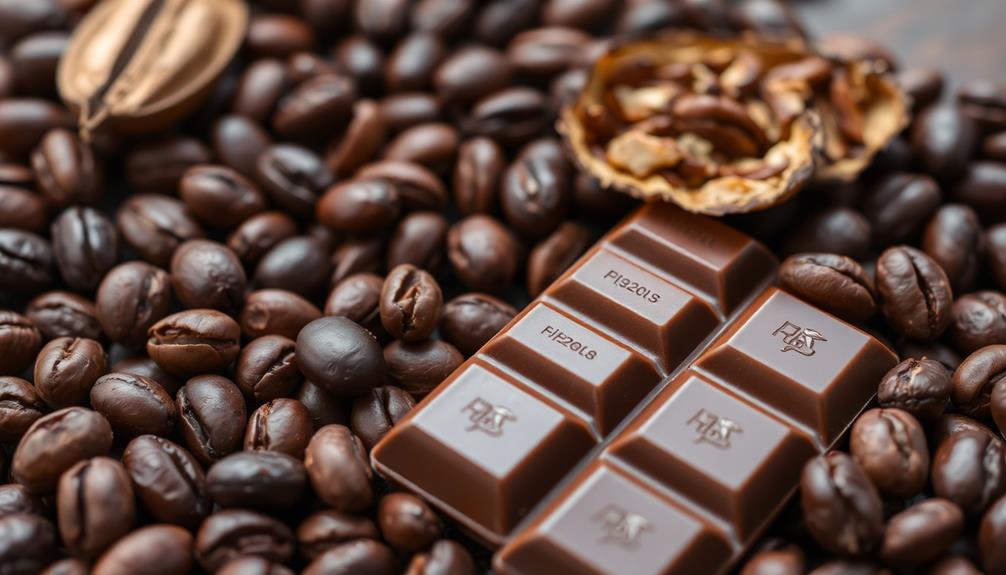

Crafting a delightful cold brew coffee at home is a breeze! Start by measuring out 3/4 cup of coarsely ground coffee and steeping it in 4 cups of cold, filtered water for 12-24 hours. The longer you let it steep, the bolder the flavor. Strain out the grounds, then customize your brew by diluting it with ice or milk to your liking. You can even get creative and add fun flavors like vanilla or cinnamon. Once you've perfected your cold brew, you'll be sipping on a refreshing, low-acid coffee that's perfect for warm weather. Now, let's explore even more ways to enjoy this versatile coffee drink.
Key Takeaways
- Measure 3/4 cup of coarsely ground coffee and add 4 cups of cold or room temperature filtered water.
- Steep the coffee in the water for 12-24 hours in the refrigerator.
- Strain the coffee concentrate using a fine-mesh strainer or cheesecloth.
- Dilute the concentrate with ice or milk to achieve the desired strength and creaminess.
- Experiment with different coffee beans, brewing times, and dilution ratios to customize the flavor profile.

Riding Lawn Mower Cover, Eventronic 54“ Riding Lawn Tractor Cover Waterproof Heavy Duty Durable (420D-polyester oxford)
Perfect Universal Fit:Fits decks up to 54",pretty big size ( L72"xW54"xH46"), compatible with most riding lawn mower brands,including...
As an affiliate, we earn on qualifying purchases.
History
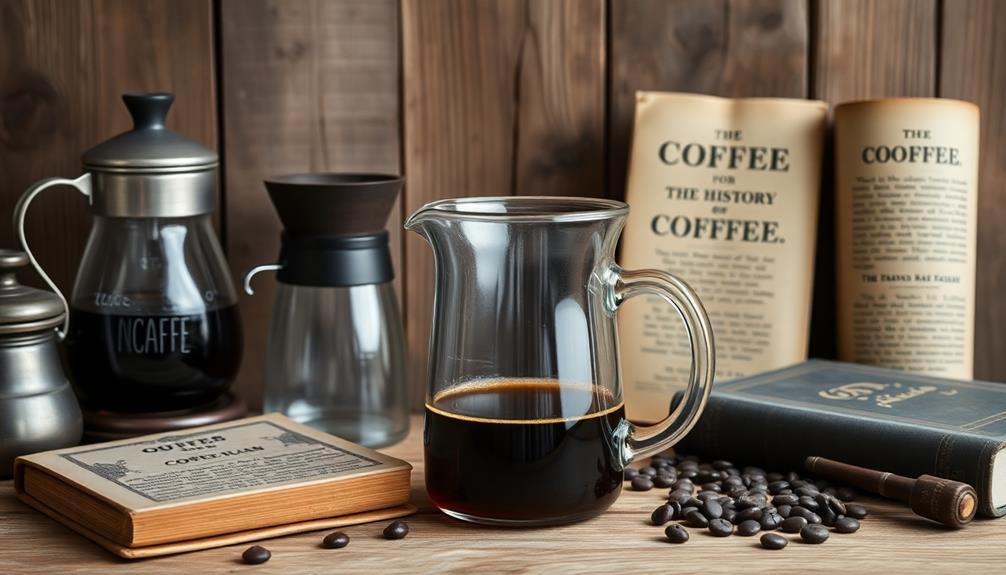
When did the practice of cold brewing coffee first emerge? While the exact origins are uncertain, cold brew coffee has a long and storied history. The technique is believed to have originated in the 1600s in the Netherlands, where it was used as a way to create a smoother, less acidic coffee.
Over time, the method spread to other parts of the world, becoming popular in the United States in the 1960s and 1970s.
One of the earliest known references to cold brew coffee dates back to the 1600s, when Japanese scholars documented a similar process used in their country. This method, known as "Kyoto-style" cold brew, involved slowly steeping coffee grounds in cool water over an extended period. The resulting drink was known for its mellow, low-acid flavor profile.
Today, cold brew coffee has experienced a resurgence in popularity, with coffee enthusiasts and baristas alike embracing the unique taste and versatility of this age-old technique.

MoJack EZ MAX 45001 Residential Riding Lawn Mower Lift - 450 Pound Lift Capacity, Zero Turn Radius Mowers, for Safe & Efficient Maintenance
Lift with safety and control: EZ Max provides homeowners with a dependable way to elevate ZTR mowers and...
As an affiliate, we earn on qualifying purchases.
Recipe

Cold brew coffee is a refreshing and low-acidity way to enjoy coffee during the warmer months. This simple recipe allows you to make a concentrated coffee concentrate that can then be diluted with water or milk to your desired strength.
The key to great cold brew is using coarsely ground coffee and allowing it to steep in cold or room temperature water for an extended period. This extraction method results in a smooth, rich coffee with subtle, nuanced flavors.
Ingredients:
- 1 cup (100g) coarsely ground coffee
- 4 cups (950ml) cold or room temperature water
Instructions:
In a large container or french press, combine the ground coffee and water. Stir to ensure all the grounds are fully saturated.
Cover and let steep at room temperature for 12-24 hours, depending on your desired strength. Strain the coffee concentrate through a fine-mesh sieve or cheesecloth to remove the grounds.
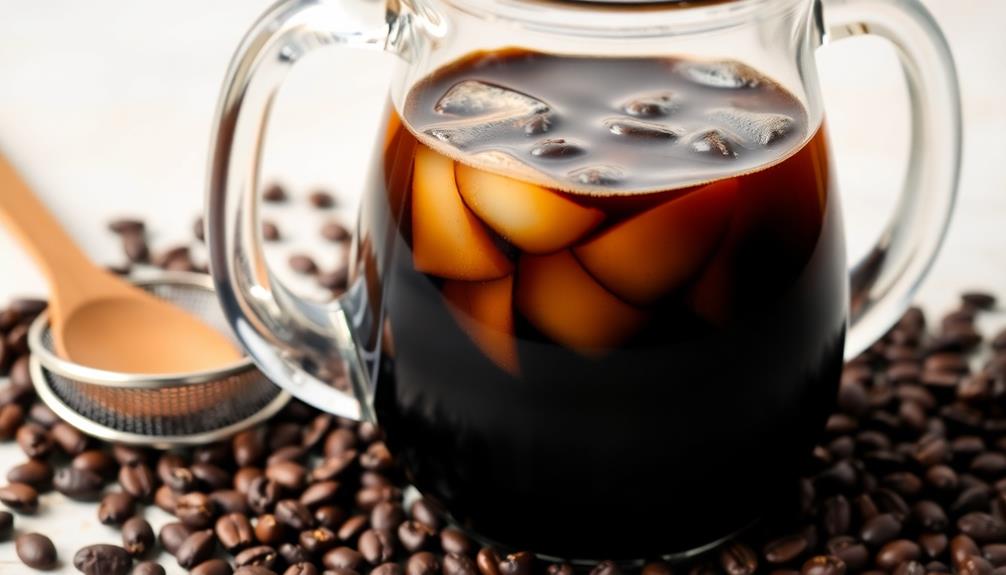
The cold brew concentrate can be stored in the refrigerator for up to 2 weeks. When ready to serve, mix the concentrate with an equal amount of water or milk, and add ice.
Adjust the ratios to your taste preference. The cold brew can also be enjoyed as a hot coffee by diluting with hot water.

Lawn Mower Lift Jack, Telescopic Maintenance Jack for Riding Lawn Mowers, Zero Turn Mowers and Garden Tractors, Foldable Easy Lift with Crank Handle and Power Tool Handle, 880 Lbs Weight Capacity
Perfect Lift Solution: The Lawn Mower Lift Jack is ideal for lifting multiple lawn care tools, providing easy...
As an affiliate, we earn on qualifying purchases.
Cooking Steps
Measuring the coffee grounds precisely is key to getting the perfect cold brew flavor.
Add your desired amount of filtered water, then let the grounds steep for 12 to 24 hours.
Once it's ready, strain the mixture and discard the grounds.
Step 1. Measure Coffee Grounds Precisely

To make your cold brew coffee, you'll want to measure your coffee grounds precisely. The key is to use the right ratio of coffee to water. For a standard-sized batch, aim for 3/4 cup of coarsely ground coffee beans. Measure this out carefully, using a measuring cup or scale for accuracy. You don't want to eyeball it – getting the proportions right is crucial for achieving the perfect cold brew flavor.
Once you've measured the coffee, transfer it to your brewing container, whether that's a French press, mason jar, or dedicated cold brew maker.
From there, you'll slowly pour in 4 cups of cold or room temperature water, being mindful to wet all the grounds evenly. Stir gently to combine.
The precise measurement of both the coffee and water will ensure a balanced, smooth cold brew concentrate that you can then dilute to your desired strength. With the right ratios, you'll be sipping on a delightfully refreshing cold brew in no time.
Step 2. Add Filtered Water
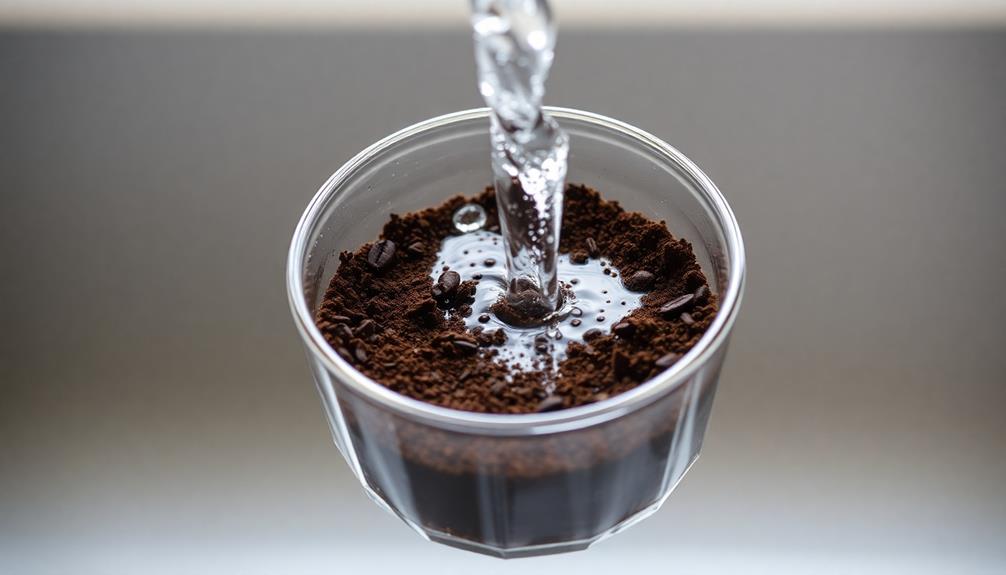
Next, you'll add the filtered water to your coffee grounds. Be sure to use cold or room temperature water – no need for hot water here.
Slowly pour the water over the grounds, making sure to saturate them evenly. The ideal ratio is about 1 part coffee to 4 parts water, but you can adjust this to suit your taste preferences.
Once the grounds are fully submerged, give the mixture a gentle stir to ensure all the coffee is making contact with the water.
Then, cover the container and let it steep for 12-24 hours in the refrigerator. The longer you steep, the stronger the flavor will be. For a milder cold brew, aim for the shorter end of that range.
After steeping, it's time to strain out the coffee grounds. Line a fine mesh sieve or cheesecloth over a pitcher or container, and slowly pour the brew through.
This will leave you with a smooth, concentrated cold brew concentrate that you can dilute with water, milk, or ice before enjoying.
Step 3. Steep Coffee Grounds for 12-24 Hours
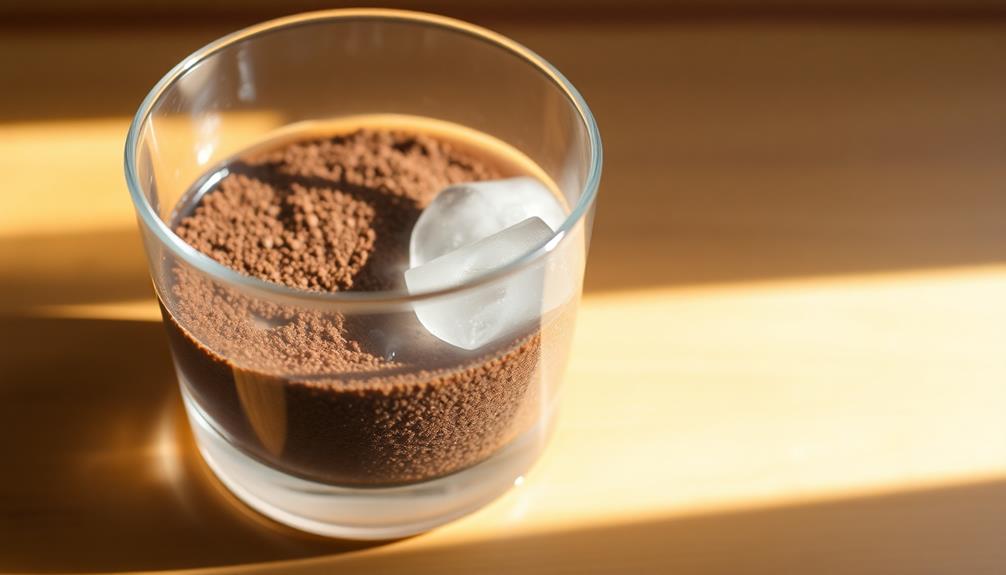
After adding the filtered water, cover the container and let the mixture steep for 12 to 24 hours in the refrigerator.
This long steeping time is crucial for extracting the rich, bold flavor of the coffee grounds. During this process, the cold water slowly dissolves the flavorful oils and compounds, resulting in a smooth, less acidic cold brew concentrate.
Be patient – the longer you steep, the stronger the coffee will be. Many people find that 24 hours produces the ideal taste, but you can experiment to find your perfect brew.
Once the steeping is complete, you'll have a concentrated coffee that can be diluted with water or milk to your desired strength.
Remember to use a fine-mesh strainer or cheesecloth to remove the spent grounds before storing or serving your cold brew. This ensures a clean, sediment-free drink.
With a little time and care, you'll have a refreshing, homemade cold brew to enjoy all week long!
Step 4. Strain and Discard Coffee Grounds

Having completed the steeping process, grab a fine-mesh strainer or cheesecloth and position it over your storage container.
Slowly and carefully, pour the coffee concentrate through the strainer, allowing the liquid to filter through while the grounds are left behind. Be mindful not to press down on the grounds, as this could result in bitter flavors transferring into your cold brew.
Once the liquid has been strained, discard the used coffee grounds. They've served their purpose, and you no longer need them.
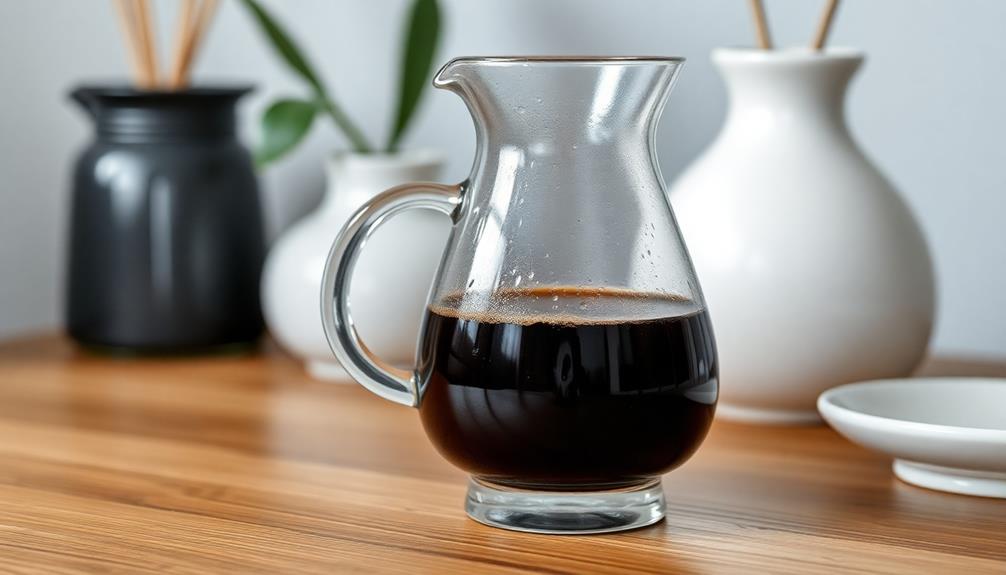
Take a moment to admire the rich, concentrated coffee you've created through your patience and diligence. This strained liquid is the foundation for your delightful cold brew.
Now that you've separated the grounds, you can proceed to the next step: diluting the concentrate with water or milk to achieve your desired strength and flavor profile.
Experiment with different ratios to find your perfect cold brew blend. Enjoy the satisfaction of crafting a customized cold brew that suits your taste buds!
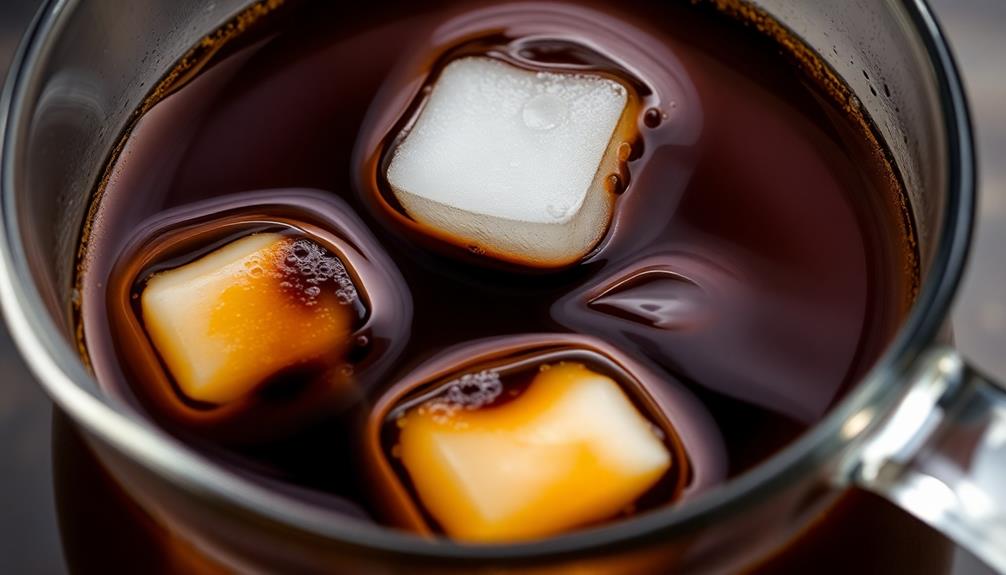
Step 5. Dilute With Ice or Milk
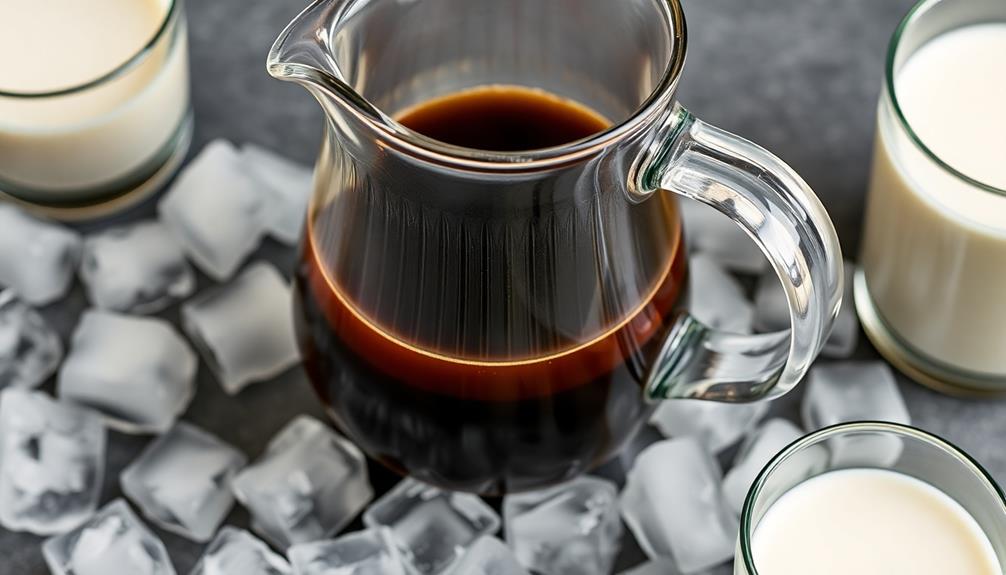
The coffee concentrate you've carefully strained is now ready to be diluted to your preferred strength. You can easily customize the flavor and intensity by adding ice or milk.
If you like your cold brew bold and strong, simply pour the concentrate over ice cubes. As the ice melts, it will gradually dilute the coffee to your liking.
For a creamier, more mellow flavor, try mixing the concentrate with an equal amount of cold milk. This will create a refreshing, latte-like beverage. You can use any type of milk – dairy, almond, oat, or soy – depending on your dietary needs and personal preference.
Start with a 1:1 ratio of concentrate to milk, then adjust to taste. Some people enjoy a 1:2 or even 1:3 ratio for a more milk-forward drink.
Experiment to find the perfect balance of bold coffee and creamy dairy (or non-dairy) goodness. With a little customization, you can enjoy your homemade cold brew exactly the way you love it.

Szblnsm Riding Lawn Mower Cover, Waterproof Tractor Cover Fits Decks up to 54", Heavy Duty 420D Polyester Oxford, Covers Against Water, UV, Dust, Dirt, Wind for Outdoor Lawn Mower Storage
UNIVERSAL SIZE : The lawn mower cover size is 72 x 54 x 46 in(L*W*H), compatible with many...
As an affiliate, we earn on qualifying purchases.
Final Thoughts
Often, the simple pleasure of a perfectly crafted cold brew can become a cherished daily ritual.
As you've learned, making cold brew at home is an easy and rewarding process. By following the steps outlined in this recipe, you can consistently brew a smooth, concentrated coffee that's ready to enjoy.
Remember, the beauty of cold brew lies in its versatility. Feel free to experiment with different coffee beans, brewing times, and dilution ratios to find your perfect flavor profile.
Don't be afraid to get creative and put your own spin on this classic beverage.
Whether you prefer your cold brew straight, over ice, or mixed with milk, the end result is a refreshing and flavorful pick-me-up that's perfect for any time of day.
Embrace the process, savor each sip, and discover the simple joy of homemade cold brew coffee.
Frequently Asked Questions
How Long Does Cold Brew Coffee Last in the Refrigerator?
Your cold brew coffee can typically last 7-14 days in the refrigerator when stored properly. The length of time it stays fresh depends on factors like the brewing process and storage container used. Keep an eye on its flavor and aroma as it ages.
Can I Use Any Type of Coffee Beans for Cold Brew?
You can use any type of coffee beans for your cold brew. The key is finding a bean and grind size that you enjoy. Experiment with different varieties to discover your perfect cold brew flavor profile.
Do I Need a Special Cold Brew Coffee Maker?
You don't need a special cold brew coffee maker. You can simply use a French press, Mason jar, or any container to steep the coffee grounds in cold or room temperature water for an extended period.
How Much Coffee Grounds Do I Need for a Single Serving?
You don't need a special cold brew maker. For a single serving, use 2-3 tablespoons of ground coffee. Adjust the amount to your taste preference. The key is steeping the grounds in cold or room temperature water for several hours.
Can I Add Milk or Creamer to Cold Brew Coffee?
Sure, you can definitely add milk or creamer to your cold brew coffee. The smooth, concentrated flavor of cold brew pairs really well with the creaminess of milk or a touch of sweetener. Feel free to customize it to your taste!