
Get ready to create delicious, homemade cookies that the whole family will love! This easy-to-follow recipe provides the perfect starting point, whether you're an experienced baker or just getting started. With simple ingredients like flour, butter, and chocolate chips, you'll be whipping up batches of warm, gooey cookies in no time. The step-by-step instructions guide you through every stage, from mixing the dough to baking the perfect treats. Unleash your creativity by experimenting with different flavors and add-ins. And if you'd like to explore more delectable dessert ideas, keep reading to discover a world of culinary possibilities.
Key Takeaways
- This classic cookie recipe is suitable for all ages, from experienced to novice bakers, with straightforward instructions and basic ingredients.
- The recipe provides step-by-step guidance on preheating the oven, mixing the ingredients, scooping the dough, and baking the cookies.
- Baking cookies fills the kitchen with delightful aromas and offers a rewarding experience, with the potential for creative expression and experimentation.
- Patience and practice are key to improving baking skills, and sharing the homemade cookies can foster connection with family and friends.
- Beyond cookies, the recipe encourages exploring other dessert options and engaging in seasonal baking to keep the culinary adventures interesting.

118Pcs Periodic Table of Elements Laminated Flashcards Educational Science Flash Cards Chemistry Flash Card Game Science Elements Study Guide for Teachers Students Classroom Homeschool
- Package Includes: 118 laminated periodic table flashcards
- Portable and Lightweight: Easy to carry for study and teaching
- Educational Tool: Enhances chemistry learning and memorization
As an affiliate, we earn on qualifying purchases.
History
Cookies have a rich history that dates back thousands of years. The earliest known cookie-like treats were baked in ancient Persia as far back as 7th century AD. These early cookies were often small, hard cakes made from rice, nuts, and various spices.
Over time, as baking techniques and ingredient availability evolved, cookie recipes spread throughout the Middle East, Europe, and eventually to America.
In the 13th century, the first modern cookie emerged in Persia, known as the "kourabiedes." These delicate, crumbly cookies were made with almonds, sugar, and rose water.
As the concept of cookies gained popularity, bakers experimented with different flavors, shapes, and textures, leading to the diverse array of cookies we know and love today.
From the classic chocolate chip to the whimsical macaroon, the humble cookie has stood the test of time, delighting palates worldwide with its timeless appeal.
Recipe
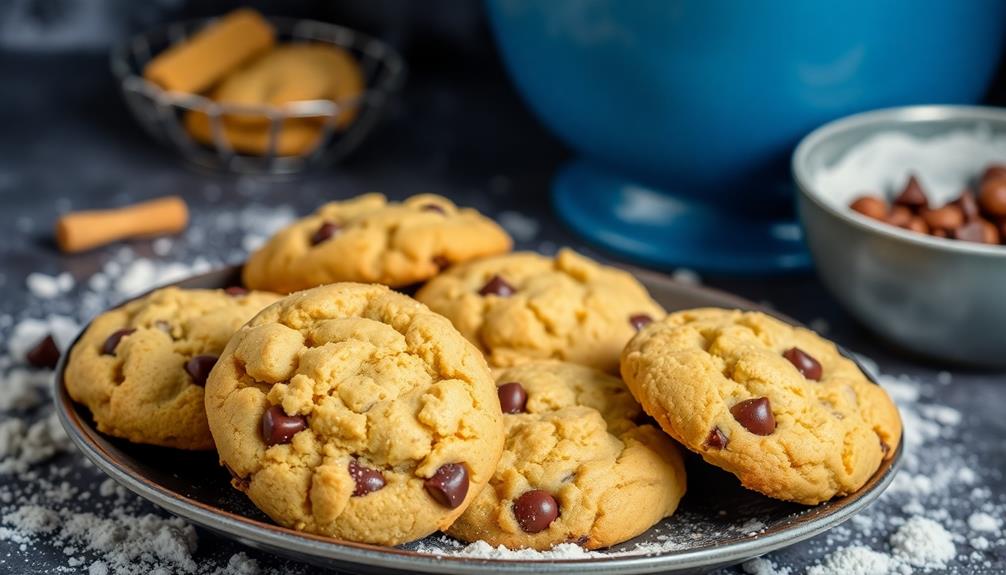
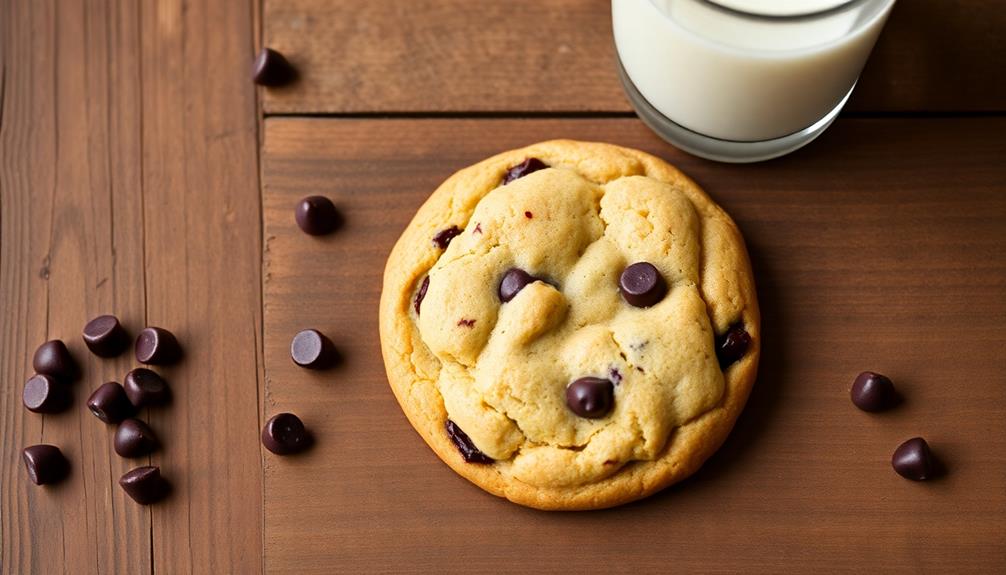
Baking homemade cookies is a simple and rewarding task that can fill your kitchen with delightful aromas. This easy cookie recipe delivers a classic treat that's perfect for sharing with loved ones or enjoying as a personal indulgence.
Whether you're an experienced baker or just starting out, this recipe offers a straightforward approach to creating delicious cookies. With a few basic ingredients and some basic techniques, you'll be well on your way to whipping up a batch of freshly baked cookies.
- 2 cups all-purpose flour
- 1 teaspoon baking soda
- 1 teaspoon salt
- 1 cup unsalted butter, softened
- 1 cup granulated sugar
- 1 cup packed brown sugar
- 2 large eggs
- 2 teaspoons vanilla extract
- 2 cups semi-sweet chocolate chips
Preheat the oven to 375°F (190°C). Line two baking sheets with parchment paper. In a medium bowl, whisk together the flour, baking soda, and salt. In a large bowl, cream the butter and both sugars until light and fluffy.
Beat in the eggs one at a time, then stir in the vanilla. Gradually add the dry ingredients to the wet ingredients, mixing just until combined. Fold in the chocolate chips.
For best results, chill the dough for at least 30 minutes before baking. This helps to ensure the cookies maintain their shape and develop a delightful texture.
Scoop the dough by the tablespoonful onto the prepared baking sheets, spacing them about 2 inches apart. Bake for 10-12 minutes, or until the edges are lightly golden. Allow the cookies to cool on the baking sheets for 5 minutes before transferring to a wire rack to cool completely.
Cooking Steps

First, preheat your oven to 350°F.
In a large bowl, mix all the ingredients until you have a smooth dough.
Scoop the dough onto a baking sheet, then bake for 8-10 minutes.
Once the cookies have cooled completely, they're ready to enjoy!
Step 1. Preheat Oven to 350°F

Preheat your oven to 350°F before you begin mixing the dough. This crucial step ensures your cookies bake evenly and reach that perfect golden-brown hue. Use an oven thermometer if you're unsure about your oven's temperature accuracy. Once it reaches 350°F, let it preheat for at least 10 minutes to ensure the oven is thoroughly heated.
Next, position your oven rack in the center of the oven. This placement promotes even heat distribution, so your cookies bake uniformly. If your oven has hot spots, you may want to rotate the baking sheet halfway through the cooking time.
Keep a close eye on the cookies, as oven temperatures can fluctuate. The baking time may need to be adjusted slightly depending on your oven's performance. When the cookies are golden brown and the edges are set, they're ready to come out of the oven.
Allow them to cool on the baking sheet for a few minutes before transferring to a wire rack.
Step 2. In a Large Bowl, Mix Ingredients
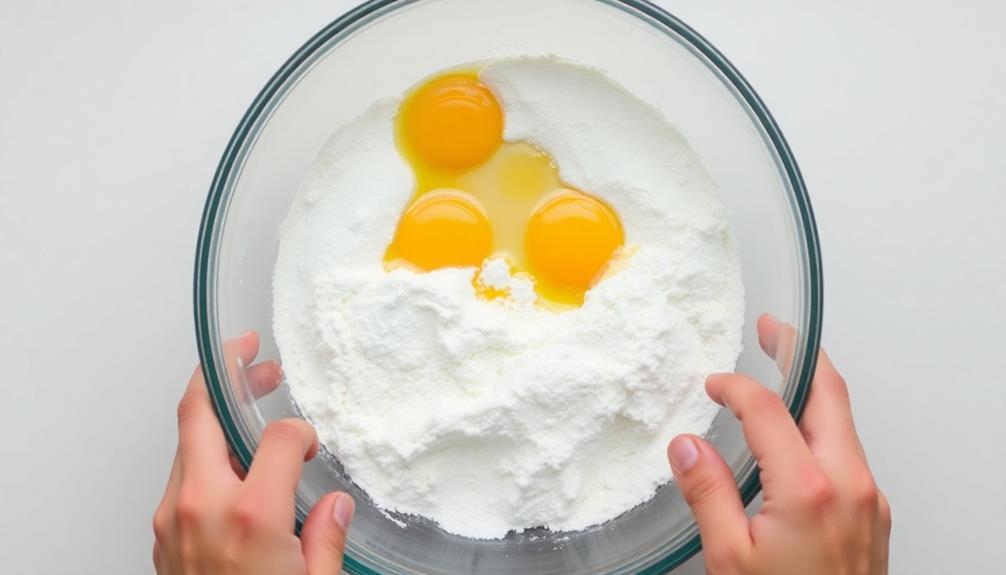
In a large mixing bowl, combine the all-purpose flour, granulated sugar, brown sugar, baking soda, and salt. Use a whisk to stir the dry ingredients together until they're fully incorporated.
For an added touch of comfort while baking, consider using a cozy space with soft lighting, similar to enhancing home ambiance with scented candles or diffusers.
Next, add the unsalted butter, room-temperature eggs, and pure vanilla extract. Use a hand mixer or stand mixer fitted with a paddle attachment to beat the wet and dry ingredients together on medium speed. Mix until the dough comes together in a smooth, cohesive ball. Be careful not to overmix.
Once the dough is ready, use a cookie scoop or spoon to portion out balls of dough onto a parchment-lined baking sheet. Space the scoops about 2 inches apart to allow for spreading.
Gently press down on the tops of the dough balls with the back of a fork or your fingers to slightly flatten them.
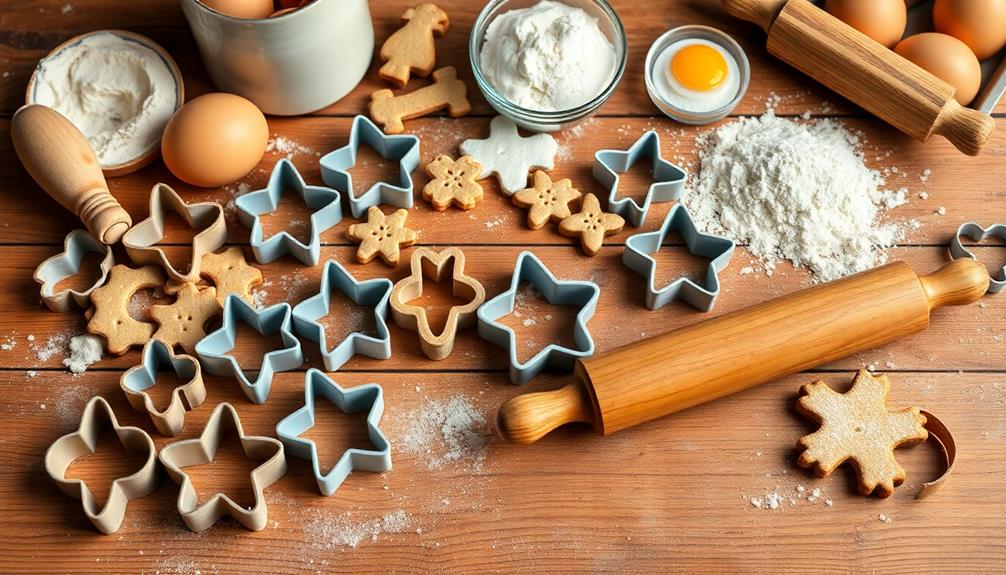
Step 3. Scoop Dough Onto Baking Sheet

Scoop the prepared dough onto the prepared baking sheet, portioning it out with a cookie scoop or spoon. Space the dough balls about two inches apart to allow for spreading. This will help the cookies bake evenly.
Use a light touch when scooping to prevent the dough from becoming compressed. If the dough is too soft to scoop, you can chill it in the refrigerator for 10-15 minutes before proceeding.
Once all the dough is on the baking sheet, gently press down on each ball to flatten it slightly. This will help the cookies bake into that classic, crispy-edged shape.
Don't worry if the dough looks a bit misshapen – the cookies will smooth out as they bake. Just be sure not to overhandle the dough, as this can make the cookies tough.
Pop the baking sheet in the oven and get ready for the sweet smell of freshly baked cookies!
Step 4. Bake for 8-10 Minutes
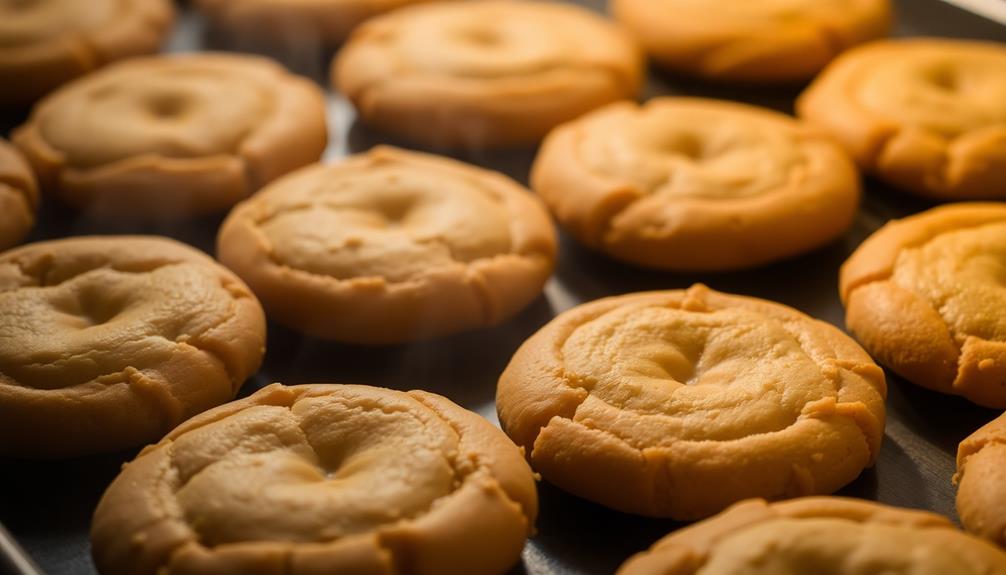
Once the dough is on the baking sheet, you'll want to bake it for 8-10 minutes. This is the perfect amount of time to ensure your cookies come out soft and chewy in the center with a delightfully crisp edge.
Make sure to keep a close eye on them, as ovens can vary and you don't want the bottoms to burn.
When the timer goes off, use oven mitts to carefully remove the baking sheet from the oven. The cookies should have a golden-brown appearance and be slightly puffed up.
Let them cool on the sheet for 2-3 minutes before transferring them to a wire rack. This allows them to firm up a bit before you dig in.
Feel free to bake the cookies for a minute or two longer if you prefer a crunchier texture.
Just be careful not to overbake, as that can lead to dry, brittle cookies. With a little practice, you'll nail the perfect bake time for your delicious homemade treats.
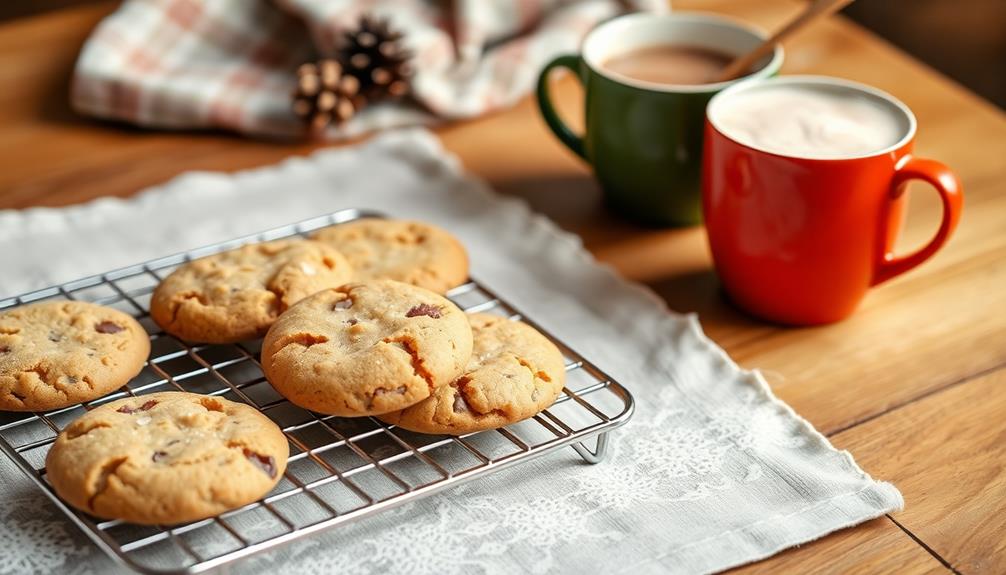
Step 5. Let Cookies Cool Completely

After baking, patience becomes key. Once the cookies have been removed from the oven, let them cool completely on the baking sheet before attempting to transfer them. This step is crucial, as the cookies will be quite soft and fragile straight out of the oven. Allowing them to cool fully will help them firm up and retain their shape.
It's important to keep in mind that just like with proper hamster care, allowing for adequate time can make a significant difference in the outcome.
As the cookies cool, you may be tempted to sneak a taste, but resist the urge! Letting them sit for 10-15 minutes will ensure they've reached the perfect texture.
Once cooled, use a spatula to gently transfer the cookies to a wire rack or serving platter. This will prevent them from breaking or becoming misshapen.
Allowing the cookies to cool completely before serving ensures they'll be firm, yet still soft and chewy in the center. With a little patience, you'll be rewarded with perfectly baked cookies that are ready to enjoy.
Final Thoughts
Now that you've successfully baked your delicious cookies, what's the verdict? Hopefully, you're feeling proud and satisfied with the results of your baking endeavor.
Homemade cookies are simply unbeatable – the fresh aroma, the warm, gooey texture, and the perfect balance of flavors. This easy recipe has allowed you to create a batch of treats that you can share with family and friends.
If you're looking for more inspiration, consider trying out fun desserts like Dirt Cups that bring a playful twist to your baking.
Remember, baking is an art form, and each time you make these cookies, they may turn out a little differently. That's all part of the fun!
Don't be discouraged if your first batch isn't picture-perfect. With a little practice, you'll become a cookie-making pro. Feel free to experiment and put your own twist on the recipe, too.
Cookies are a timeless classic that can brighten anyone's day. Savor the moment as you indulge in your handiwork, and get ready to make baking a delightful new hobby.
Frequently Asked Questions
Can I Substitute Ingredients for Dietary Restrictions?
Absolutely! You can substitute ingredients to accommodate dietary restrictions. Opt for gluten-free flour, vegan butter, or dairy-free chocolate chips. Experiment and make the cookies work for your specific dietary needs. Get creative and enjoy the process.
How Long Do the Cookies Stay Fresh?
Your homemade cookies will typically stay fresh for 3-5 days when stored in an airtight container at room temperature. To extend their freshness, you can refrigerate or freeze the cookies for longer storage.
Can I Freeze the Dough for Later Use?
Yes, you can freeze the dough for later use. Simply wrap the dough tightly in plastic wrap or aluminum foil, and store it in the freezer for up to 3 months. When ready to bake, thaw it in the refrigerator overnight.
What's the Best Way to Store the Cookies?
The best way to store the cookies is to let them cool completely, then place them in an airtight container. This will keep them fresh for up to a week at room temperature. You can also freeze the baked cookies for up to 3 months.
Can I Double the Recipe for a Larger Batch?
Yes, you can certainly double the recipe to make a larger batch of cookies. When doubling the recipe, be sure to adjust the baking time and monitor the cookies closely to ensure they bake evenly.