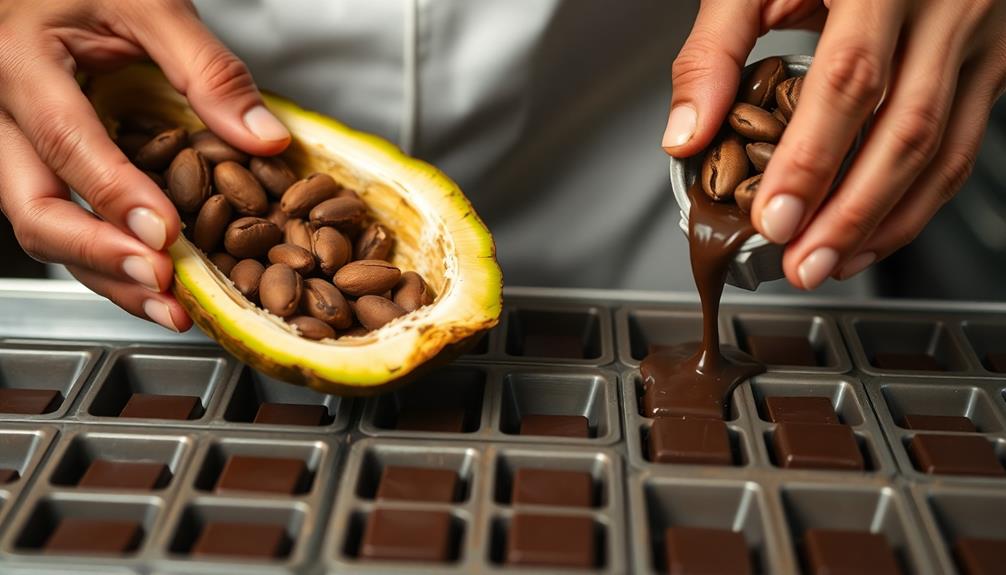
Making chocolate from scratch lets you craft your own customized confections. You'll start by roasting cocoa beans, then remove the shells to access the flavorful nibs. Next, you'll grind the nibs into a smooth cocoa mass and carefully temper it for the perfect glossy shine. Finally, pour the tempered chocolate into molds or onto surfaces to cool. Along the way, you can experiment with different cocoa origins, butter percentages, and fun flavor additions like nuts, spices, or fruit. It's a rewarding process that allows you to truly savor the art of chocolate making.
Key Takeaways
- Roast the cacao beans at 275°F for 15-20 minutes until fragrant and cracked, then remove the shells to access the nibs.
- Grind the nibs into a smooth cocoa mass using a grinder, releasing the natural oils.
- Temper the cocoa mass by melting, cooling, and mixing it to achieve a stable, glossy, and snappable chocolate.
- Pour the tempered chocolate into molds or onto a surface and allow it to cool for the desired texture and shine.
- Experiment with different cocoa bean origins, butter percentages, and additional ingredients like nuts, spices, or dried fruits to create unique chocolate blends.
History

Although chocolate has been around for centuries, the process of making it from scratch has evolved over time. The Aztecs and Mayans were the first to cultivate and process cacao beans, creating a bitter, spicy drink. When the Spanish conquistadors arrived in the 16th century, they discovered this delectable treat and brought it back to Europe, where sugar was added to sweeten the flavor.
Over the next few centuries, chocolate-making techniques continued to advance. In the 1800s, the invention of the steam-powered chocolate mill allowed manufacturers to produce chocolate on a larger scale. By the late 1800s, milk chocolate was introduced, offering a creamier, more approachable taste.
Today, chocolate is produced worldwide, with vast improvements in quality, flavor, and accessibility. Whether you're an experienced chef or a curious beginner, making chocolate from scratch can be a rewarding and delicious experience.
Recipe
Making chocolate from scratch can be a rewarding and satisfying experience. It allows you to control the ingredients and create a unique chocolate tailored to your taste preferences. The process may seem daunting, but with the right steps, you can craft delicious homemade chocolate.
Tempering the chocolate is a crucial step in the process, as it ensures the chocolate has a smooth, glossy finish and a satisfying snap when you bite into it. This involves carefully heating and cooling the chocolate to develop its optimal texture and flavor.
Ingredients:
- 200g cocoa beans or nibs
- 100g cocoa butter
- 50g sugar
- 1/4 tsp salt
Instructions:
Roast the cocoa beans or nibs at 300°F (150°C) for 15-20 minutes, stirring occasionally, until fragrant and lightly browned. Allow to cool, then remove the shells to reveal the cocoa nibs.
Grind the nibs in a food processor or high-powered blender until a thick, smooth paste forms. In a double boiler, melt the cocoa butter, then stir in the ground cocoa paste, sugar, and salt.
Temper the chocolate by pouring it onto a marble or metal surface and spreading it out. Allow it to cool until it starts to thicken, then fold it back into the remaining chocolate until it reaches the desired consistency.
When making chocolate from scratch, be patient and attentive to the tempering process. This step is crucial for achieving the perfect texture and shine.
Additionally, consider experimenting with different cocoa bean origins and percentages of cocoa butter to create your own signature chocolate blend.
Cooking Steps

First, you'll roast the cacao beans at 275°F to bring out their rich flavor.
Next, peel and crack open the cacao shells to reveal the nibs inside.
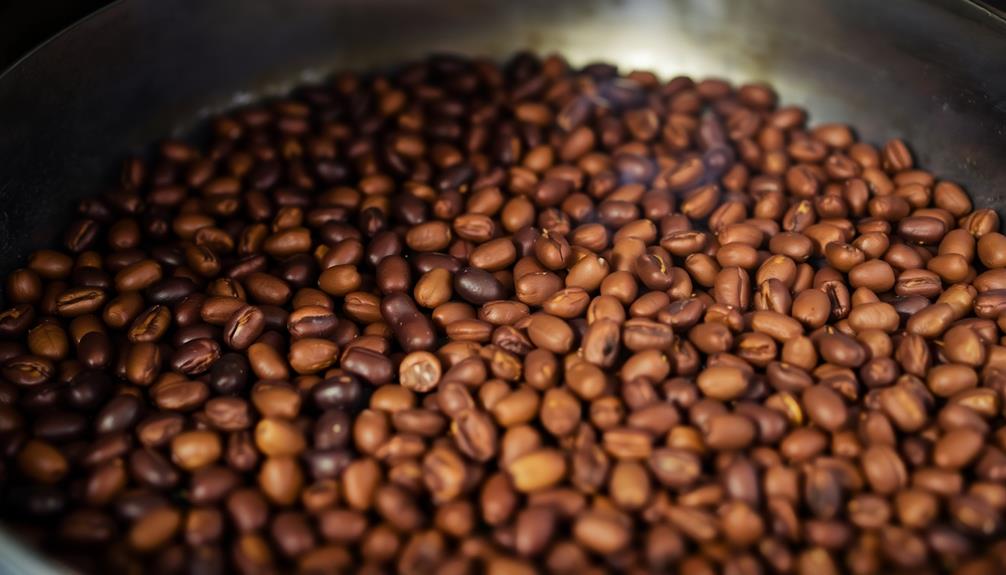
Step 1. Roast Cacao Beans at 275°F
Preheat your oven to 275°F (135°C) to kickstart the roasting process.
Place the raw cacao beans on a rimmed baking sheet, making sure they're in a single layer.
Slide the sheet into the preheated oven and let the beans roast for 15-20 minutes, checking on them occasionally. You'll know they're done when the beans become fragrant and start to crack or split open.
Once roasted, remove the sheet from the oven and let the beans cool completely. This step is crucial, as it allows the beans to develop their signature chocolate flavor.
After cooling, the beans will be dry and crisp, ready for the next stage of chocolate making.
Be careful when handling the hot roasted beans, and use oven mitts or tongs to transfer them.
The roasting process brings out the rich, nutty aroma of the cacao, so savor the scent as you work.
With patience and attention, you're well on your way to creating your very own homemade chocolate.
Step 2. Peel and Crack Cacao Shells
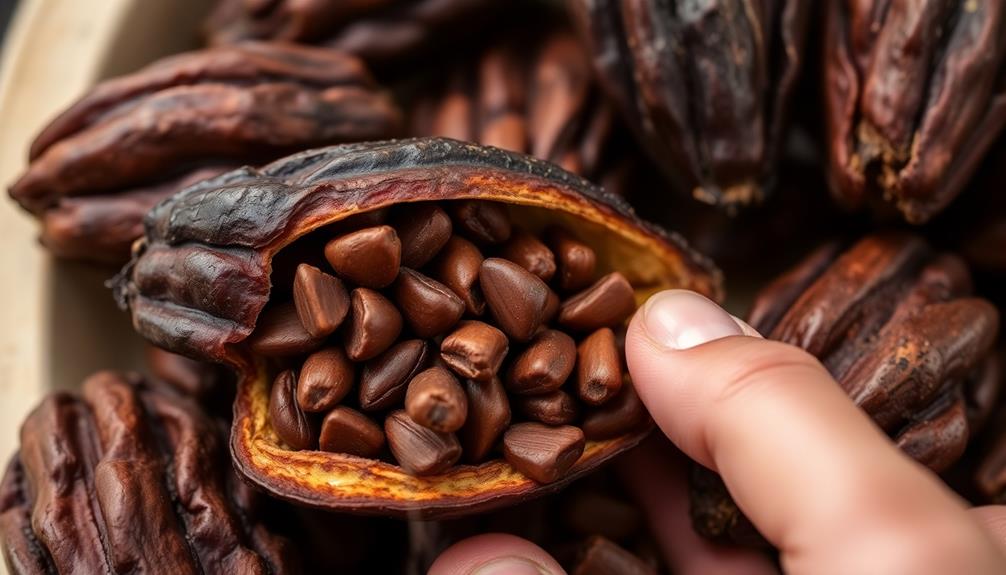
After the cacao beans have been roasted and cooled, you'll need to peel off the shells. First, place the beans on a clean, flat surface. Gently rub the beans between your palms to loosen the shells. The shells should start to flake off. If any shells are stubborn, you can use your fingers to carefully peel them away. Be careful not to damage the delicate nibs inside.
Once the shells have been removed, you'll need to crack open the nibs. Place the peeled beans on a clean surface and use a rolling pin or the back of a heavy knife to gently crack them open. Avoid crushing the nibs too much, as you want them to remain intact.
Carefully separate the nibs from the shells, discarding the shells. Now you're ready to move on to the next step of grinding the nibs into cocoa liquor.
Step 3. Grind Roasted Nibs Into Cocoa Mass
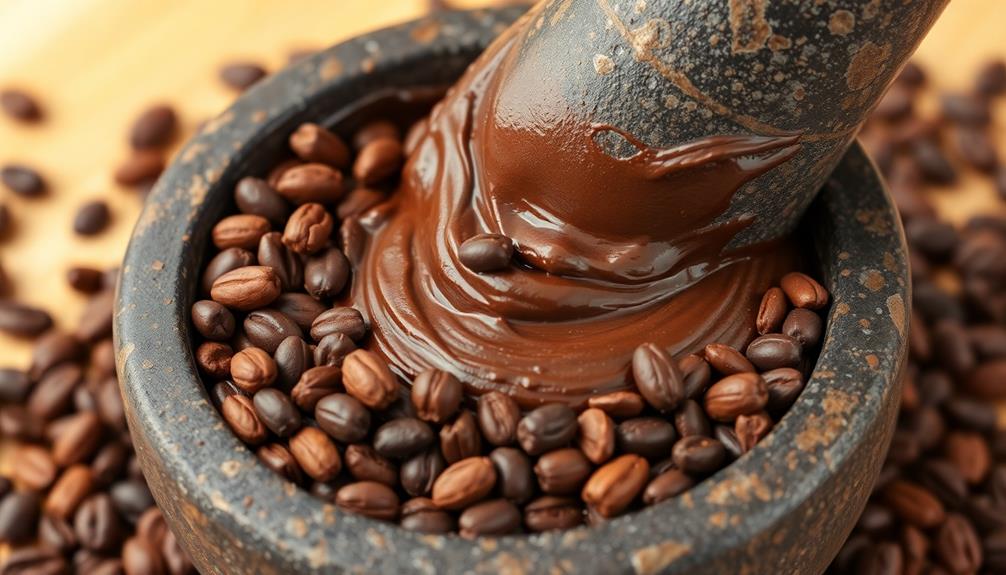
Next, use a spice grinder, coffee grinder, or high-powered blender to grind the cracked cacao nibs into a smooth, liquid cocoa mass.
This step is crucial, as the grinding process breaks down the nibs and releases the natural oils, creating the rich, velvety texture of pure cocoa.
Be patient and take your time, as it may take several minutes of continuous grinding to achieve the desired consistency.
You'll know you're on the right track when the nibs transform into a thick, spreadable paste.
Once you've reached this point, your homemade cocoa mass is ready to be used in a variety of chocolate-making recipes.
Just remember to store it in an airtight container in the refrigerator until you're ready to use it.
With the cocoa mass prepared, you're one step closer to creating your very own batch of delicious, from-scratch chocolate.
Step 4. Temper the Cocoa Mass
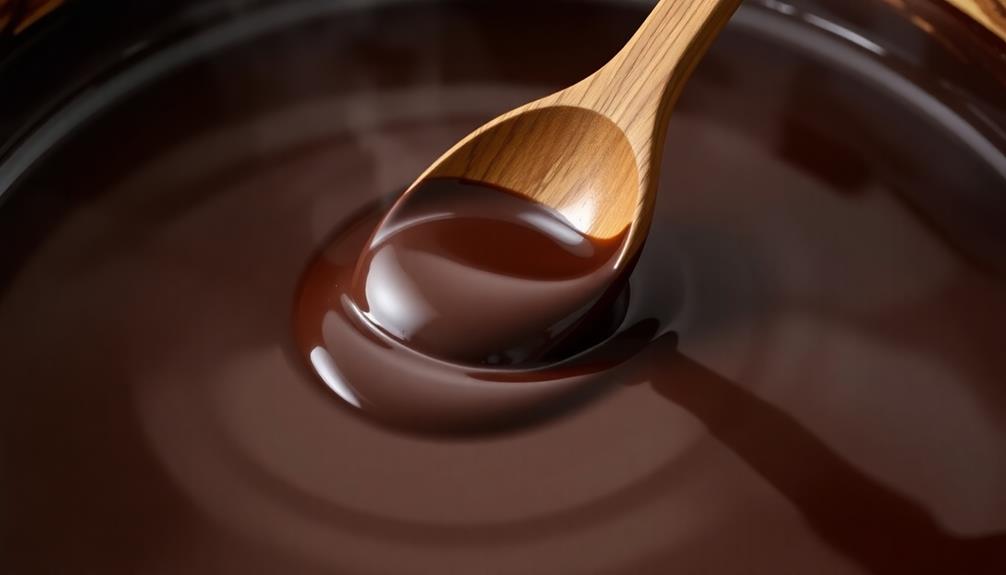
To temper the cocoa mass, you'll need to carefully control its temperature. This process helps stabilize the cocoa butter, ensuring your chocolate has a smooth, glossy finish and a satisfying snap when you break it.
Start by melting the cocoa mass in a double boiler, stirring frequently, until it reaches 104-113°F. Then, pour about two-thirds of the melted mass onto a marble or granite surface and spread it out with a spatula.
As the chocolate cools, it'll begin to thicken and get glossy. Once it reaches 80-84°F, use a bench scraper to gather the chocolate back into a pile and mix it with the remaining one-third of the melted mass. This process "seeds" the chocolate, introducing stable cocoa butter crystals that will propagate throughout.
Continue tempering by alternating between the marble and the bowl, mixing vigorously, until the chocolate reaches 88-91°F. It's now ready to be molded or used in your favorite chocolate recipes.
Step 5. Mold and Cool the Chocolate
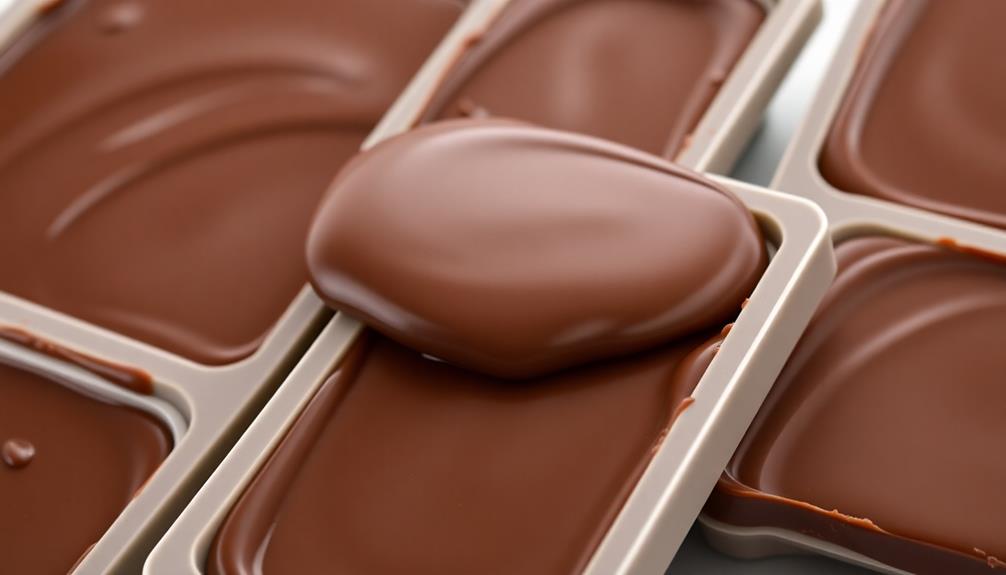
Once the chocolate is tempered, you can pour it into molds or spread it onto a flat surface to cool. If using molds, carefully fill each one, tapping the mold gently to release any air bubbles. For flat cooling, use a baking sheet or marble slab and pour the chocolate into an even layer.
Next, you'll need to let the chocolate cool completely. This process can take 30 minutes to an hour, depending on the thickness of the chocolate. During this time, resist the urge to touch or move the chocolate. Proper cooling is crucial for achieving the right texture and shine.
Once the chocolate has solidified, you can remove it from the molds or peel it off the flat surface. The bars or pieces should have a smooth, glossy finish.
If any imperfections occur, you can gently reheat and re-temper the chocolate before molding it again. With patience and practice, you'll be crafting beautiful homemade chocolate in no time!
Final Thoughts
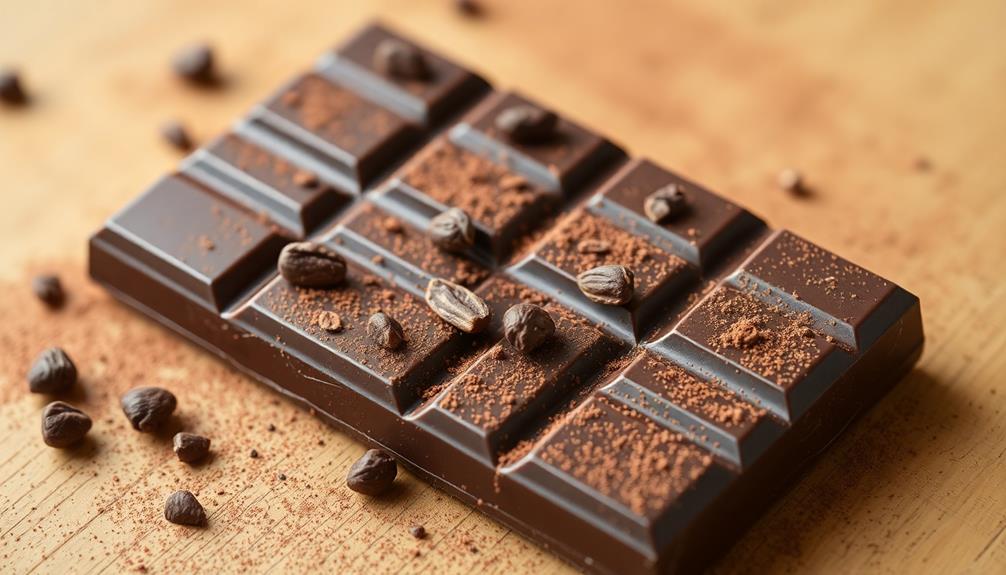
Making chocolate from scratch can be a rewarding and satisfying experience. You've learned the key steps – selecting quality ingredients, tempering the chocolate, and molding and cooling it to perfection.
Now, as you savor your homemade creation, consider the versatility of this delectable treat. Chocolate can be used in a variety of desserts, from cakes and cookies to truffles and fondue.
Experiment with different flavor combinations, such as adding nuts, spices, or dried fruits. You can also use chocolate to make hot cocoa, chocolate-dipped strawberries, or even homemade chocolate bars.
Don't be afraid to get creative! Sharing your homemade chocolate with family and friends is sure to impress.
Frequently Asked Questions
Can I Substitute Ingredients in the Chocolate Recipe?
Absolutely! You can substitute ingredients in the chocolate recipe to suit your preferences or dietary needs. Just be mindful of the ratios and how the substitutions may affect the texture and flavor of the final product.
How Long Does Homemade Chocolate Last?
Homemade chocolate can last up to 2-3 weeks when stored properly in an airtight container at room temperature. However, its shelf-life may vary depending on the ingredients used and how it's been handled.
Is It Safe to Eat Raw Chocolate?
Eating raw chocolate can be safe, but it's important to take precautions. Make sure the chocolate is fresh and free from contaminants. Start with small amounts to see how your body reacts. Enjoy the rich flavor of raw chocolate, but do so responsibly.
Can I Use Chocolate Chips Instead of Cocoa Beans?
You can use chocolate chips instead of cocoa beans, but it won't produce the same result. Chocolate chips are typically made with additional ingredients like sugar, milk, and emulsifiers, which alter the flavor and texture compared to using pure cocoa beans.
Do I Need Special Equipment to Make Chocolate?
To make chocolate from scratch, you'll need some specialized equipment, like a melanger or a winnower. But you can get started with just a heavy-duty blender or food processor, cocoa nibs, and a bit of patience.