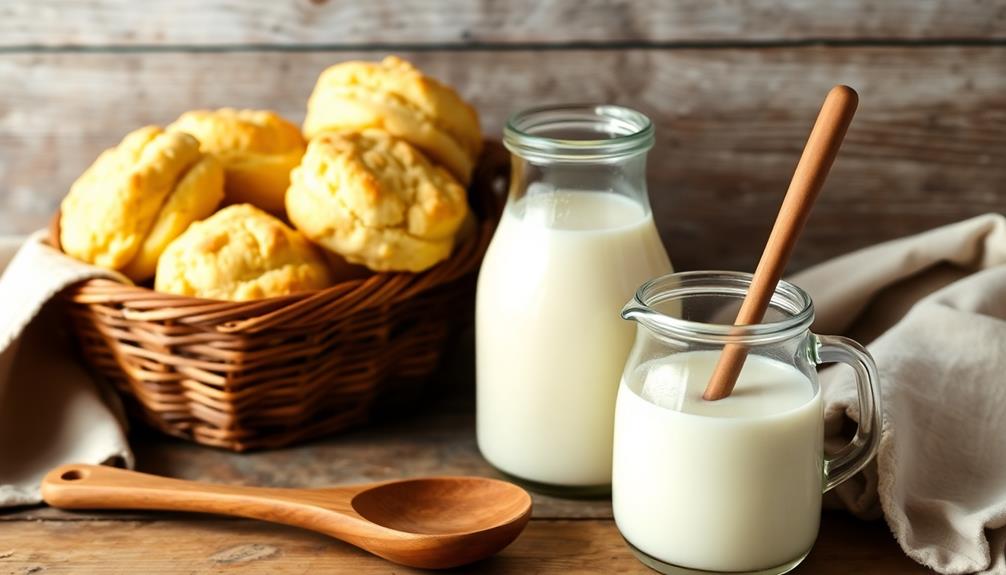
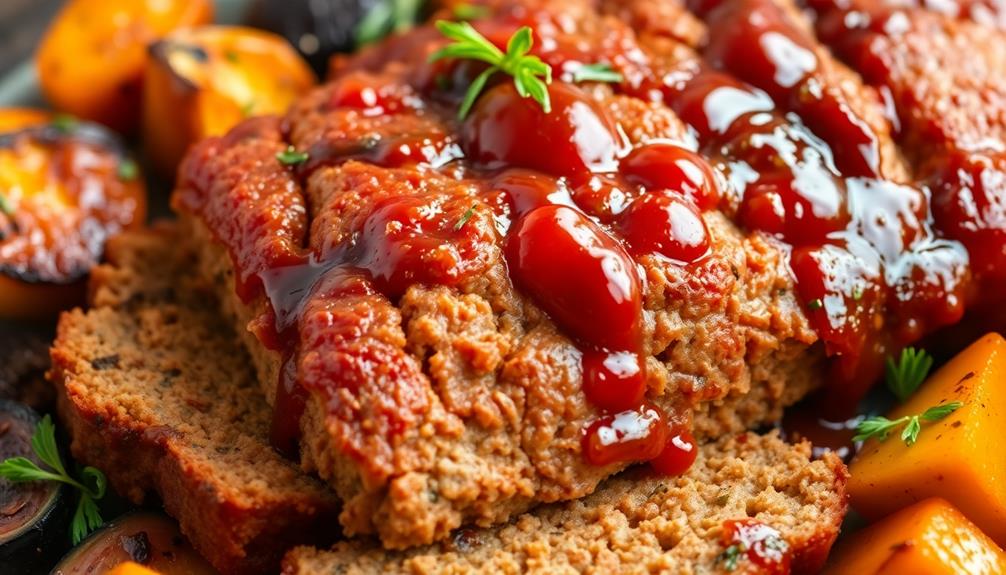
You don't need a fancy machine or special ingredients to make delicious homemade buttermilk – just milk and an acidic liquid like lemon juice or vinegar! Simply combine the two, let it sit for 5-10 minutes, and voila – you've got a tangy, creamy buttermilk ready to use in your favorite recipes. This versatile ingredient can enhance the texture of baked goods, tenderize meats, and add a tasty twist to dressings and marinades. Plus, buttermilk is packed with probiotics and other nutrients, making it a healthy addition to your cooking. Want to learn more about the history and uses of this kitchen staple?
Key Takeaways
- Homemade buttermilk requires only two ingredients: whole milk and an acid like lemon juice or vinegar.
- The process involves combining the milk and acid, letting it curdle for 5-10 minutes to create a tangy, creamy buttermilk.
- Homemade buttermilk can be stored in the refrigerator for up to one week in an airtight container.
- Buttermilk is versatile and can be used in baking, marinades, dressings, and as a substitute for regular milk.
- Buttermilk provides health benefits like gut health, cholesterol reduction, and improved nutrient absorption.
History

Buttermilk has a rich history, tracing its origins back to the 19th century when it was a byproduct of churning butter. Before modern refrigeration, dairy farmers would churn butter by hand, and the leftover liquid was known as buttermilk. This tangy, slightly thick drink was a popular refreshment on hot days and a staple ingredient in traditional recipes.
As the Industrial Revolution brought technological advancements, the production of buttermilk evolved. Commercial dairies began separating the butterfat from milk, creating a more consistent and shelf-stable buttermilk. This process allowed buttermilk to become widely available, expanding its use in baking and cooking.
Today, while modern methods have streamlined buttermilk production, the classic homemade version still holds a special place in the hearts and kitchens of many. Whether used for fluffy pancakes, tender biscuits, or a tangy marinade, buttermilk remains a beloved and versatile ingredient with deep roots in culinary history.
Recipe

Buttermilk is a versatile dairy product that can be used in a variety of recipes, from baked goods to savory dishes. Making it at home is a simple process that allows you to control the ingredients and create a customized flavor profile.
This homemade buttermilk recipe provides a straightforward method to produce a tangy, creamy buttermilk that can be used in your favorite recipes or enjoyed on its own.
Ingredients:
- 1 cup whole milk
- 1 tablespoon lemon juice or white vinegar
Instructions:
In a medium bowl, combine the milk and lemon juice or vinegar. Stir gently and let the mixture sit at room temperature for 5-10 minutes, or until it starts to curdle and thicken.
Once the milk has curdled, give it a gentle stir to incorporate the curds and whey. The finished buttermilk should have a slightly thickened, pourable consistency.
To ensure the best results, use fresh, high-quality milk and adjust the amount of acid (lemon juice or vinegar) to suit your taste preferences.
The homemade buttermilk can be stored in an airtight container in the refrigerator for up to 1 week, and can be used in a variety of baking and cooking applications.
Cooking Steps
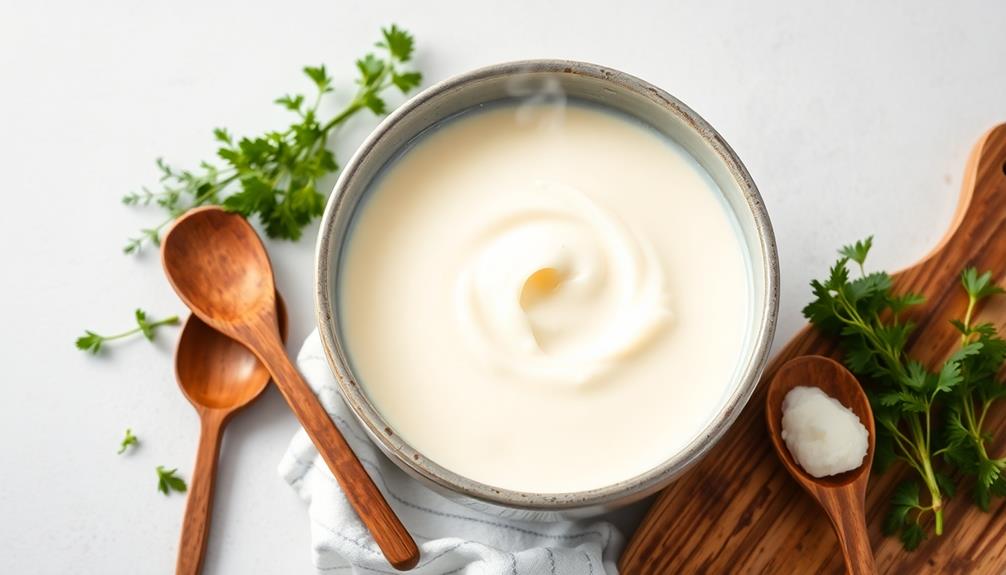
To make homemade buttermilk, start by combining milk and vinegar in a jar.
Give the mixture a good stir until it's nice and frothy.
Let it sit for 5-10 minutes, allowing the vinegar to curdle the milk.
Step 1. In a Jar, Combine Milk and Vinegar

Simplicity is the essence of this step, as you combine the necessary ingredients – milk and vinegar – within a jar.
Pour in the milk, then add the vinegar. It's that easy! Screw on the lid and give the jar a gentle shake to mix the two. You'll see the milk start to curdle and thicken, transforming into homemade buttermilk before your eyes. This chemical reaction occurs because the vinegar's acidity causes the milk proteins to coagulate.
Now, let the jar sit at room temperature for 5-10 minutes, until the buttermilk has fully set.
Give it another light shake to ensure everything is well combined. That's it! Your homemade buttermilk is ready to use in all your favorite recipes, from fluffy pancakes to creamy dressings.
The hands-on time for this step is mere minutes, making it a simple and satisfying part of the buttermilk-making process. With just two ingredients and a jar, you're well on your way to homemade buttermilk perfection.
Step 2. Stir the Mixture Vigorously
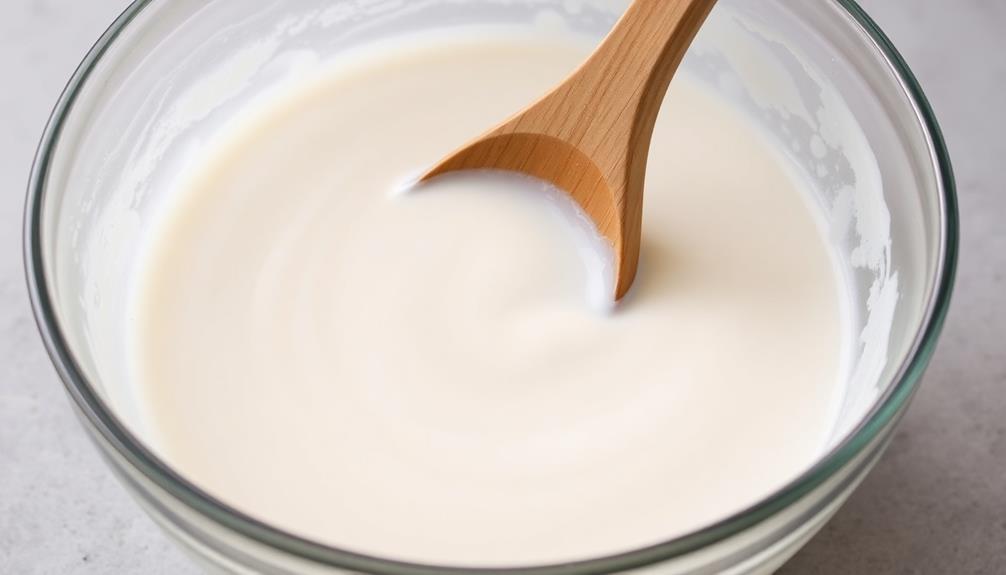
After the milk and vinegar have combined and the buttermilk has set, it's time to give the mixture a vigorous stir.
Grab your jar and shake it up, really putting some muscle into it. The more you stir, the better the texture will become. You're looking to create a smooth, creamy consistency, so don't be shy about giving it a good workout.
As you stir, you might notice the mixture thickening up. That's exactly what you want! Keep going until it has a rich, velvety texture.
Don't be afraid to give it a few extra shakes for good measure. The more you incorporate air into the buttermilk, the better it will turn out.
Once you're satisfied with the consistency, your homemade buttermilk is ready to use.
Whether you're baking up some fluffy pancakes or marinating chicken, this fresh buttermilk will add a delightful tangy flavor to your dishes.
Step 3. Let Mixture Sit for 5-10 Minutes
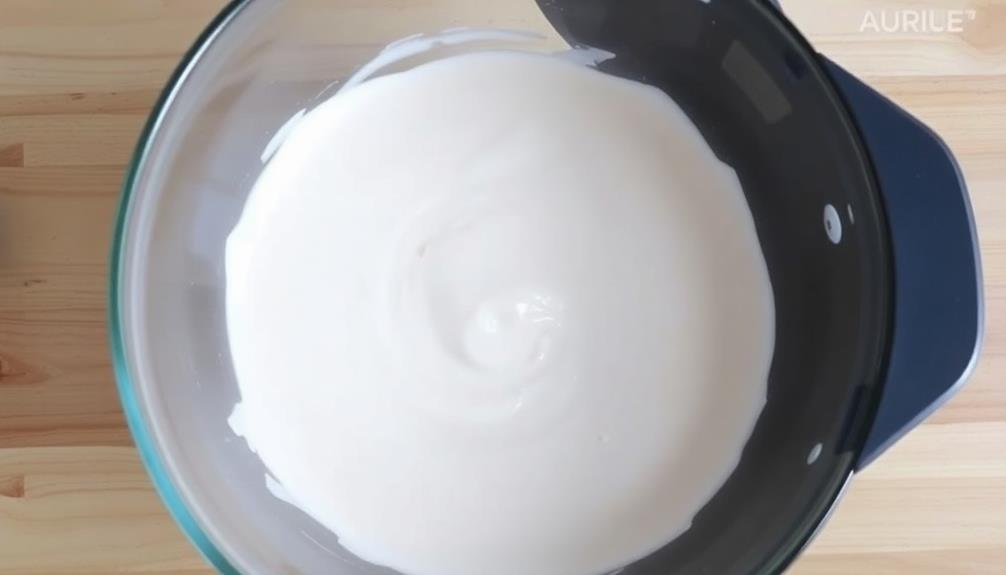
Once you've given the mixture a vigorous stir, let it sit for 5-10 minutes. This resting period allows the ingredients to fully incorporate and the buttermilk to begin to thicken.
You'll notice the liquid transforming into a slightly creamier, more viscous consistency as the chemical reactions take place. Don't be tempted to skip this step – it's crucial for developing the characteristic buttermilk texture and flavor.
During this brief wait, you can tidy up your workspace or gather any additional ingredients you'll need for your recipe.
Just try not to disturb the buttermilk mixture too much. Avoid stirring, shaking, or moving the container, as this can disrupt the process.
Once the time is up, you'll be ready to move on to the next step. Keep in mind that the longer you let the mixture sit, the thicker and tangier the final buttermilk will become. Adjust the time to suit your personal preferences.
Step 4. Strain the Buttermilk Through a Sieve

With the waiting period complete, you can now begin straining the buttermilk.
Grab a fine-mesh sieve or strainer and place it over a clean bowl. Carefully pour the buttermilk mixture through the sieve, allowing the liquid to drain into the bowl below. You may need to gently stir or swirl the mixture to help it pass through the sieve.
The sieve will catch any coagulated milk solids, leaving you with a smooth, creamy buttermilk. Don't worry if a few tiny solids make it through – they're harmless and add texture.
Once all the buttermilk has been strained, discard the solids left in the sieve.
Your freshly strained buttermilk is now ready to use in all your favorite recipes! Whether you're baking fluffy biscuits or making a tangy salad dressing, this homemade version will elevate the flavor.
Store the buttermilk in an airtight container in the refrigerator for up to one week, and enjoy its rich, tangy goodness.
Step 5. Use Buttermilk as Desired

You can now use the homemade buttermilk in a variety of delicious recipes. Its tangy flavor pairs perfectly with baked goods, marinades, dressings, and more.
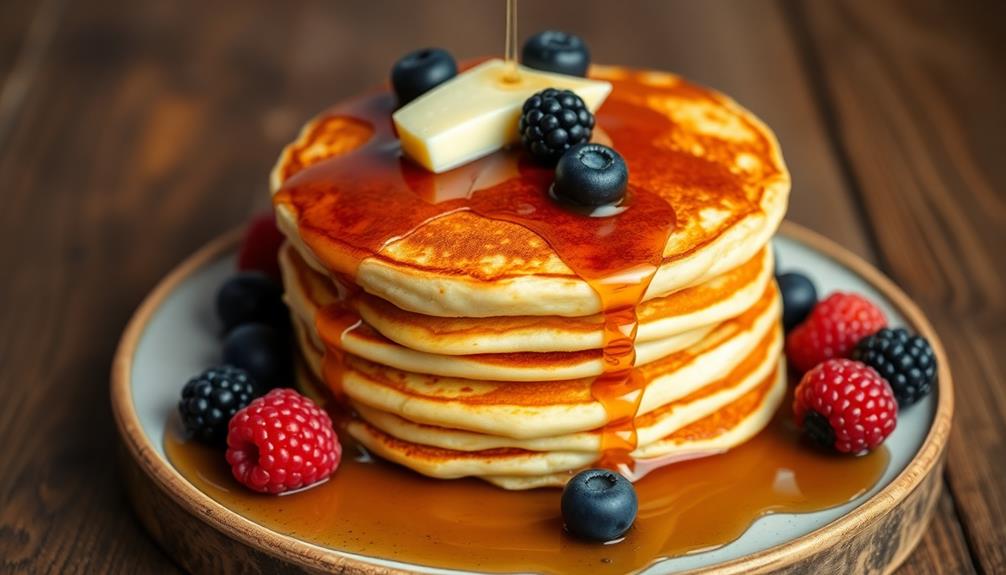
Try using it in your favorite pancake or waffle batter for a fluffy, moist texture. Buttermilk also makes an excellent marinade for meats, tenderizing and adding a subtle tang. For a quick salad dressing, simply whisk together buttermilk, olive oil, and your choice of herbs and spices.
Don't be afraid to get creative! Buttermilk can be used as a substitute for regular milk in many recipes. Use it to make creamy mashed potatoes or mix it into your favorite biscuit dough.
You can even make a refreshing buttermilk smoothie by blending it with fruit and a touch of honey. The possibilities are endless! Start experimenting and enjoy the delicious results of your homemade buttermilk.
Final Thoughts
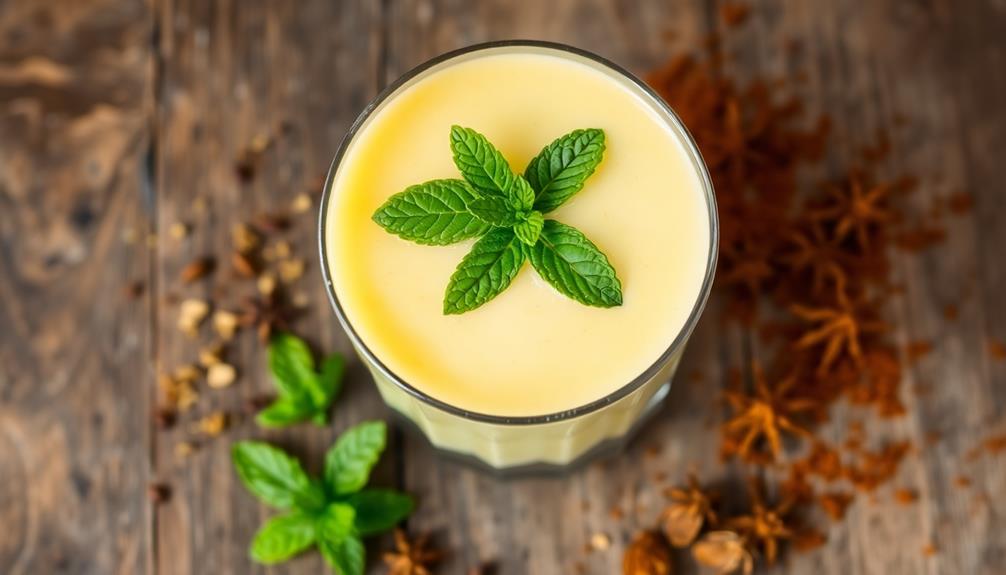
Homemade buttermilk can be a great addition to your kitchen arsenal. With its tangy flavor and versatility, it can elevate a wide range of recipes, from baked goods to marinades.
Plus, making it yourself is surprisingly easy and cost-effective. Once you have the basic buttermilk recipe down, you can experiment with different variations.
Try adding fresh herbs, spices, or even fruit purees to create unique flavors. Buttermilk also has a long shelf life, so you can make a batch and enjoy it for several weeks.
Incorporating homemade buttermilk into your cooking not only adds flavor but can also provide health benefits. It's a good source of probiotics, which can support a healthy gut.
Buttermilk is also lower in fat than regular milk, making it a great option for those watching their dietary intake.
Frequently Asked Questions
How Long Does Homemade Buttermilk Last in the Refrigerator?
Homemade buttermilk can last up to 2 weeks in the refrigerator when stored properly. It's best to keep it in an airtight container and check for any signs of spoilage before using. With proper storage, you can enjoy your fresh buttermilk for weeks.
Can I Use Store-Bought Milk Instead of Fresh Milk?
Yes, you can use store-bought milk instead of fresh milk to make homemade buttermilk. The process and results will be the same, but it's important to ensure the milk you use is fresh and hasn't expired.
What Are the Health Benefits of Homemade Buttermilk?
Homemade buttermilk offers several health benefits. It's rich in probiotics, which can improve gut health and digestion. Plus, it's a great source of calcium, potassium, and vitamin B12. Enjoy the tangy taste and nutritional boost of making your own buttermilk at home.
Can I Use Buttermilk for Baking Instead of Regular Milk?
Yes, you can use buttermilk instead of regular milk in baking. Buttermilk adds moisture, tenderness, and a slight tang to baked goods like cakes, bread, and scones. It also helps activate baking soda for leavening.
Is It Safe to Drink Raw Buttermilk Made at Home?
Yes, you can safely drink raw homemade buttermilk. It's a cultured dairy product made by allowing milk to sour, and the active cultures make it a nutritious, tangy beverage. Just be sure to refrigerate it properly.

