
Whipping up delicious homemade donuts is a rewarding experience that's easier than it seems. Start by activating the yeast in warm milk and sugar, then mix the dry and wet ingredients. Knead the dough until smooth, let it rest, then roll and cut the shapes. After a quick rise, fry the donuts in hot oil until golden brown. Customize them with your favorite glazes, toppings, and fillings. With patience and practice, you'll be crafting bakery-worthy donuts in no time. And if you keep reading, you'll discover even more tips for making the perfect homemade donuts.
Key Takeaways
- Gather essential ingredients like flour, sugar, yeast, milk, and eggs to create a light and fluffy donut dough.
- Utilize a stand mixer or hand mixer to knead the dough for optimal texture, then let it rest to develop flavor.
- Cut the dough into donut shapes and allow them to rise before carefully frying in hot oil until golden brown.
- Experiment with various glazes, toppings, and fillings to personalize the donuts and enhance the overall flavor profile.
- Serve the warm, homemade donuts immediately for the best taste and texture experience, and share them with loved ones.

LONGER Laser Engraver Ray5 5W Higher Accuracy DIY Laser Engraving Machine with 3.5" Touch Screen,Offline Usage Laser Cutter,400x400mm,0.08mm Laser Spot, CNC Laser Cutter for Wood Metal Acrylic Glass
- High-Speed Performance: Up to 10,000mm/min engraving speed
- High-Precision Laser: 0.08mm laser spot, 0.01mm accuracy
- Large Working Area: 400x400mm engraving space
As an affiliate, we earn on qualifying purchases.
History
Although donuts have been around for centuries, their modern form was popularized in the early 20th century. The earliest known version of the donut dates back to the early 1600s, when Dutch settlers in North America began frying balls of sweetened dough. These "olykoeks," or "oil cakes," were often filled with fruit or nuts.
Over time, the donut evolved, with the iconic ring shape emerging in the 1800s. This was likely due to the difficulty of cooking the center of the dough all the way through. The invention of the donut cutter, which punched a hole in the center, helped solve this problem.
By the early 1900s, the donut had become a beloved American treat, with bakeries and street vendors selling them in large quantities.
Today, donuts remain a popular comfort food, enjoyed for their sweet, satisfying flavors and versatile preparations. Whether baked or fried, plain or fancy, donuts continue to delight people of all ages.
Recipe
Homemade donuts are a delightful treat that can be enjoyed year-round. Not only are they delicious, but making them at home allows you to control the ingredients and tailor the flavors to your liking. With a little bit of time and effort, you can create bakery-quality donuts right in your own kitchen.
In this recipe, we'll guide you through the process of making light, fluffy, and perfectly sweet donuts that are sure to impress your family and friends. Get ready to indulge in the irresistible aroma of freshly fried dough and the satisfaction of creating a homemade masterpiece.
- All-purpose flour
- Granulated sugar
- Baking powder
- Salt
- Milk
- Unsalted butter, melted
- Vegetable oil (for frying)
- Powdered sugar (for dusting)
Start by combining the dry ingredients in a large mixing bowl. In a separate bowl, whisk together the milk and melted butter. Gently fold the wet ingredients into the dry ingredients until a soft dough forms.
Roll out the dough on a lightly floured surface and use a donut cutter or round cookie cutter to cut out the donut shapes. Heat the vegetable oil in a large pot or Dutch oven to 350°F. Carefully fry the donuts for 1-2 minutes per side, or until golden brown.
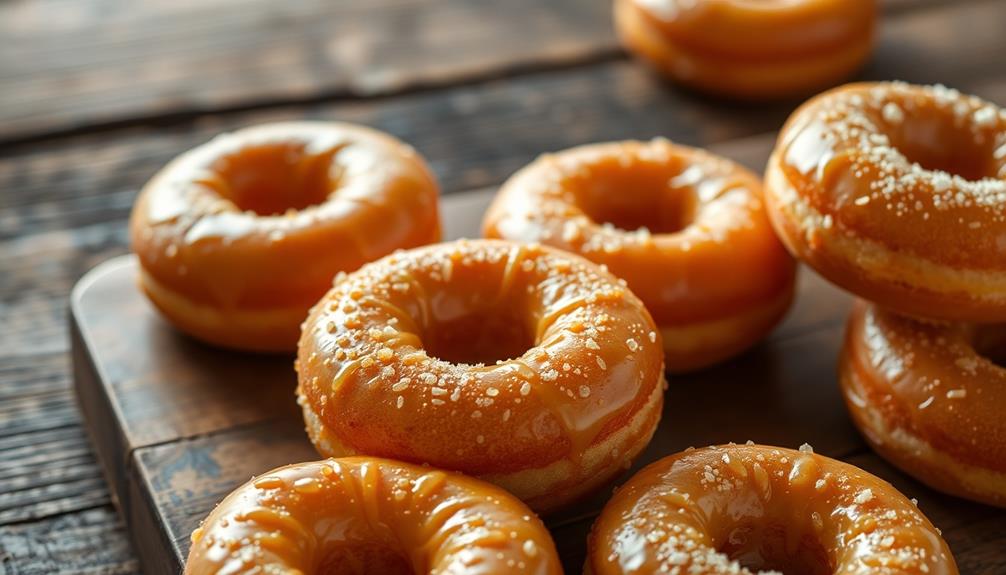
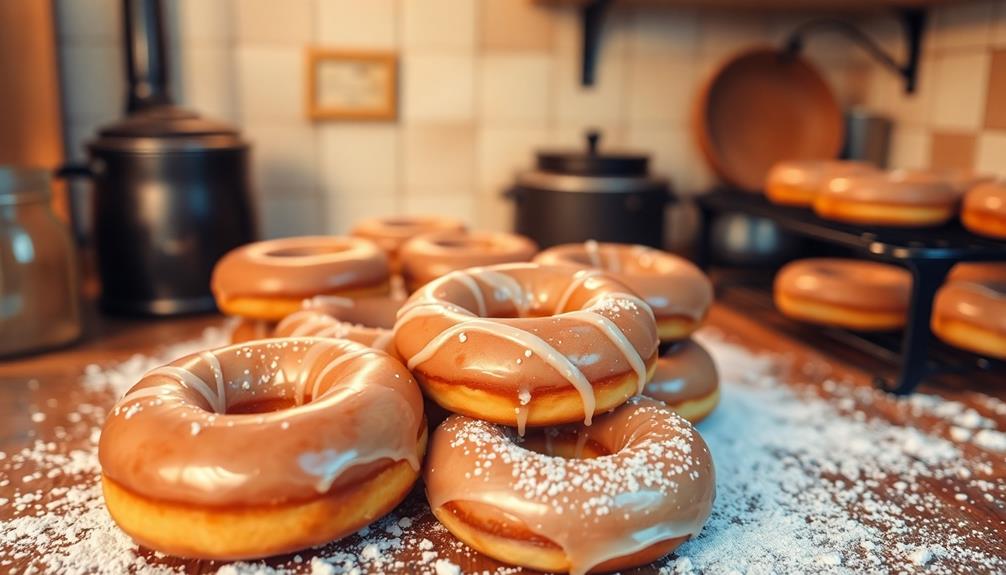
Drain the donuts on a paper towel-lined plate and dust with powdered sugar while still warm. Enjoy your homemade donuts immediately, as they're best served fresh.
For extra flavor, you can experiment with different glazes, toppings, or fillings to make each batch unique. Remember to handle the hot oil with caution and have fun creating your own donut masterpieces at home.
Cooking Steps

First, you'll need to mix the yeast, milk, and sugar until well combined.
Then, knead the dough thoroughly to develop the gluten.
After that, let the dough rest briefly before rolling it out and cutting out your desired donut shapes.
Step 1. Mix Yeast, Milk, and Sugar

To begin, you'll want to mix the yeast, milk, and sugar together in a small bowl. Start by pouring the warm milk into the bowl, making sure it's not too hot.
Then, sprinkle the yeast over the top and let it sit for a minute or two until it starts to get bubbly. Once the yeast is activated, add in the sugar and stir everything together until the sugar has fully dissolved.
This yeast mixture is the foundation of your donut dough, so it's important to get it right. The yeast will help the dough rise and give your donuts that light, fluffy texture.
The sugar, on the other hand, will add a touch of sweetness and help the yeast do its job. Take your time with this step, and you'll be well on your way to homemade donut perfection.
Step 2. Knead the Dough Thoroughly

With the yeast mixture ready, it's time to knead the dough thoroughly. Grab the dough and start pressing and folding it over itself. Use the heels of your hands to push and stretch the dough, then fold it back on itself.
Continue this process for about 5 minutes, until the dough becomes smooth, elastic, and no longer sticks to the surface.
Don't be afraid to add a bit more flour if the dough feels too sticky. You want a nice, pliable texture that's easy to work with. Knead vigorously, using the weight of your body to really work the dough. This helps develop the gluten strands, creating a light and airy donut.
Once the dough passes the windowpane test – where you can stretch a small piece thin enough to see through – it's ready for the next step.
Step 3. Let Dough Rest Briefly
After kneading the dough, let it rest briefly. This short break allows the gluten strands to relax, making the dough more pliable and easier to work with. Simply cover the dough with a damp towel or plastic wrap and let it sit for about 15 minutes.
During this rest period, the yeast will continue to ferment, developing the dough's flavor. The gluten structure will also strengthen, giving the donuts a better texture once fried. Don't skip this important step – it makes a big difference in the final result.
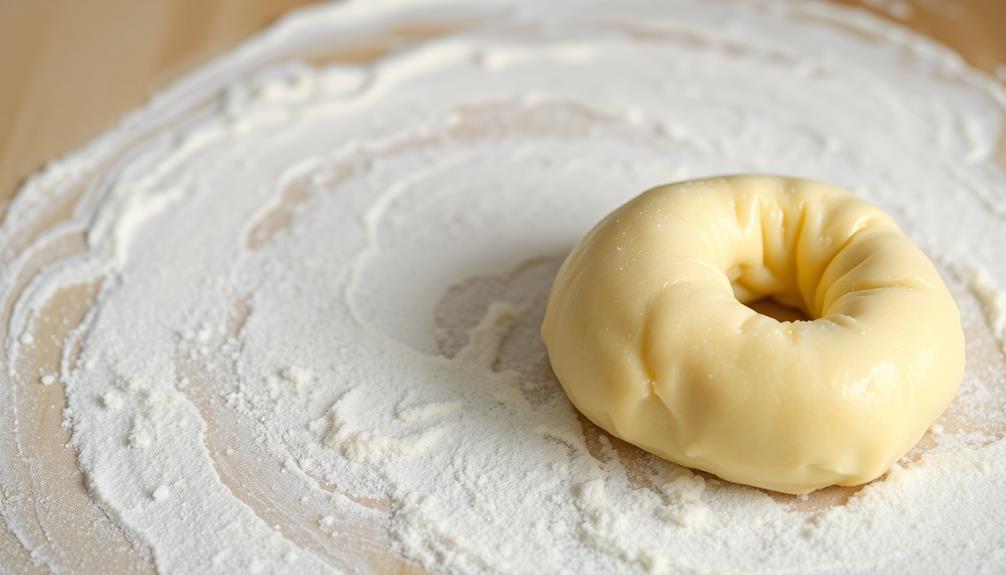
Once the time is up, your dough will be ready to roll out and cut into shapes. Lightly flour your work surface to prevent sticking, then use a rolling pin to gently flatten the dough to your desired thickness.
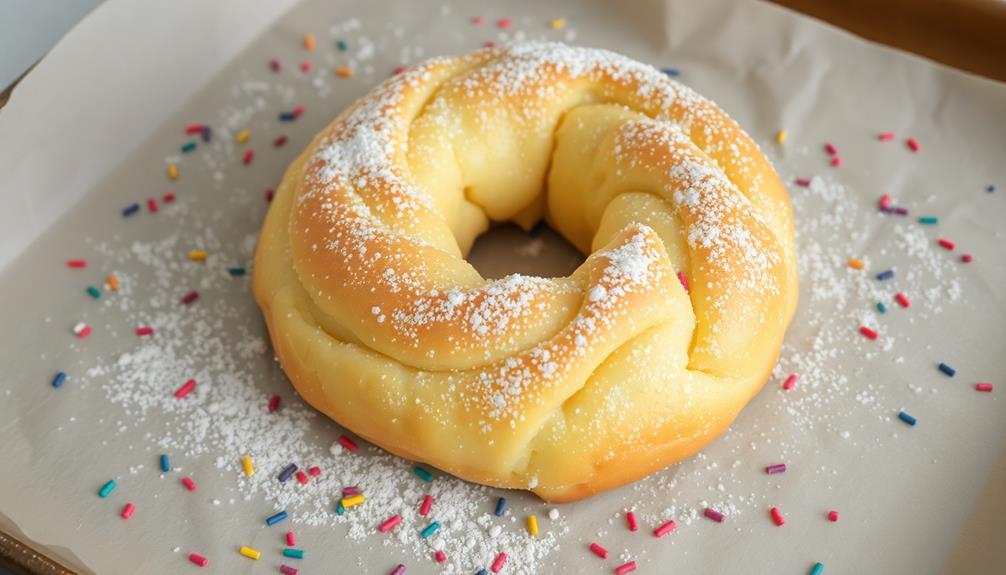
Then grab your donut cutter and start cutting out those perfect rings. The rested dough will cooperate beautifully, making this part of the process a breeze. Now you're one step closer to fresh, homemade donuts!
Step 4. Roll Out the Dough

Once the dough has rested, you'll want to start rolling it out. Dust your work surface lightly with flour to prevent sticking.
Gently place the dough onto the surface and use a rolling pin to roll it out to about 1/2 inch thickness. Be sure to roll evenly, working from the center outwards. You may need to flip the dough over and continue rolling to get an even, uniform thickness.
Once the dough is rolled out, use a donut cutter or biscuit cutter to cut out the donut shapes. Carefully transfer the donut shapes to a parchment-lined baking sheet, making sure to leave a little space between each one.
For the donut holes, you can re-roll the remaining dough and cut out more shapes. Remember to handle the dough gently to maintain the fluffy texture.
With the dough ready, you can now move on to the frying process.
Step 5. Cut Out Shapes
To begin the cutting process, dust your work surface lightly with flour. This will prevent the dough from sticking as you roll and cut it.
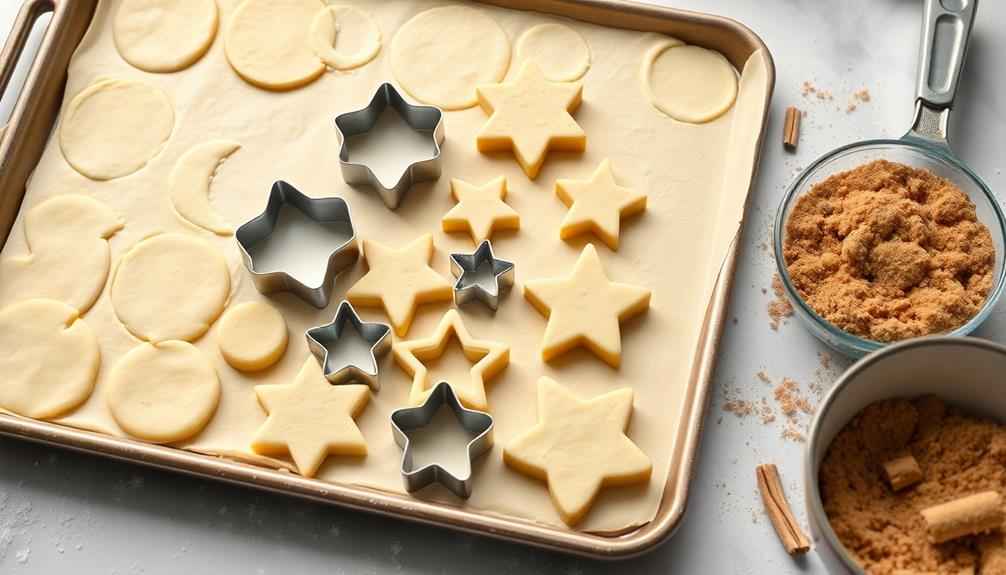
Using a rolling pin, gently roll out the dough into a smooth, even sheet about 1/2-inch thick. Dip a donut cutter or round cookie cutter into flour, then press it firmly into the dough, twisting slightly to ensure a clean cut.
Carefully lift the shaped dough and place it onto a parchment-lined baking sheet. Gather the remaining dough scraps, re-roll, and continue cutting shapes until all the dough has been used.
Be mindful not to overwork the dough, as this can make the donuts tough. Once all the shapes have been cut, you're ready to fry or bake your homemade donuts.
With a little practice, you'll be shaping perfect donuts in no time!
Final Thoughts
Crafting delectable donuts at home can be a delightful and rewarding experience. Embrace the process, and don't be afraid to experiment. While the techniques may take some practice, the satisfaction of biting into a warm, homemade donut is unparalleled.
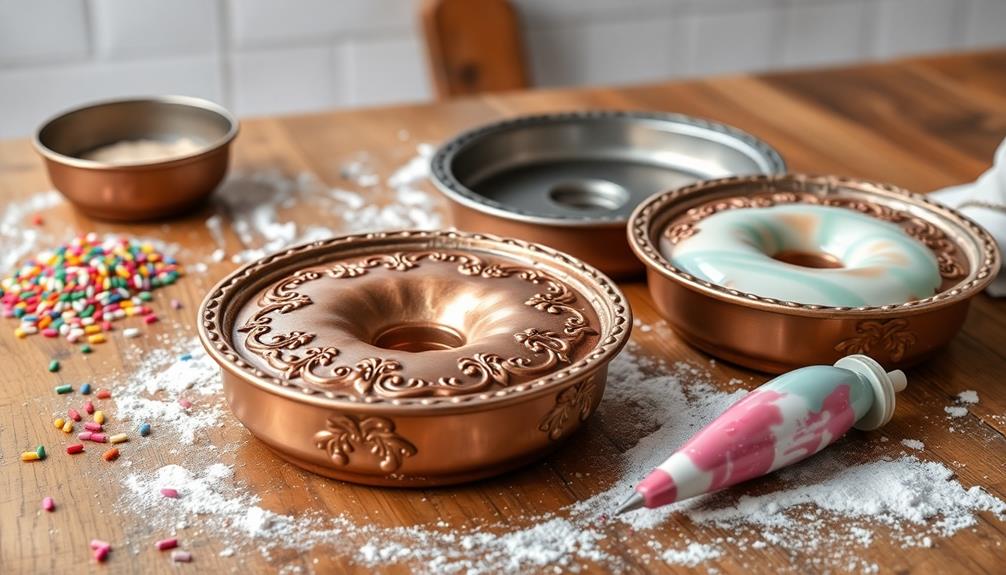
Remember, the beauty of making donuts yourself is the ability to customize flavors and toppings to your liking. Unleash your creativity and try unique combinations that cater to your personal taste buds. Whether you prefer classic glazed, decadent chocolate, or whimsical sprinkles, the possibilities are endless.
As you continue your donut-making journey, be patient with yourself. Perfection takes time, but each batch will get better as you hone your skills. Savor the experience, learn from any missteps, and most importantly, have fun.
Sharing your homemade donuts with family and friends is the cherry on top, creating lasting memories and bringing smiles to those you love.
Frequently Asked Questions
How Long Do Homemade Donuts Last?
Homemade donuts typically last 2-3 days at room temperature when stored properly in an airtight container. They'll stay fresh longer in the fridge, but their texture may change. Consume them within a few days for the best flavor and texture.
Can I Make Donuts Without a Donut Pan?
Yes, you can make donuts without a donut pan. Simply roll out the dough, cut it into donut shapes, and fry them in hot oil. You'll get delicious homemade donuts without the specialized equipment.
What Is the Best Oil for Frying Donuts?
When frying donuts, you'll want to use an oil with a high smoke point, like vegetable, canola, or peanut oil. These oils can withstand the high heat needed for frying without burning or imparting unwanted flavors.
Can I Freeze Homemade Donut Dough?
Yes, you can freeze homemade donut dough. Simply roll it out, cut into shapes, and place on a baking sheet. Once frozen, transfer the dough to an airtight container or bag for storage in the freezer.
How Can I Make Donuts Healthier?
To make your donuts healthier, use whole-wheat flour, reduce sugar, and bake them instead of frying. You can also experiment with alternative sweeteners like honey or maple syrup. Get creative with nutritious toppings like fresh fruit or nuts.