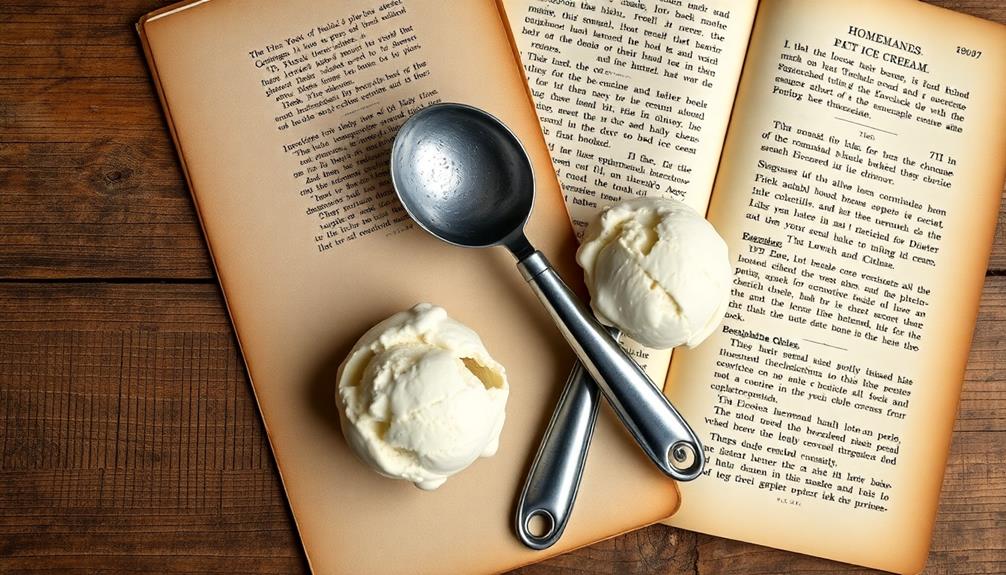
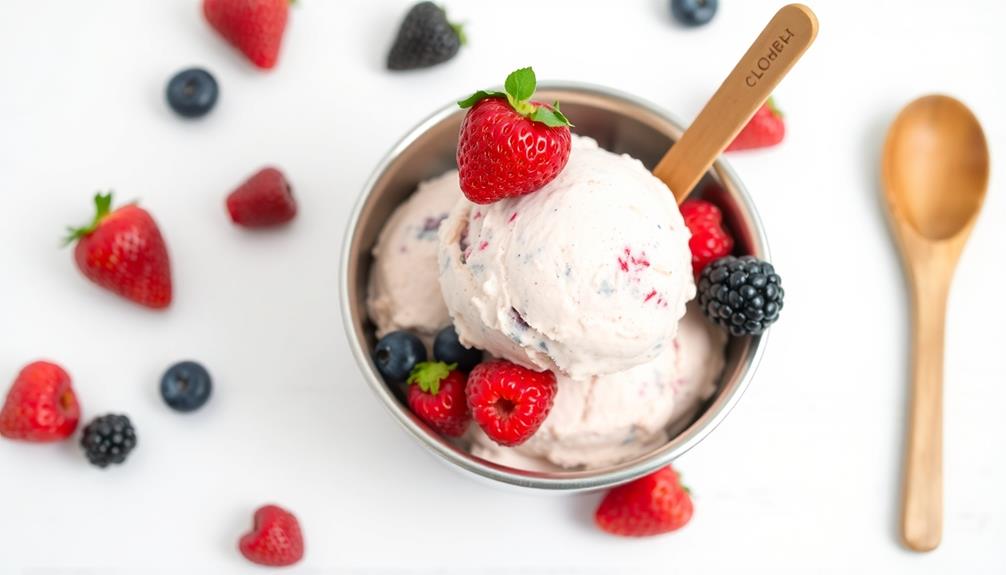
Making delicious homemade ice cream is easier than you might think! Start by mixing heavy cream, milk, sugar, and vanilla. Chill the mixture, then churn it in an ice cream maker. Customize the flavors by folding in your favorite mix-ins. For a firmer texture, freeze the churned ice cream for a couple hours before serving. Homemade ice cream allows you to control the ingredients and create unique flavor combinations that'll impress your friends and family. Want to learn more about perfecting your homemade ice cream technique? Keep reading for additional tips and insights.
Key Takeaways
- Gather the essential ingredients: heavy cream, whole milk, granulated sugar, vanilla extract, and a pinch of salt for a rich, creamy homemade ice cream.
- Mix the cream and sugar until the sugar dissolves, then chill the mixture in the freezer, stirring occasionally, to achieve a thick, creamy consistency.
- Transfer the chilled mixture to an ice cream maker and churn for 20-25 minutes to incorporate air and create a smooth, creamy texture.
- Customize the ice cream by folding in desired flavors and mix-ins after churning, such as nuts, chocolate chips, or fruit purée.
- For a firmer texture, freeze the flavored ice cream for at least 2 hours before serving, and allow it to sit at room temperature for 5-10 minutes before scooping.
Top picks for "homemade cream recipe"
As an affiliate, we earn on qualifying purchases.
History
The origins of ice cream can be traced back to ancient civilizations, where people began experimenting with frozen desserts made from various ingredients like snow, ice, and fruit juices. Records indicate that ancient Mesopotamians, Chinese, and Egyptians all had their own versions of icy treats.
In the 1700s, Europeans started creating ice cream using more refined techniques, and the dessert gained popularity among the upper classes. By the 19th century, technological advances like the hand-cranked ice cream maker allowed ice cream to become more accessible to the general public.
Today, ice cream is a beloved treat enjoyed worldwide, with countless flavors and styles to choose from. Whether you prefer classic vanilla or adventurous combinations, making ice cream at home can be a fun and rewarding experience.
With a few simple ingredients and tools, you can create delicious, creamy homemade ice cream in the comfort of your own kitchen.
Recipe
Making homemade ice cream is a delightful and rewarding experience. The process of combining simple ingredients and watching them transform into a creamy, indulgent treat is truly satisfying.
Whether you're looking to impress guests or simply indulge in a bit of nostalgia, this DIY ice cream recipe is sure to delight.
The key to creating the perfect ice cream lies in the balance of the ingredients. By carefully selecting and proportioning the dairy, sweeteners, and flavors, you can achieve a smooth, rich, and perfectly scoopable consistency every time.
Ingredients:
- 2 cups heavy cream
- 1 cup whole milk
- 3/4 cup granulated sugar
- 1 teaspoon vanilla extract
- Pinch of salt
Instructions:
In a medium saucepan, combine the heavy cream, milk, and sugar. Warm the mixture over medium heat, stirring frequently, until the sugar has fully dissolved.
Remove from heat and stir in the vanilla and salt. Allow the mixture to cool completely, then transfer to a lidded container and refrigerate for at least 2 hours, or until thoroughly chilled.
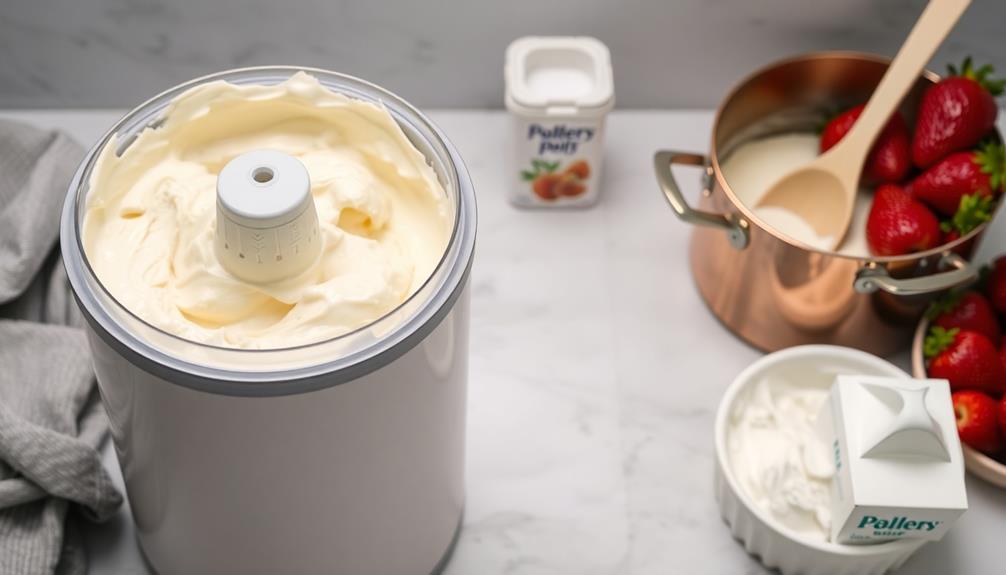
Once the base is chilled, pour it into an ice cream maker and churn according to the manufacturer's instructions, typically 20-30 minutes.
Transfer the finished ice cream to a freezer-safe container and freeze for at least 2 hours before serving. For the creamiest texture, allow the ice cream to sit at room temperature for 5-10 minutes before scooping.
Cooking Steps
First, you'll need to mix the cream and sugar together until the sugar has fully dissolved.
Next, you'll want to chill the mixture in the freezer, stirring occasionally, until it starts to thicken.
Once it's reached your desired consistency, transfer it to an ice cream maker and churn according to the manufacturer's instructions.
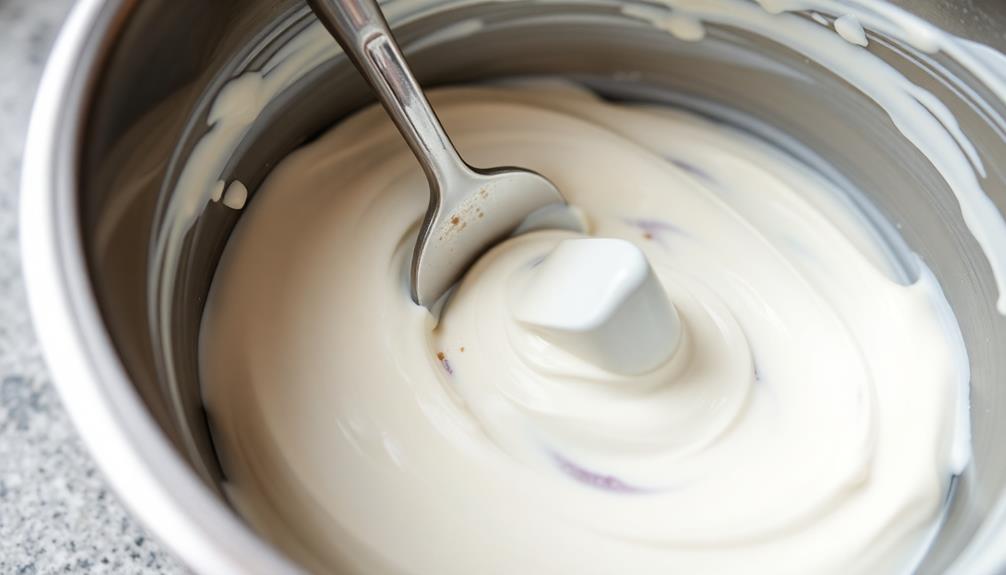
Step 1. Mix Cream and Sugar
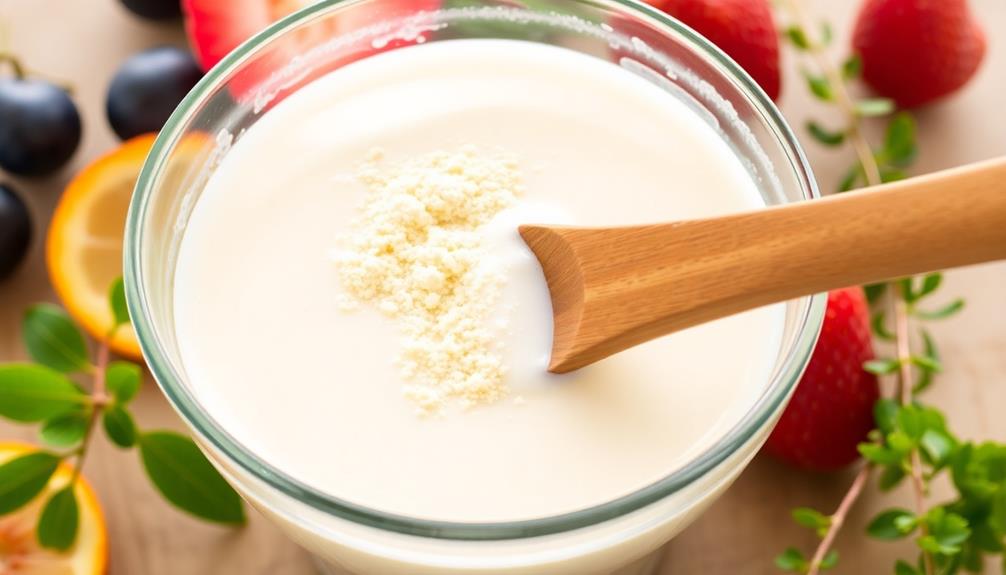
Next, you'll want to combine the heavy cream and granulated sugar in a large bowl. Use a whisk to gently mix the ingredients together until the sugar has fully dissolved. This step is crucial for creating the perfect creamy texture in your homemade ice cream.
Be careful not to overmix the cream and sugar. You want to incorporate them without whipping too much air into the mixture. This will help prevent your ice cream from becoming icy or grainy once frozen.
Once the sugar has dissolved, set the bowl aside while you prepare the other ingredients.
If you'd like, you can add a teaspoon of vanilla extract to the cream and sugar mixture for an extra boost of flavor. The vanilla complements the rich creaminess beautifully. Just be sure to give it a quick stir to combine.
Now that the base is ready, you can move on to the next step: churning the ice cream. This is where the magic really happens!
Step 2. Chill Mixture in Freezer
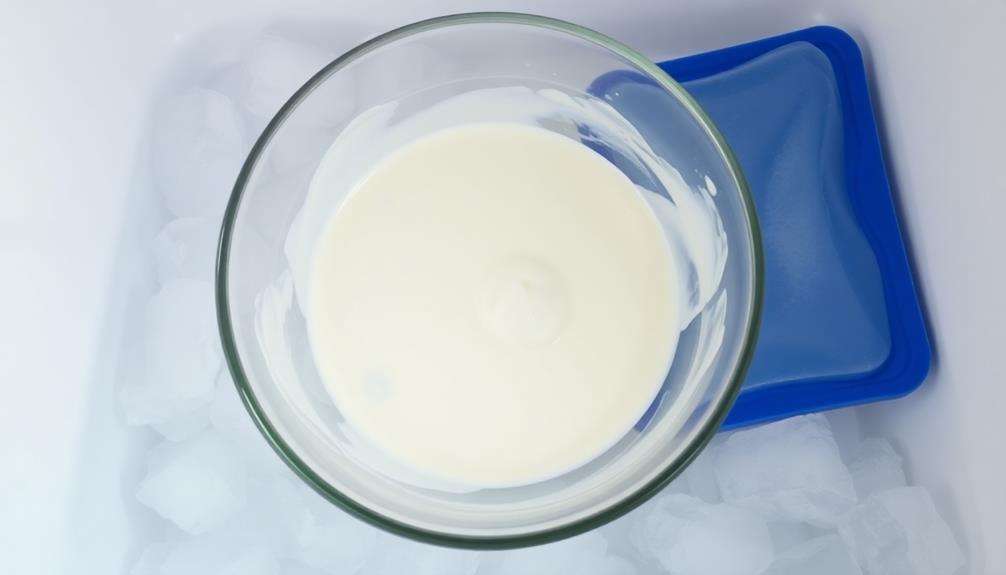
After preparing the cream and sugar mixture, it's time to start the chilling process. Grab an airtight container and pour in the creamy goodness you just made. Make sure to leave a little room at the top for the mixture to expand as it freezes.
Now, place the container in your freezer. Set a timer for 30 minutes. When the timer goes off, take the container out and give the mixture a good stir. This will help prevent ice crystals from forming.
Repeat this process every 30 minutes for the next 2-3 hours, until the ice cream reaches your desired consistency.
Keep a close eye on the mixture, as you don't want it to become completely frozen. The texture should be thick and creamy, with a scoopable consistency.
Once it's ready, dig in and enjoy your homemade ice cream! Feel free to get creative with mix-ins or toppings to make it your own.
Step 3. Churn Mixture in Ice Cream Maker
Once the cream and sugar mixture has been properly chilled, it's time to transfer it to your ice cream maker. Gently pour the mixture into the frozen bowl of your ice cream maker. Turn on the machine and let it churn the mixture for about 20-25 minutes. You'll know it's ready when the ice cream has thickened to your desired consistency.
As the machine churns, the blades will incorporate air into the mixture, creating that classic creamy texture. Periodically, you may need to scrape down the sides of the bowl to ensure even mixing.
Keep a close eye on it, as over-churning can cause the ice cream to become icy.
Once the ice cream has reached your preferred thickness, turn off the machine and transfer the mixture to an airtight container. Smooth the top and cover the surface with plastic wrap to prevent ice crystals from forming.
Freeze the ice cream for at least 2 hours before scooping and serving. Enjoy your freshly churned, homemade ice cream!
Step 4. Add Flavors as Desired
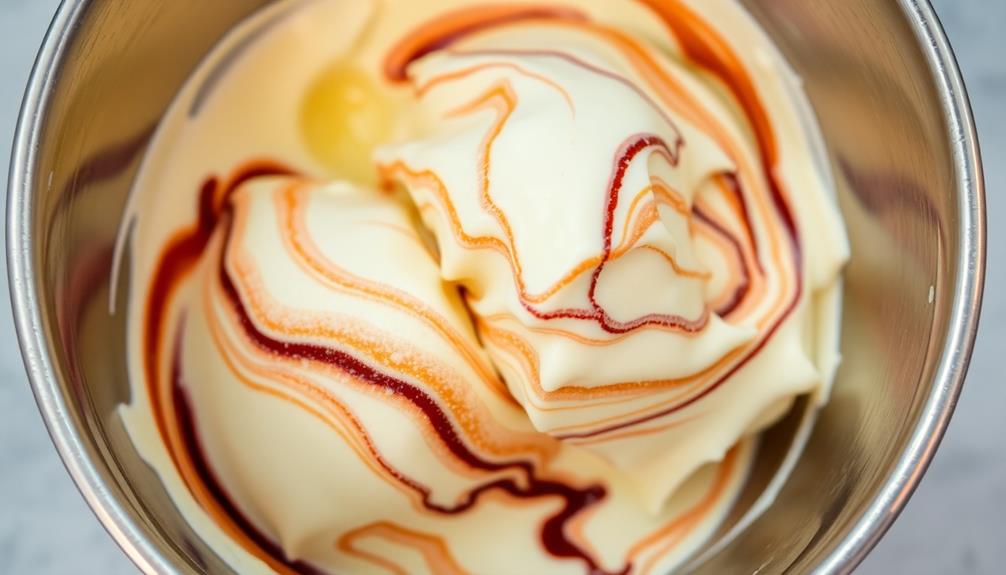
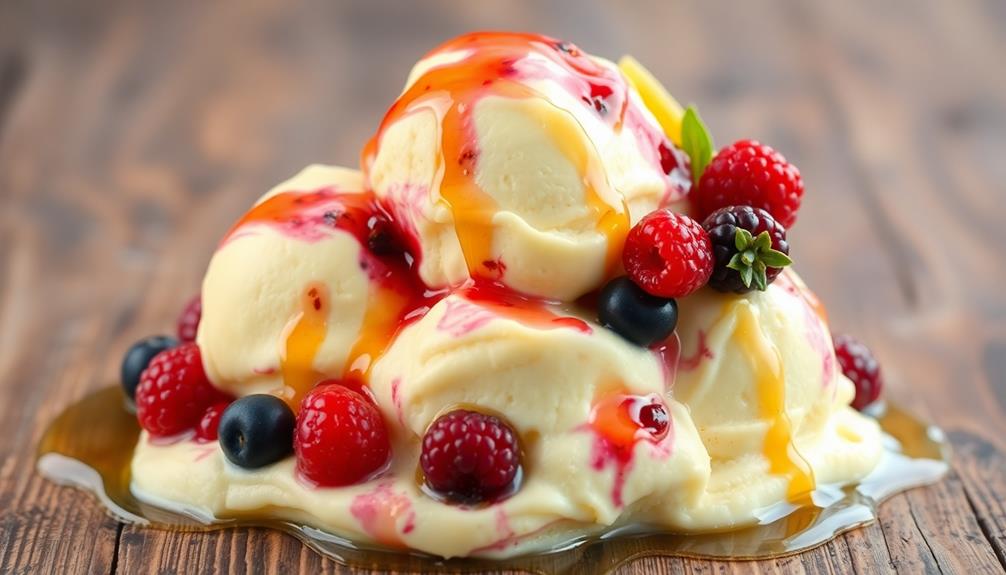
With your freshly churned ice cream ready, it's time to add some delicious flavors to make it uniquely your own. The possibilities are endless when it comes to flavoring your homemade treat. Maybe you're craving a classic vanilla, or perhaps you're feeling adventurous and want to try a fruity swirl.
Start by considering your favorite flavors. Chopped nuts, chocolate chips, crushed cookies, or swirls of caramel or fudge can all be gently folded into the ice cream.
For fruit-based flavors, purée fresh or frozen berries, then carefully mix them in. You can even get creative by adding extracts, such as peppermint or almond, to enhance the taste.
Whichever flavors you choose, be sure to add them after the ice cream has finished churning. This will help preserve the texture and prevent the mix-ins from getting overly chopped.
Gently fold them in with a spatula, then transfer the flavored ice cream to a freezer-safe container. Enjoy your personalized creation!
Step 5. Serve Immediately or Freeze Further
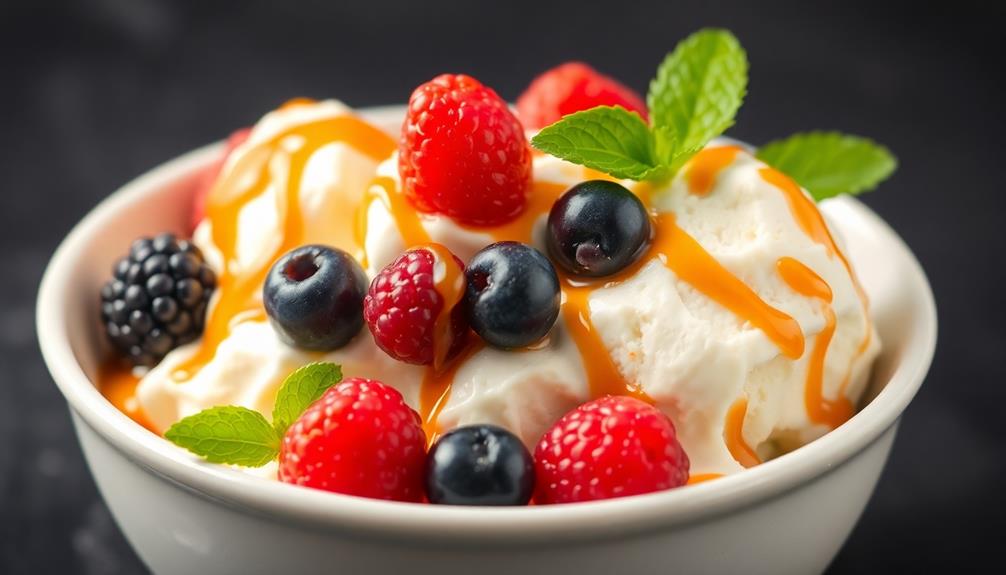
Your homemade ice cream is now ready to be enjoyed! You can serve it immediately for a soft, creamy texture. Simply scoop it into bowls or cones and top it with your favorite toppings like chocolate syrup, sprinkles, or chopped nuts.
If you prefer a firmer, more scoopable ice cream, you'll want to freeze it further. Transfer the ice cream to an airtight container and place it in the freezer. Freeze for at least 2 hours, stirring occasionally, until it reaches your desired consistency.
The ice cream can be frozen for up to 2 months.
When ready to serve, let the ice cream sit at room temperature for 5-10 minutes to soften slightly. This will make it easier to scoop. Enjoy your homemade ice cream creation! Whether you serve it right away or freeze it further, it's sure to be a delicious treat.
Final Thoughts

Homemade ice cream is a delightful treat that allows you to customize the flavors and ingredients to your preference. Whether you prefer a classic vanilla or an adventurous fruit-infused creation, the beauty of making your own ice cream is the freedom to experiment.
As you've discovered, the process is surprisingly straightforward, and the results are immensely satisfying. Remember, the key to success is paying close attention to the temperature and consistency throughout the churning and freezing stages.
Don't be afraid to taste and adjust as needed to achieve your desired texture and flavor. Additionally, feel free to get creative with mix-ins, toppings, and even molding the ice cream into unique shapes.
The joy of homemade ice cream extends beyond the initial serving. Properly stored, your creation can be enjoyed for weeks, allowing you to savor the fruits of your labor.
Frequently Asked Questions
How Long Will the Homemade Ice Cream Last in the Freezer?
Homemade ice cream can last in the freezer for up to 2 months if stored properly. Make sure to keep it in an airtight container and avoid opening the freezer too frequently to prevent freezer burn.
Can I Use a Hand Mixer Instead of an Ice Cream Maker?
You can absolutely use a hand mixer instead of an ice cream maker. The process may take a bit longer, but you can still create delicious homemade ice cream without the specialized equipment. Just be prepared to put in some elbow grease!
What Are Some Creative Flavor Combinations to Try?
Absolutely! The possibilities are endless when it comes to crafting your own homemade ice cream flavors. Why not try a swirling mix of chocolate and caramel, or a refreshing blend of mint and fresh berries? Let your creativity shine!
How Can I Prevent Ice Crystals From Forming in the Ice Cream?
To prevent ice crystals, add a tablespoon of corn syrup or honey. Stir continuously during freezing and avoid opening the freezer too often. Use a high-quality ice cream maker for the creamiest texture.
Can I Substitute Milk With Alternative Dairy-Free Options?
You can substitute milk with dairy-free options like almond, soy, or coconut milk. They'll alter the texture and flavor, but you can still make delicious ice cream without dairy. Just be mindful of the differences in fat and sugar content.