Crafting paper airplanes is a fun and simple process. Start with a standard sheet of letter-sized paper. Fold it in half lengthwise to create a crease. Then, fold the top corners down to meet the center for stability. Next, fold the triangle formed by the corners down to the bottom edge for a pointed nose. Make sure all folds are sharp for better aerodynamics. You can test different designs like the Dart or Stealth for varied flight experiences. With some adjustments to wing angles and throwing techniques, your planes will soar. Discover more techniques to enhance your flying!
Key Takeaways
- Start with a standard letter-sized paper (8.5 x 11 inches) for best results in crafting paper airplanes.
- Fold the paper in half lengthwise to create a center crease, ensuring symmetry.
- Fold the top corners down to the center crease, forming a pointed nose for improved aerodynamics.
- Make sharp, defined folds and press them down firmly to enhance structural integrity.
- Test your airplane in open spaces, adjusting wing angles and trim for optimal flight performance.
Materials Needed for Airplanes
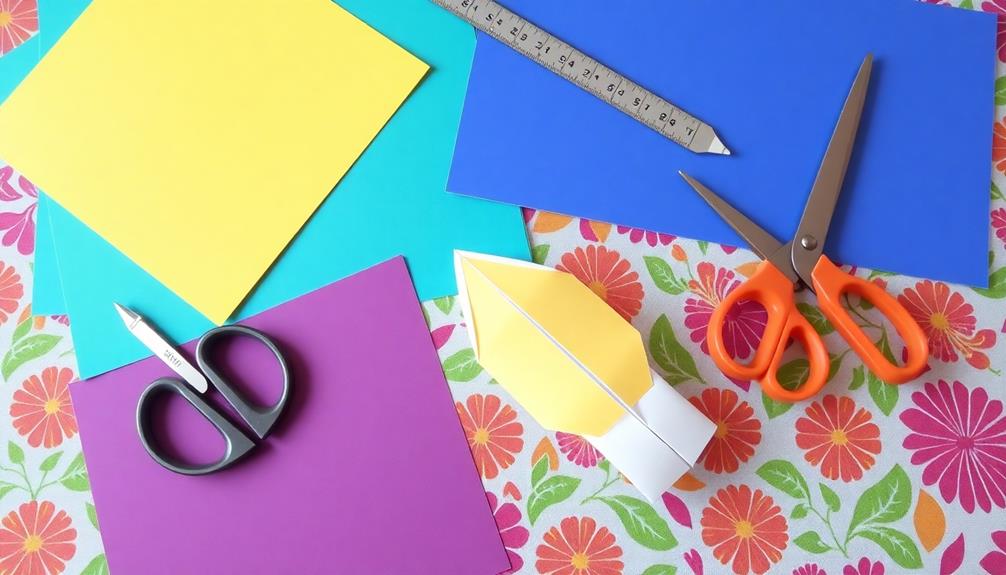
When you're ready to craft your paper airplane, you'll need a few essential materials to get started. First, grab a standard sheet of letter-sized paper, measuring 8.5 x 11 inches. This size allows for peak performance and ease of handling.
To guarantee your folds are precise, a ruler can be helpful. It helps you measure accurately, contributing to the plane's stability in flight. You'll also want a pencil to mark your fold lines. This way, you'll achieve symmetry and proper alignment, vital for a well-flying airplane.
When you fold the paper in half, make sure the edges align perfectly. After that, focus on the top corners; folding them down nicely can enhance your airplane's aerodynamics.
If you'd like to customize your design or adjust the size, scissors may come in handy. Optional materials like double stick tape can secure wings for added stability, and markers allow you to personalize your creation.
With these materials, you're well on your way to making a paper airplane that not only flies well but also reflects your unique style!
Basic Folding Techniques

To create a well-structured paper airplane, mastering basic folding techniques is crucial. Start by orienting your paper horizontally and fold it in half lengthwise, creating a center crease. Unfold the paper to reveal that crease, then fold the top corners down to meet the center. This step guarantees all edges align for stability.
Next, you'll want to fold the triangle formed by the top corners down to the bottom edge, shaping a pointed nose for your airplane. As you proceed, keep these key points in mind:
- Guarantee each fold is sharp for better aerodynamics.
- Fold the wings downward at a slight angle for lift.
- Keep the wing folds symmetrical to maintain balance during flight.
- Press down firmly on all folds to reinforce the structure.
Once you've completed these steps, you'll have a simple paper airplane ready for takeoff. Remember, the precision of your folds directly impacts how well your paper plane will fly. So take your time and enjoy the process of crafting your very own flying creation!
Popular Paper Airplane Designs

Crafting paper airplanes can be an exciting journey into the world of aerodynamics, and choosing the right design is key to maximizing your flying experience. Here are some popular paper airplane designs you should consider:
| Design | Description |
|---|---|
| Dart | The simplest model, it features a streamlined shape that allows it to fly straight and quick. |
| Stealth | Crafted for distance, this design uses an aerodynamic shape and upward wing tabs for stability. |
| Bumble | Known for long flight durations, this design employs careful folding techniques for a balanced structure. |
| Experimental | Explore variations of the above designs by adjusting the corners and folds to create unique planes that may fly far. |
To make the most of these designs, verify your folds are precise, and your wings are symmetrical. Each design's performance hinges on these details, allowing your plane to soar through the air. Whether you aim for speed, distance, or duration, these popular airplane designs will help you take your paper folding to the next level!
Testing and Adjustments
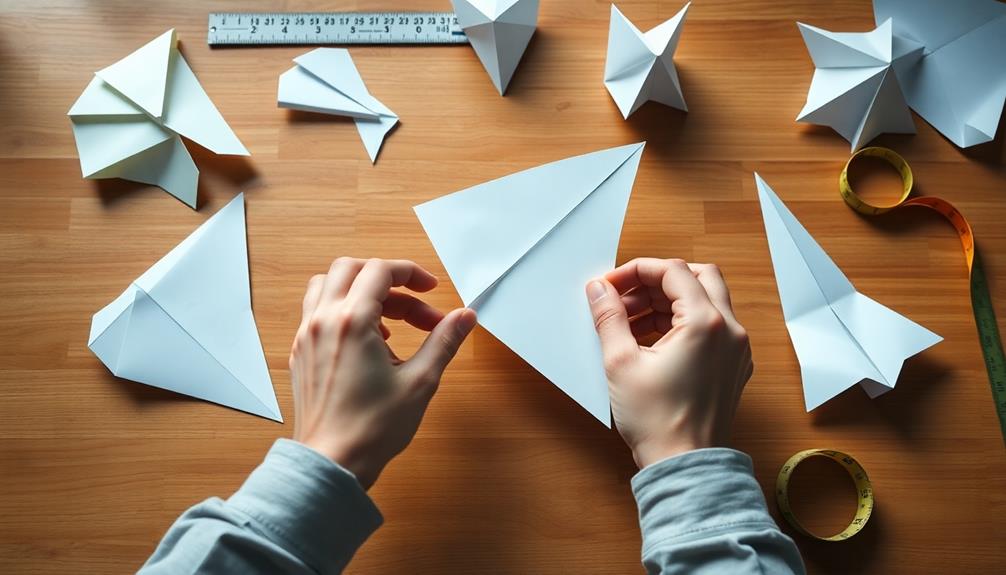
After you've built your paper airplane, it's crucial to test its performance in a spacious area where you can observe its flight path and stability.
Start by conducting initial test flights, paying attention to how your airplane glides. Based on your observations, you'll likely need to make some adjustments.
Here are some key areas to focus on during your testing phase:
- Wing Angles: Alter the angles to see how it affects aerodynamics and stability.
- Trim Edges: Fine-tune the edges for better lift and smoother flight.
- Throwing Techniques: Experiment with varying angles and force to maximize distance.
- Record Keeping: Track flight distances and patterns for different designs.
As you test, don't hesitate to tweak and refine your airplane's design.
Adjust wing symmetry and make tail modifications to enhance flight performance. Each small change can lead to significant improvements, so keep experimenting until you find the ideal combination that gives your paper airplane the best aerodynamic qualities.
Happy flying!
Safety Precautions and Tips
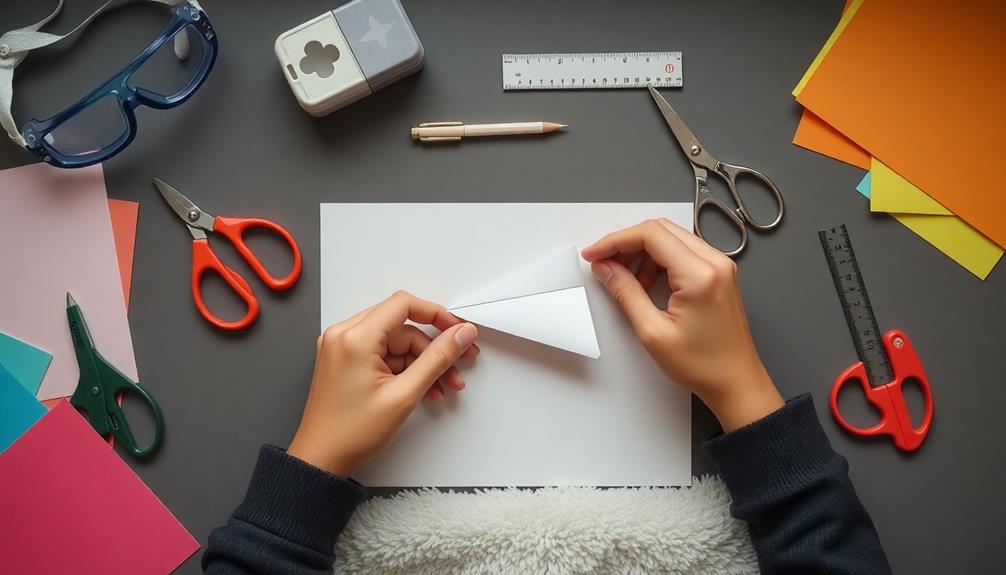
When flying paper airplanes, safety should always come first. To guarantee a fun and accident-free experience, start by choosing a clear space for flying. This prevents accidents and protects your surroundings from damage. Avoid throwing your airplanes in enclosed or crowded areas, like classrooms, as this can lead to disciplinary actions.
Using lightweight paper is vital when crafting your airplanes, as it helps minimize risks associated with flying objects. Always supervise children during paper airplane activities, making sure they follow safety precautions and understand the importance of safe play. Encourage them to avoid throwing planes at people or animals to prevent injuries from sharp tips.
It's also a good idea to set clear rules about where and how to fly their creations. This not only keeps everyone safe but also enhances the overall experience.
Remember, having fun doesn't mean neglecting safety. By following these simple tips and being mindful of your surroundings, you can enjoy flying paper airplanes without any incidents.
Frequently Asked Questions
How to Make a Paper Airplane Easy Step by Step?
To make a paper airplane easily, start by folding the paper lengthwise, then shape the top corners into a triangle. Fold down, create wings, and verify everything's aligned for smooth flight. Enjoy your flying creation!
How to Make a Paper Airplane in 4 Steps?
Think of your paper as a blank canvas ready for flight. To make a paper airplane in four steps, fold, crease, shape, and launch. It's a dance of precision that takes you soaring.
How Do You Make a Paper Airplane Easy for Kindergarten?
To make a paper airplane easy for kindergarten, start by folding a letter-sized paper in half. Help kids fold corners, create wings, and encourage them to decorate. It'll make flying fun and engaging for everyone!
How to Make an Old Fashioned Paper Airplane?
You've probably seen kids toss old-fashioned paper airplanes, right? To make one, fold a standard sheet in half, create sharp corners, and adjust the wings for a classic design that soars beautifully. Try it out!
Conclusion
Now that you've learned the steps to craft your own paper airplanes, don't worry if yours doesn't fly perfectly on the first try. It takes practice to master the art of paper folding and adjusting. Remember, even the pros had to start somewhere! Embrace the process, make tweaks, and have fun experimenting with different designs. With a little patience, you'll be soaring through the skies in no time. So grab your materials and let your creativity take flight!

