
Mastering sushi rice is the key to finger-licking sushi! Originating in 8th century Japan, this essential ingredient has evolved from a preservation method to a global culinary phenomenon. The secret lies in perfectly cooked, seasoned, and cooled short-grain Japanese rice. Rinse, soak, and cook the grains to fluffy perfection, then fold in a flavorful vinegar blend for that signature sheen and taste. With a little practice, you'll be whipping up restaurant-quality sushi in no time. And if you'd like to dig deeper into the history and technique behind this versatile staple, keep reading.
Key Takeaways
- Start with high-quality short-grain Japanese rice, such as Calrose, to achieve the desired sticky and chewy texture.
- Thoroughly rinse the rice to remove excess starch before cooking for optimal texture and flavor.
- Soak the rinsed rice in water for 30 minutes to ensure even cooking.
- Gently fold in a seasoned vinegar blend of rice vinegar, sugar, and salt to balance the flavors and create a glossy sheen.
- Patience and attention to detail throughout the cooking process are crucial for consistently achieving perfectly cooked and seasoned sushi rice.

Letaya Metal Wardrobe Cabinets with Lock,Clothing Locker 72" X 36" X 18" Storage Cabinets for Home Room,Fire Department, School, Employee,Gym,Government (Black)
- Durable Metal Construction: Made of 0.8mm steel with powder coating
- Spacious Storage Dimensions: 72" H x 36" W x 18" D
- Flexible Interior Layout: Includes hanging rod and adjustable shelves
As an affiliate, we earn on qualifying purchases.
History
Although sushi rice has been a staple in Japanese cuisine for centuries, its origins can be traced back to the 8th century. During this time, people in Japan would preserve fish by pressing it between layers of cooked rice, salt, and vinegar. This early form of sushi, known as "narezushi," was a practical way to store food before modern refrigeration.
Over the centuries, the preparation and presentation of sushi evolved, with the rice becoming a more prominent feature. By the 19th century, chefs had developed the vinegared rice we recognize today as the foundation of sushi.
This rice, carefully seasoned and prepared, provides the perfect balance of flavors and textures to complement the fresh fish and other ingredients. From its humble beginnings to its current status as a global culinary phenomenon, sushi rice has a rich and fascinating history.
Recipe
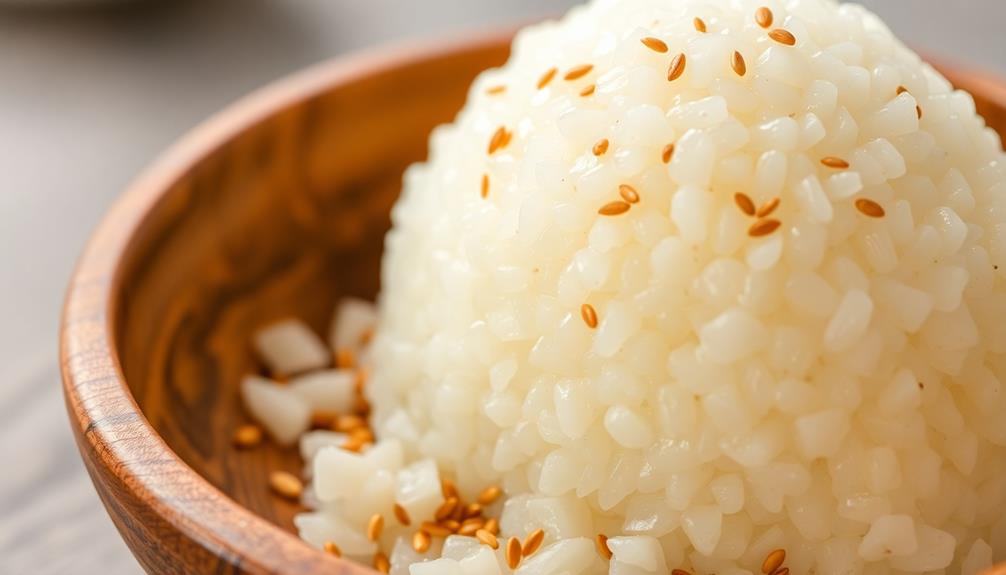
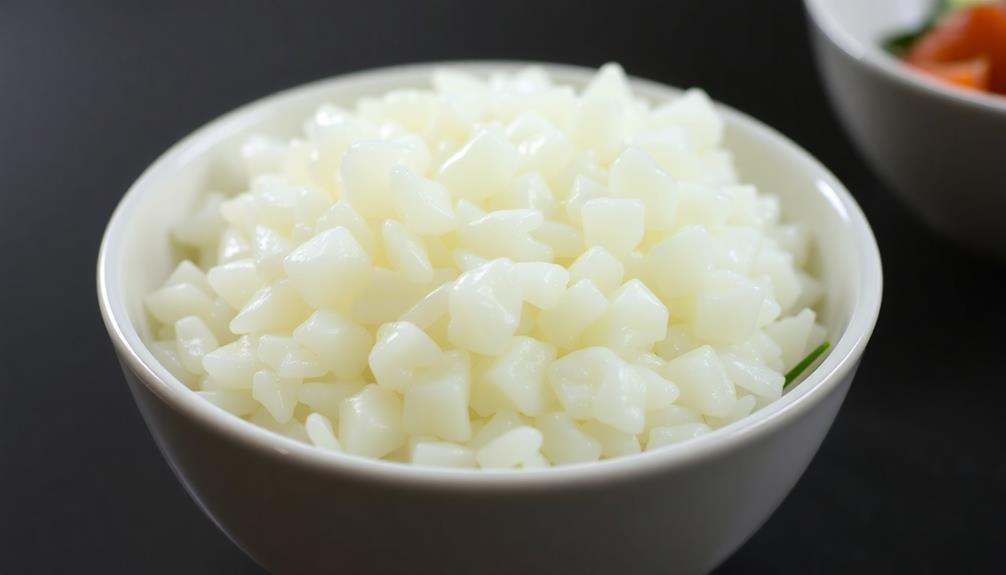
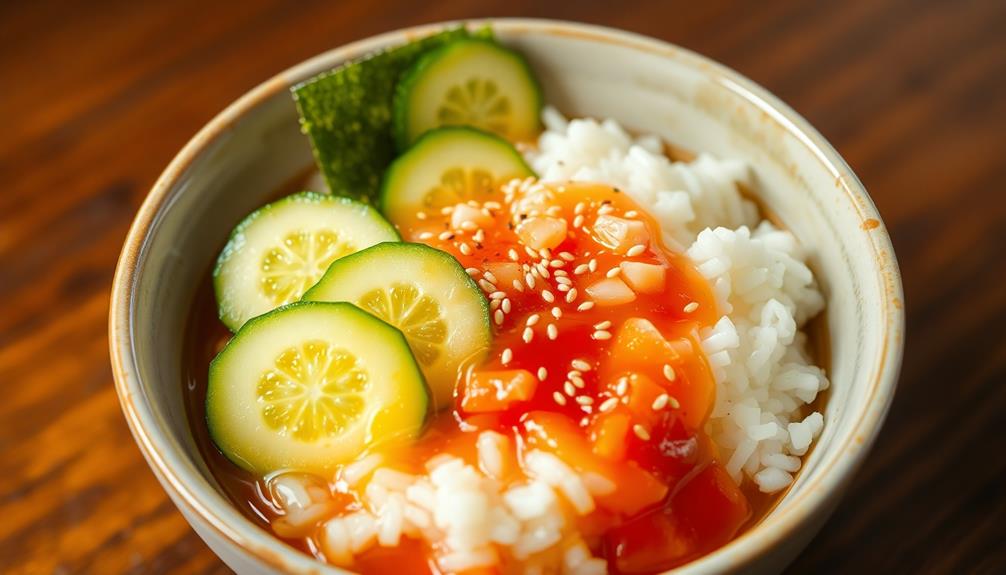
Sushi rice is the foundation of any delectable sushi dish. Perfectly cooked, seasoned, and cooled sushi rice is essential for creating those delightful sushi bites. Whether you're rolling your own maki or preparing nigiri, mastering the art of sushi rice is the key to success.
Sushi rice demands a delicate touch and precise technique. The rice must be cooked just right, with each grain retaining a slight firmness while still being tender and cohesive. The seasoning blend of rice vinegar, sugar, and salt is what lends sushi rice its signature flavor and shine.
- Short-grain Japanese rice (such as Calrose)
- Rice vinegar
- Granulated sugar
- Kosher salt
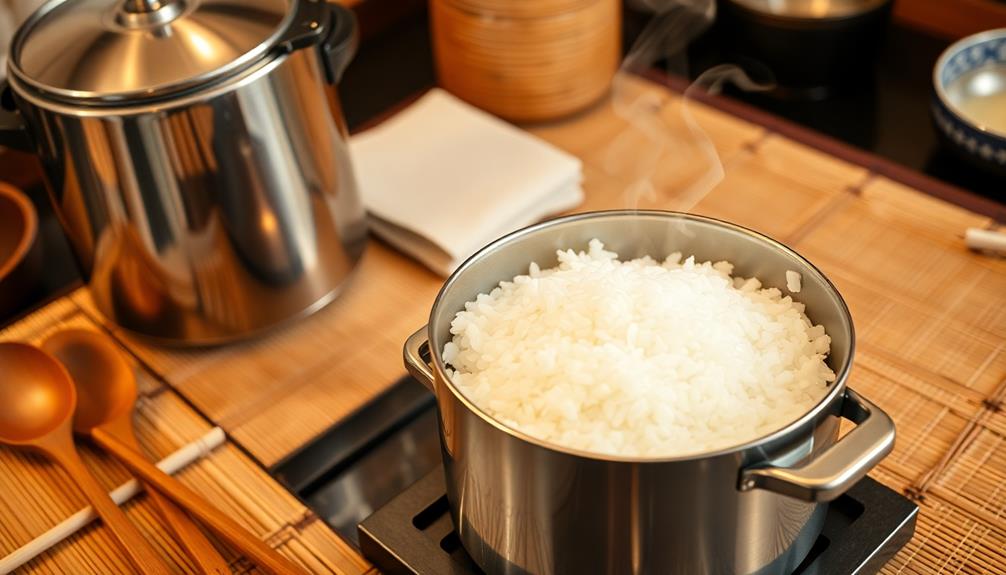
In a medium saucepan, combine the rice and water according to the package instructions. Bring to a boil, then reduce heat to low, cover, and simmer for 15-20 minutes until the rice is tender and the liquid is absorbed.
Transfer the cooked rice to a large shallow bowl. Add the rice vinegar, sugar, and salt, and use a rice paddle or wooden spoon to gently fold and mix until the seasoning is evenly distributed and the rice has cooled to room temperature.
When working with sushi rice, it's important to handle it gently to avoid crushing the grains. Fanning the rice while mixing in the seasoning helps to achieve the desired glossy, slightly sticky texture.
For best results, prepare the sushi rice ahead of time and allow it to cool completely before using it in your sushi preparations.
Cooking Steps
Alright, let's dive into the cooking steps for sushi rice!
First, you'll need to rinse the rice thoroughly before cooking to remove any excess starch.
Then, soak the rice in water for about 30 minutes to help it cook evenly.
Next, you'll want to cook the rice over medium heat, being careful not to let it burn.
Once it's done, fluff the rice with a fork to keep the grains separate.
Step 1. Rinse Rice Thoroughly Before Cooking
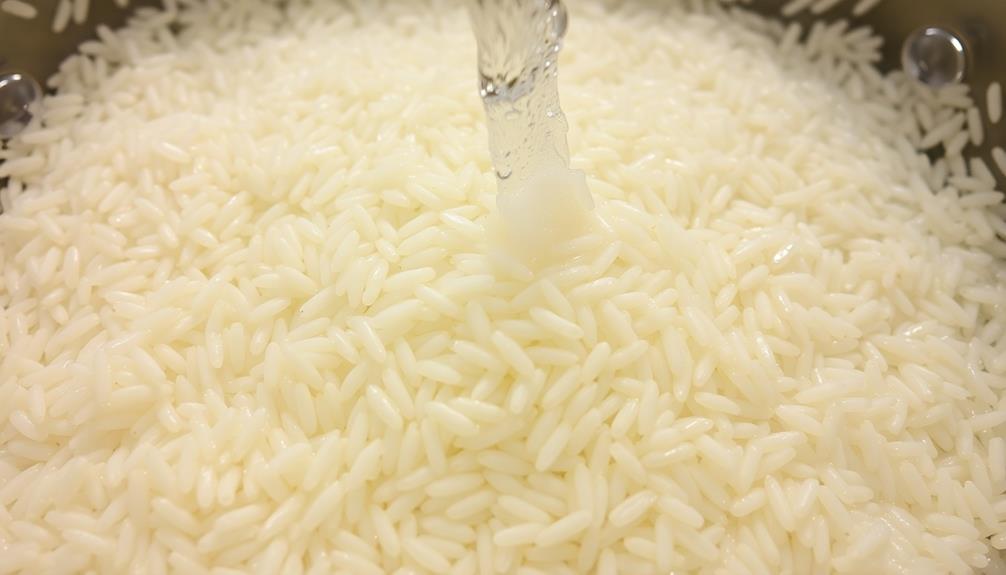
Rinsing the rice thoroughly before cooking is a crucial step in preparing sushi rice. It helps remove excess starch, which can make the cooked rice sticky and clumpy. Start by placing the rice in a fine-mesh strainer and rinse it under cool running water, gently stirring the grains with your fingers.
Continue rinsing until the water runs clear, which usually takes 2-3 minutes. This step ensures the rice cooks evenly and has a light, fluffy texture.
After rinsing, transfer the rice to a medium saucepan and add the appropriate amount of water. Bring the water to a boil, then reduce the heat to low, cover the pot, and let the rice simmer for 15-20 minutes.
Resist the urge to lift the lid, as this can release steam and affect the cooking process. Once the rice is tender and the liquid has been absorbed, remove the pot from the heat and let it sit, covered, for an additional 10 minutes.
Fluff the rice with a fork before using it for sushi or other dishes.
Step 2. Soak Rice in Water

After rinsing the rice, you'll want to soak it in water for at least 30 minutes. This hydrates the grains and helps them cook evenly. Use cool or room temperature water, and make sure the rice is fully submerged.
Set a timer and let the rice soak. During this time, the grains will absorb moisture, resulting in a perfectly cooked, fluffy texture once steamed.
While you wait, you can prepare the other ingredients for your sushi rolls or nigiri.
When the 30 minutes are up, drain the rice in a fine-mesh strainer. Give it a gentle shake to remove any excess water.
Now your rice is ready for the next step – cooking! Transfer it to your preferred cooking vessel, whether that's a pot on the stovetop or a rice cooker. Follow the instructions for your specific cooking method to achieve sushi rice perfection.
Step 3. Cook Rice Over Medium Heat
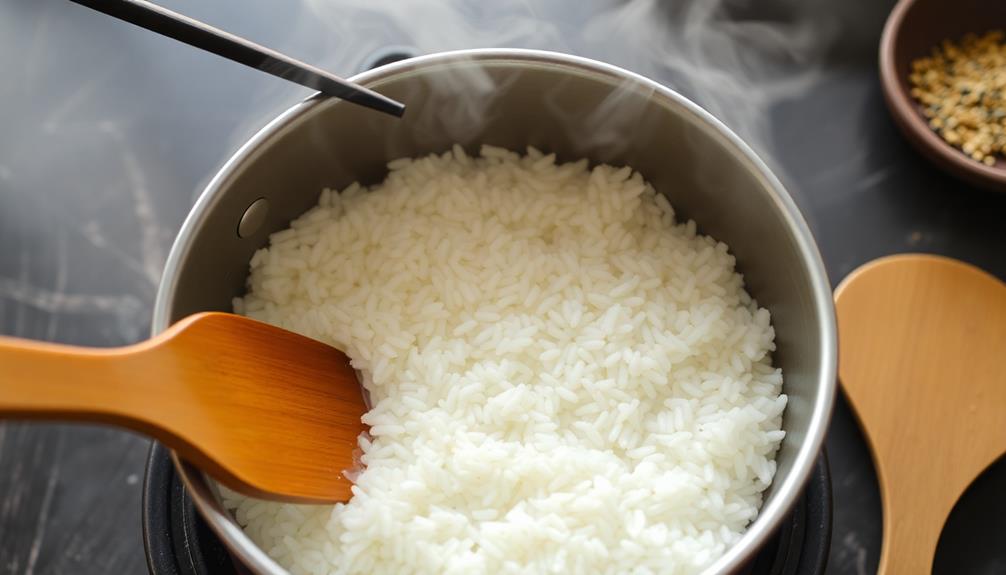
Once the rice has been soaked and drained, you'll want to transfer it to a pot and cook it over medium heat. This slow, gentle cooking process helps the rice grains become tender and fluffy. As the rice heats up, you'll notice tiny bubbles starting to form on the surface. This is a good sign – it means the rice is simmering nicely.
Be sure to stir the rice occasionally with a wooden spoon or rice paddle. This prevents the grains from sticking to the bottom of the pot. You'll want to maintain that medium heat setting throughout the cooking time, adjusting it slightly if needed to keep the rice at a gentle simmer.
After about 15-20 minutes, the rice should be cooked through. You'll know it's done when the grains are soft and translucent.
At this point, remove the pot from the heat and let the rice sit for 5-10 minutes with the lid on. This allows the rice to finish steaming and absorb any remaining moisture. Then, you're ready to season and shape your sushi rice!
Step 4. Fluff Rice With a Fork
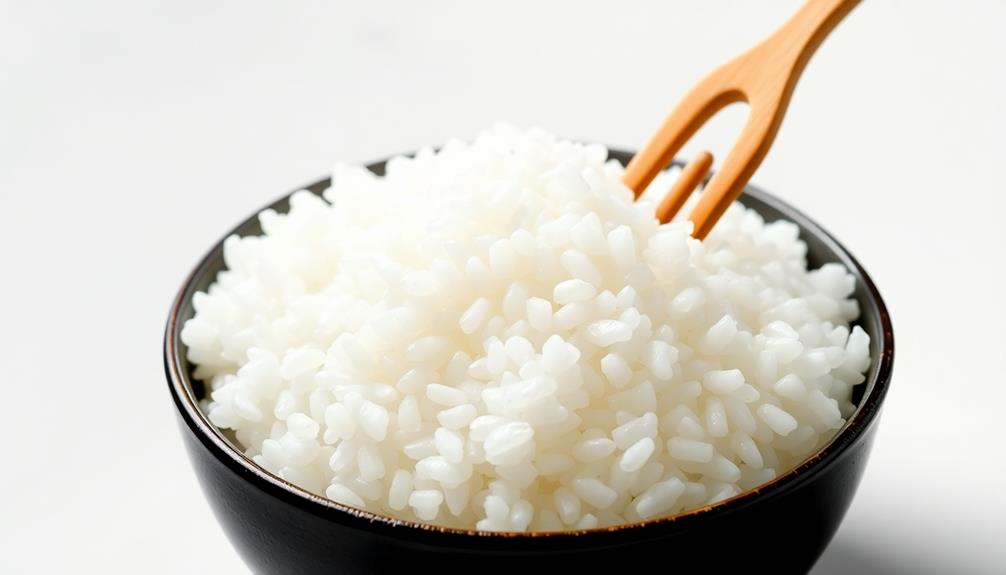
Once the rice has finished cooking and rested, it's time to fluff it up. Using a fork, gently separate and lift the grains of rice. This helps to release any excess moisture and ensures a light, fluffy texture.
Be careful not to overmix or press down on the rice, as that can lead to a gummy, sticky consistency. Fluff the rice using a gentle, lifting motion, working from the bottom of the pot up to the surface. The goal is to aerate the rice without breaking the individual grains.
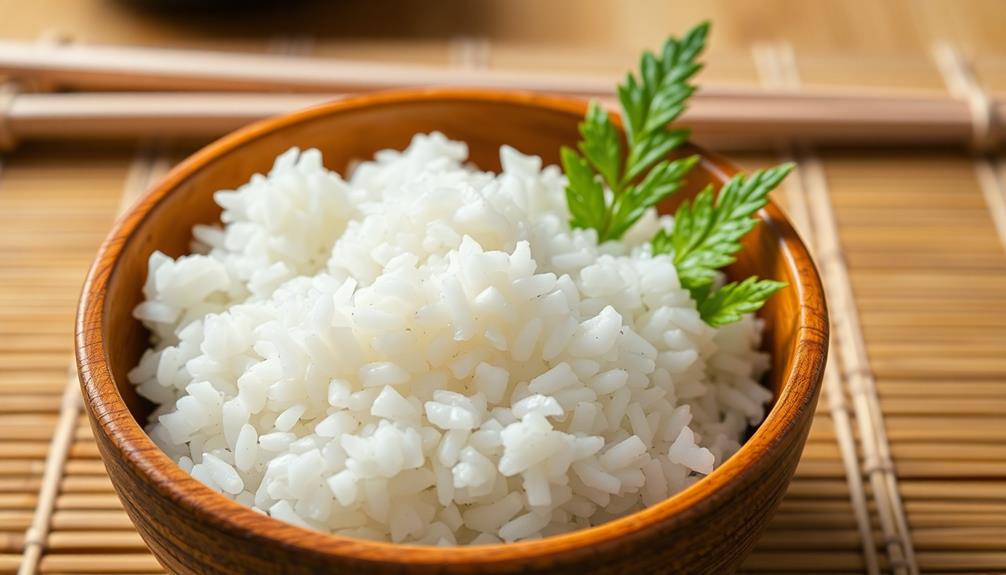
After fluffing, you can transfer the rice to a serving dish. If you're making sushi, spread the rice out in a thin layer to help it cool quickly.
Fluffing the rice is an essential step that transforms the cooked grains into the perfect foundation for your sushi rolls or other rice-based dishes. With just a few swipes of a fork, you can achieve that signature light and fluffy sushi rice texture.
Step 5. Add Seasoned Vinegar
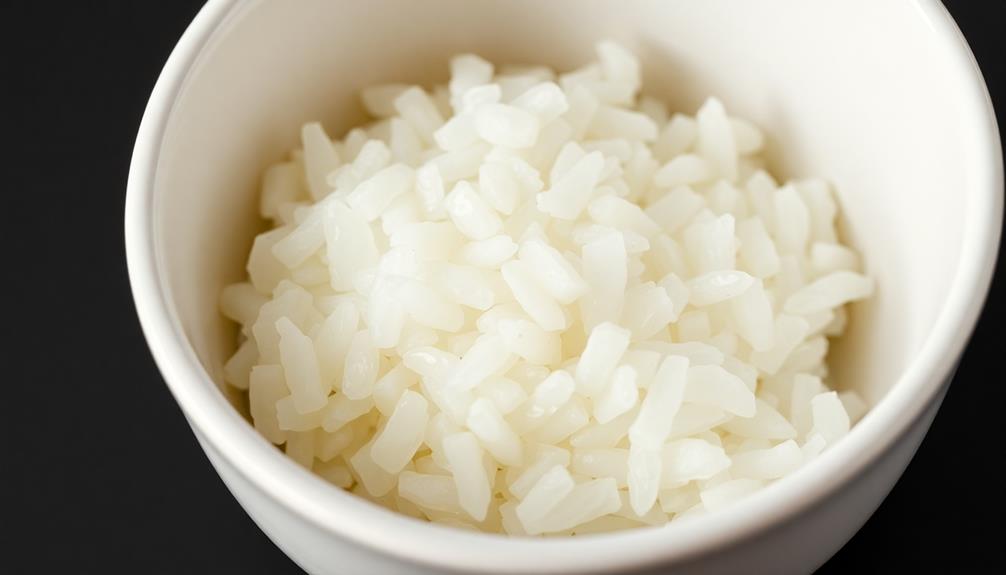
Having fluffed the rice, you'll now want to add the seasoned vinegar. This special blend of rice vinegar, sugar, and salt is what gives sushi rice its signature taste and texture.
Grab your prepared vinegar mixture and slowly pour it over the fluffy rice. Use a rice paddle or wooden spoon to gently fold the vinegar into the rice, lifting from the bottom to incorporate it evenly.
Be careful not to overmix, as this can make the rice sticky. As you fold, the rice will become glossy and take on a slight sheen. Continue this process until the vinegar is fully blended in.
The rice should now have a subtly sweet and tangy flavor, perfect for rolling into delicious sushi. Take your time with this step – the seasoned vinegar is the key to transforming plain white rice into authentic sushi rice.
With the vinegar incorporated, your sushi rice is now ready for the next stage of preparation.
Final Thoughts
The final step in preparing delicious sushi rice is to reflect on the process and consider how you can refine your technique.
You've carefully measured the rice, cooked it to perfection, and blended the seasoned vinegar – now it's time to appreciate the results. Take a moment to savor the sticky, subtly sweet flavor and admire the glossy sheen of the rice. Recognize how your attention to detail has paid off, creating a foundation that will elevate any sushi dish.
Looking ahead, think about what worked well and what you might adjust next time. Perhaps you'd like to experiment with different rice varieties or try a slightly different vinegar blend.
Continuous improvement is key – each batch of sushi rice is an opportunity to build on your skills. Celebrate your success, but also remain open to learning and growing as a home sushi chef.
With practice and patience, you'll master the art of perfect sushi rice in no time.
Frequently Asked Questions
How Long Can Sushi Rice Be Stored After Preparation?
Freshly prepared sushi rice can be stored in the refrigerator for up to 3-5 days. However, it's best to use it within 1-2 days for optimal texture and flavor. Don't let it sit too long or it'll dry out.
Can I Use Other Types of Rice for Sushi?
You can use other types of rice for sushi, but they may not provide the same texture and flavor. Short-grain Japanese rice is the traditional choice, as it's sticky and holds its shape well when molded.
What Is the Ideal Temperature for Serving Sushi Rice?
The ideal temperature for serving sushi rice is around room temperature, between 68-77°F (20-25°C). Serving it at this temperature allows the rice to release its natural flavors and textures, making it perfect for enjoying sushi.
How Do I Prevent Sushi Rice From Becoming Sticky or Gloppy?
To prevent sushi rice from becoming sticky or gloppy, rinse the rice thoroughly before cooking, use the right rice-to-water ratio, and handle the cooked rice gently. Avoid overcooking and let it cool completely before serving.
Can I Make Sushi Rice in Advance for a Party?
You can absolutely make sushi rice in advance for a party. Just be sure to store it properly in an airtight container and reheat it gently before serving. This will keep it from becoming too sticky or gloppy.