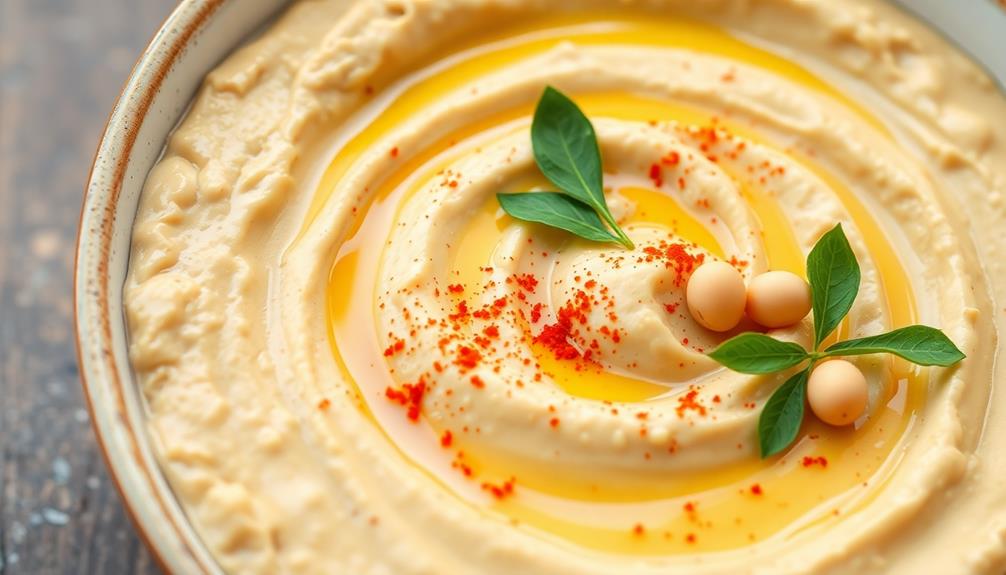

You can easily make delicious homemade hummus with just a few pantry staples! Start by blending chickpeas, tahini, lemon juice, and garlic until smooth. Season it with cumin, paprika, salt, and pepper to taste. For an even creamier texture, try peeling the chickpeas first. Feel free to customize the flavors too – add roasted red peppers, herbs, or spices of your choosing. Homemade hummus is so versatile, you can enjoy it as a dip, spread, or even in salads and wraps. Once you see how simple it is, you'll never go back to store-bought.
Key Takeaways
- This easy homemade hummus recipe uses simple ingredients like chickpeas, tahini, lemon juice, and garlic to create a creamy, flavorful dip.
- The recipe allows for customization of flavors and textures, such as adding spices, herbs, or adjusting the consistency with water or additional chickpeas.
- Homemade hummus offers freshness, control over ingredients, and cost-effectiveness compared to store-bought options, without any preservatives or artificial additives.
- Proper blending techniques, such as peeling the chickpeas, can result in a creamier texture, while refrigeration can enhance the consistency over time.
- Hummus is a versatile dip that can be enjoyed with pita bread, vegetable sticks, or used as a spread in sandwiches and wraps, as well as incorporated into various dishes.

Elizabeth Taylor White Diamonds Women's Perfume, Long-Lasting Floral Fragrance for Her, Eau de Toilette EDT Spray, 3.3 fl oz
Classic Fragrance for Women: This iconic Elizabeth Taylor White Diamonds perfume embodies timeless beauty, a truly feminine signature...
As an affiliate, we earn on qualifying purchases.
History

Hummus, a beloved Middle Eastern dip, has a rich history that dates back thousands of years. This versatile chickpea-based spread originated in the Levant and Egypt, where ancient civilizations first cultivated and consumed chickpeas.
Over time, the recipe evolved, with the addition of tahini, lemon juice, and spices like garlic and cumin. Hummus quickly became a staple in Middle Eastern cuisine, nourishing communities and bringing people together around the table.
As trade routes expanded, the popularity of hummus spread beyond its regional roots. Today, this creamy, flavorful dip is enjoyed worldwide, cherished for its versatility, nutritional benefits, and connection to cultural heritage.
Whether served as an appetizer, a side dish, or a main course, hummus remains a beloved part of many culinary traditions. Its enduring popularity is a testament to the timeless appeal of simple, wholesome ingredients combined with care and tradition.

National Geographic Junior Chemistry Set - Complete Early Learning Lab Kit with 50 Science Experiments for Kids and 20+ Lab Tools, Chemistry Set, Science Experiments for Kids 4-6
A COMPLETE CHEMISTRY LAB FOR YOUNG SCIENTISTS – Perfectly crafted for budding scientists aged 4 and up, this...
As an affiliate, we earn on qualifying purchases.
Recipe
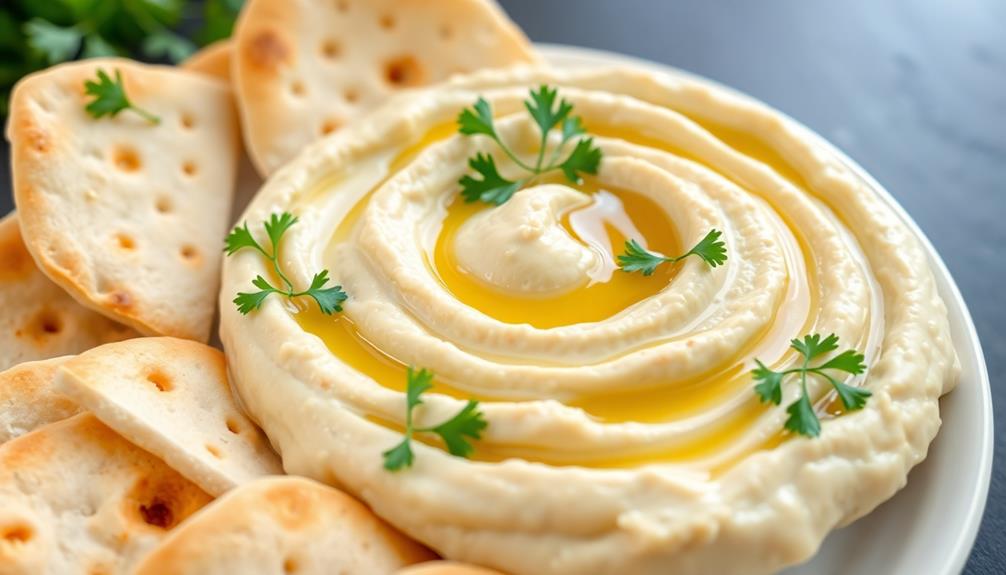
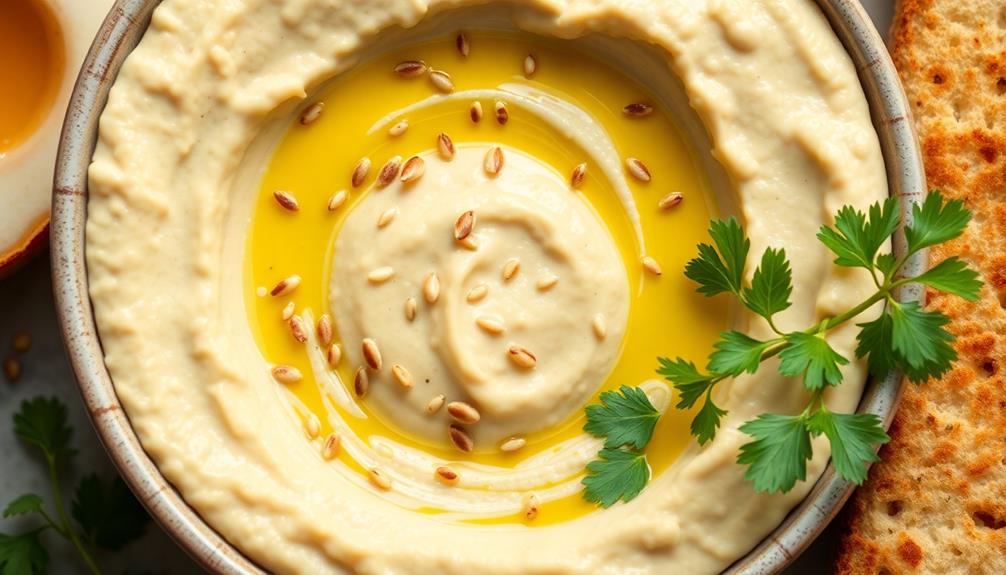
Homemade hummus is a delicious and nutritious dip or spread that can be enjoyed in a variety of ways. Made from a simple combination of chickpeas, tahini, lemon juice, and a few seasonings, it's a versatile and flavorful addition to any meal or snack.
Preparing homemade hummus is easy and allows you to customize the flavors to your personal taste. Whether you enjoy it with pita bread, vegetable sticks, or as a topping for sandwiches, this recipe will provide you with a creamy and satisfying hummus that's sure to impress.
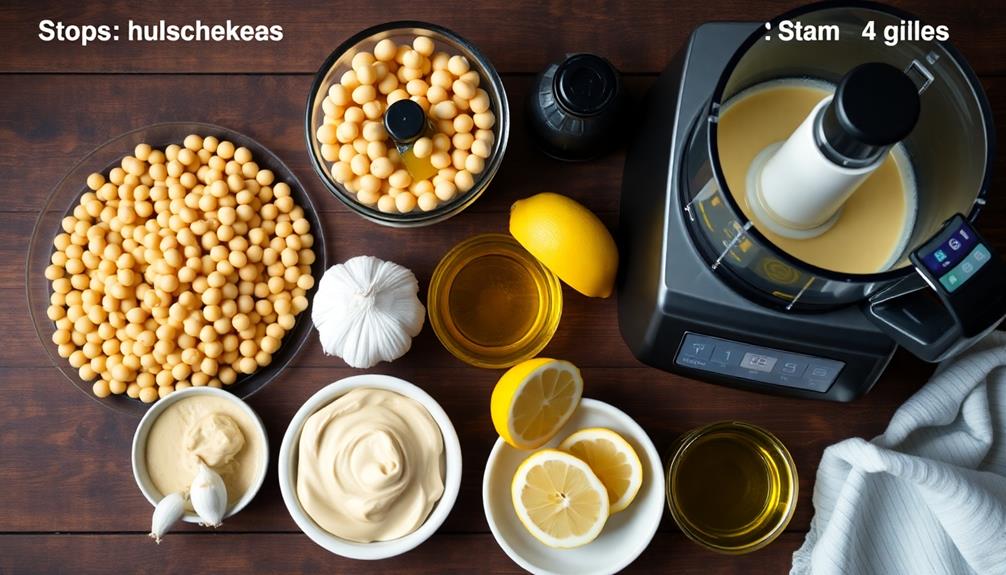
Ingredients:
- 1 (15-ounce) can of chickpeas, drained and rinsed
- 1/4 cup tahini
- 2 tablespoons fresh lemon juice
- 1 garlic clove, minced
- 1/4 teaspoon ground cumin
- 1/4 teaspoon paprika
- 2 to 4 tablespoons water, as needed
- Salt and pepper to taste
Instructions:
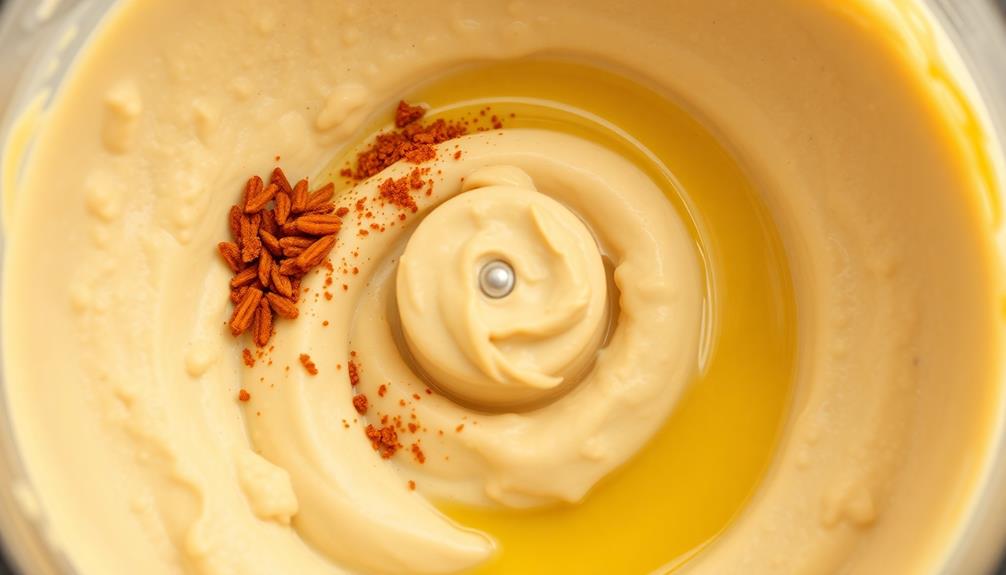
In a food processor, combine the drained and rinsed chickpeas, tahini, lemon juice, garlic, cumin, and paprika. Blend the mixture until it becomes smooth and creamy, scraping down the sides as needed.
If the hummus is too thick, add water, one tablespoon at a time, and continue blending until you reach your desired consistency. Season with salt and pepper to taste.
Tips:
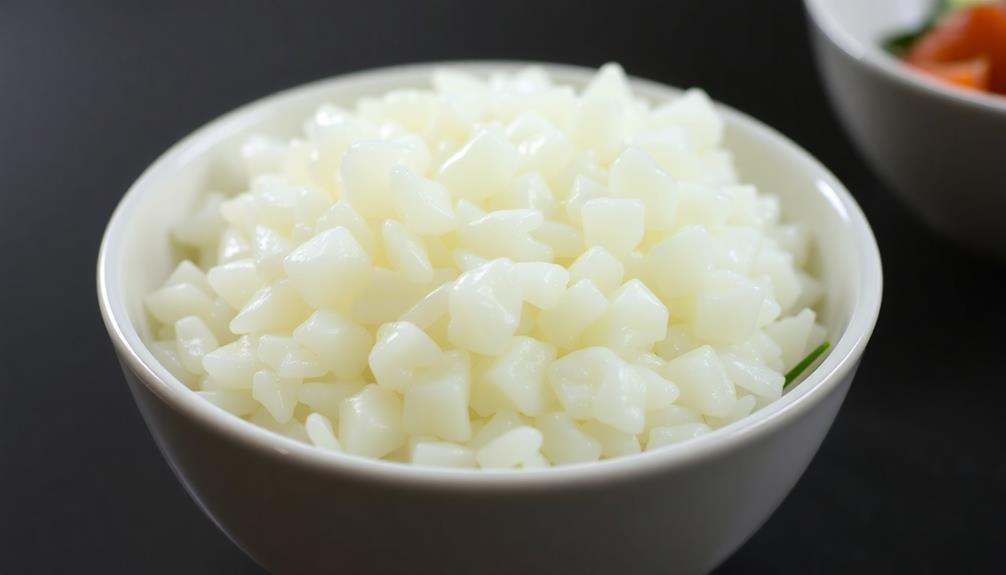
For a creamier texture, you can peel the chickpeas before blending. This extra step removes the skins and results in a silkier, more luxurious hummus.
Additionally, you can experiment with different flavor variations by adding roasted red peppers, olives, or your favorite herbs and spices to the recipe.

NATIONAL GEOGRAPHIC Science Magic Kit – Science Kit for Kids with 100+ Unique Experiments and Magic Tricks, Chemistry Set and STEM Project, A Great Gift for Boys and Girls (Amazon Exclusive)
THE MAGIC IS IN THE SCIENCE - The 100+ science experiments in this kit combine the wonders of...
As an affiliate, we earn on qualifying purchases.
Cooking Steps
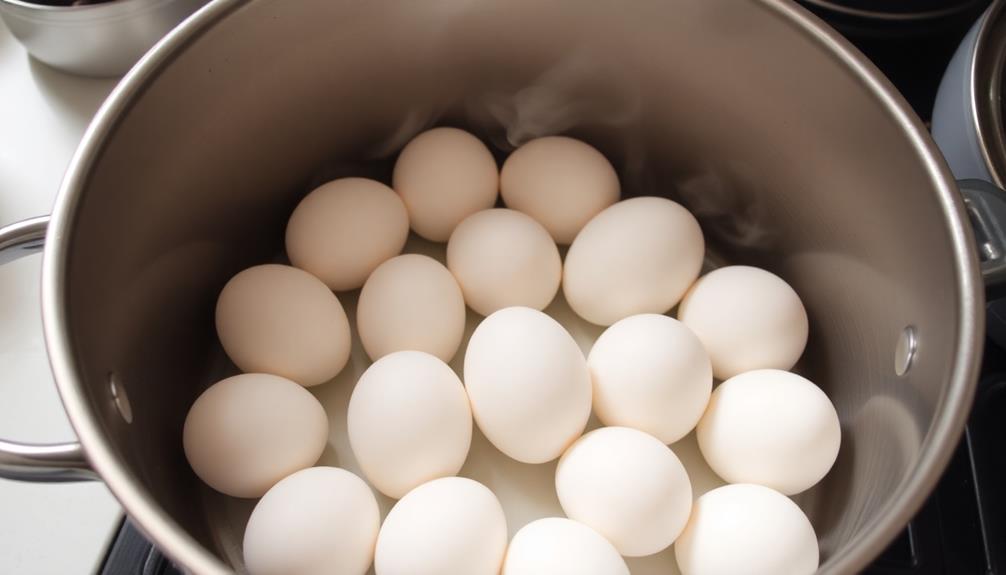
First, drain and rinse the canned chickpeas to prepare them.
Next, add the tahini, lemon juice, garlic, and olive oil to the chickpeas.
Then, blend everything together until the mixture is smooth and creamy.
That's it – you're on your way to homemade hummus perfection!
Step 1. Drain and Rinse Canned Chickpeas
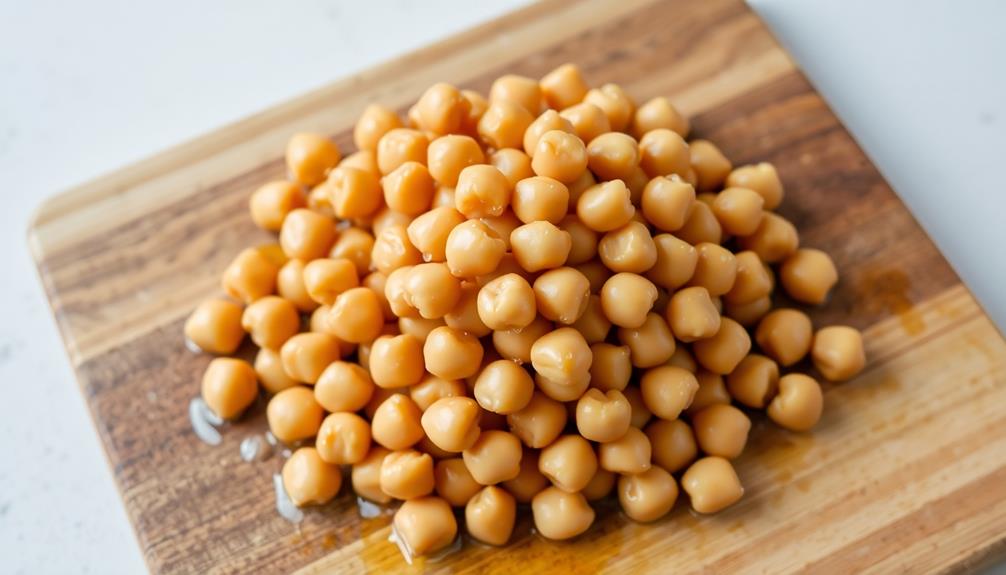
Begin by draining and rinsing the canned chickpeas. Place a colander in the sink and pour the chickpeas into it. Gently shake the colander to let the liquid drain away.
Once drained, run cool water over the chickpeas to rinse off any excess salt or brine. This step is crucial, as the liquid from the canned chickpeas can make your hummus taste tinny or metallic. By rinsing them, you'll remove that unpleasant flavor and create a smoother, more vibrant hummus.
After rinsing, give the chickpeas a few shakes to remove any excess water. You're now ready to move on to the next step in the hummus-making process.
Just remember, taking the time to properly drain and rinse the chickpeas will pay off in the end with a delightful, flavorful homemade hummus.
Step 2. Add Tahini
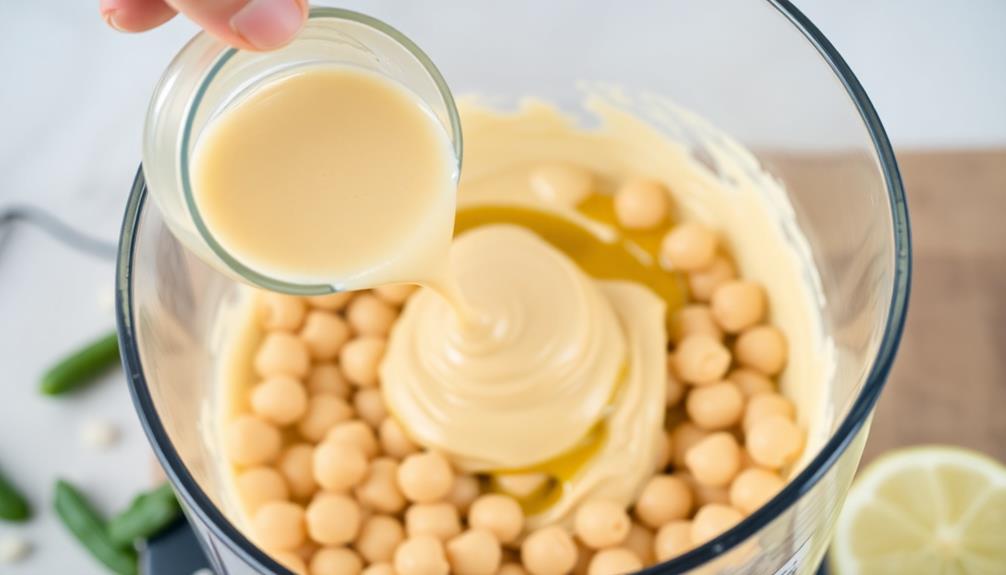
Next, add the tahini to your food processor or blender. Tahini is a paste made from ground sesame seeds, and it's a key ingredient in hummus that gives it a rich, nutty flavor. Scoop about 2-3 tablespoons of tahini into the container, depending on the amount of chickpeas you're using. The tahini will help bind the hummus and create a smooth, creamy texture.
After adding the tahini, turn on the food processor or blender and let it run for about a minute. This will thoroughly incorporate the tahini into the chickpeas. Pause to scrape down the sides if needed, then continue blending until the mixture is completely smooth and uniform.
The tahini provides healthy fats and adds depth to the hummus. Its nutty essence complements the chickpeas beautifully.
Keep blending until you achieve your desired consistency – you want a silky, spreadable dip, not a chunky paste. With the tahini incorporated, you're well on your way to homemade hummus perfection!
Step 3. Add Lemon Juice

After incorporating the tahini, the next step is to add lemon juice to your hummus. Lemon juice brings a bright, tangy flavor that balances the richness of the chickpeas and tahini.
Start by squeezing in the juice from half a lemon. Taste your hummus and add more lemon juice if you'd like a stronger citrus kick. Be careful not to overdo it, though, as too much lemon can make the hummus taste sour.
Once you've added the lemon juice, give the mixture a good stir to incorporate it evenly. You'll notice the hummus becoming smoother and creamier as the lemon juice interacts with the other ingredients.
The acidity in the lemon also helps to preserve the vibrant color of the chickpeas. Feel free to adjust the amount of lemon juice to suit your personal taste preferences. A little goes a long way, so start with a small amount and build from there.
Step 4. Add Garlic and Olive Oil
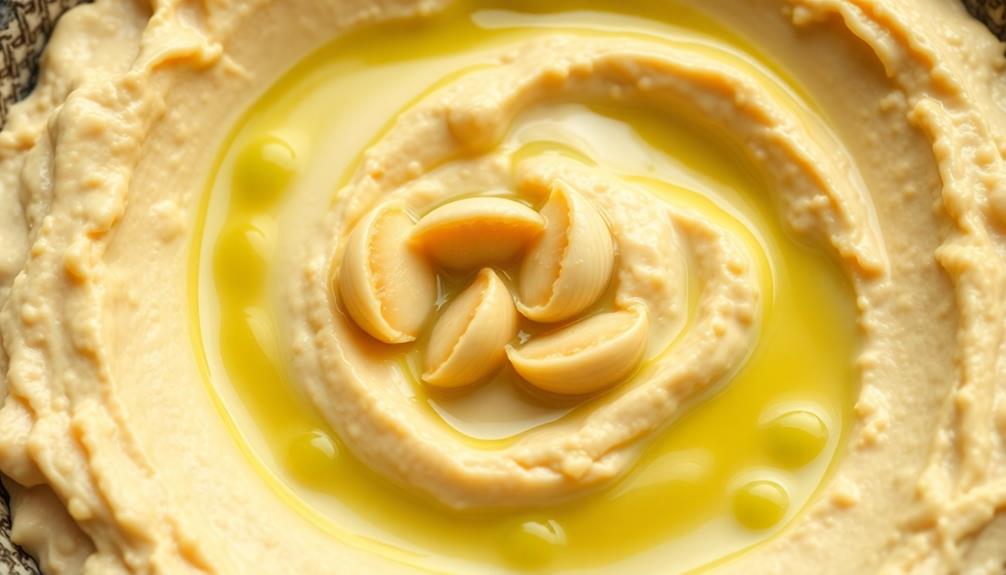
Once you've added the lemon juice, it's time to incorporate the garlic and olive oil.
First, mince or press 2-3 cloves of fresh garlic. This will infuse your hummus with a savory, aromatic kick.
Next, slowly drizzle in 2-3 tablespoons of high-quality extra virgin olive oil. The oil will help create a smooth, creamy texture and enhance the overall flavor.
As you add the garlic and olive oil, be sure to taste the hummus and adjust the amounts to your personal preference. You want the garlic to be present but not overpowering, and the olive oil should complement the other ingredients without making the hummus greasy.
Blend everything together until it reaches your desired consistency, scraping down the sides as needed.
The garlic and olive oil are the final major components to incorporate into your homemade hummus. With these additions, you're well on your way to creating a delicious, authentic-tasting spread.
Step 5. Blend Until Smooth and Creamy
With the garlic and olive oil incorporated, you'll want to blend the hummus until it's smooth and creamy. Grab your food processor or high-powered blender and add the chickpea mixture.
Start the machine on a low speed to begin breaking down the solids. As the hummus starts to come together, gradually increase the speed to a medium-high setting.
Blend for about 2-3 minutes, stopping to scrape down the sides as needed. You'll know the hummus is ready when it reaches a luxuriously creamy texture, with no visible chickpea chunks or pieces of garlic. The final result should have a silky, spreadable consistency.
If the hummus seems a bit thick, you can thin it out by adding a tablespoon or two of additional olive oil or water and blending briefly.
Once you're satisfied with the smooth and creamy texture, your homemade hummus is ready to enjoy! Transfer it to a serving bowl and get ready to dip in.

National Geographic Amazing Chemistry Set - Chemistry Kit with 100+ Science Experiments Including Crystal Growing and Reactions, Science Kit for Kids, STEM Gift for Boys and Girls (Amazon Exclusive)
OVER 100 EXCITING EXPERIMENTS - The science experiments in this kit let kids explore the wonders of hands-on...
As an affiliate, we earn on qualifying purchases.
Final Thoughts
This homemade hummus recipe offers a wholesome, flavor-packed alternative to store-bought options.
With just a few simple ingredients and minimal effort, you can whip up a batch that's far tastier and healthier than anything you'll find on the grocery shelves.
The best part? This recipe is incredibly versatile. You can customize the flavors to suit your preferences, whether that means adding a touch of garlic, a sprinkle of paprika, or a drizzle of olive oil.
And don't be afraid to experiment – hummus is the perfect canvas for all sorts of creative twists and variations.
So why settle for mediocre store-bought hummus when you can enjoy the fresh, homemade goodness of this easy recipe?
Give it a try, and you'll never look back.
With its creamy texture and bold, satisfying flavor, this hummus is sure to become a new household favorite.
Frequently Asked Questions
How Long Does Homemade Hummus Last in the Fridge?
Homemade hummus typically lasts 3-5 days in the refrigerator. Be sure to store it in an airtight container to maintain freshness. The exact shelf life may vary depending on the ingredients used and how you prepare it.
Can I Use Canned Chickpeas Instead of Dried?
You can certainly use canned chickpeas instead of dried ones for homemade hummus. Canned chickpeas are already cooked, making the process faster and easier. Just be sure to drain and rinse them before using in your hummus recipe.
What Are Some Variations I Can Try With This Recipe?
You can try a variety of flavors by adding ingredients like roasted red peppers, kalamata olives, sun-dried tomatoes, or even pesto to the basic hummus recipe. Get creative and experiment with different combinations to find your favorite twist.
How Do I Make the Hummus Smooth and Creamy?
To make your hummus smooth and creamy, use a high-powered blender or food processor. Blend the ingredients thoroughly, scraping down the sides as needed, until you achieve your desired consistency. Adjust the amount of liquid to reach your preferred creaminess.
Can I Freeze Leftover Homemade Hummus?
Yes, you can freeze leftover homemade hummus. Simply transfer it to an airtight container, leaving some headspace, and freeze for up to 3 months. When ready to use, thaw in the refrigerator overnight.