To make perfect hard-boiled eggs, start with fresh, high-quality eggs. Place them in a single layer in a pot, then cover with cold water by an inch. Bring the water to a full boil before removing the pot from heat and letting the eggs sit covered for 10-12 minutes. Transfer the eggs to an ice bath right away to stop the cooking and facilitate easy peeling. With this simple technique, you'll have deliciously firm yet tender hard-boiled eggs every time. Mastering this essential skill opens up a world of culinary possibilities.
Key Takeaways
- Use fresh, high-quality eggs for better peeling.
- Place eggs in a single layer in a pot and cover with 1 inch of cold water.
- Bring water to a full boil, then remove from heat and let eggs sit covered for 10-12 minutes.
- Transfer eggs to an ice bath immediately after cooking to stop the cooking process and facilitate peeling.
- Drain and cool eggs thoroughly before peeling for best results.
History

The origins of hard-boiled eggs can be traced back to ancient civilizations, where they were often used in religious ceremonies and as a nutritious food source. Early Egyptians, Greeks, and Romans all recognized the versatility of the humble egg, boiling them to preserve and transport easily.
Over time, the technique evolved, with people experimenting with cooking times and methods to achieve the perfect hard-boiled egg.
In the Middle Ages, hard-boiled eggs became a popular Easter tradition, with families decorating the shells in vibrant colors and patterns. This practice soon spread across Europe, eventually making its way to the Americas.
As culinary techniques advanced, cooks discovered ways to improve the peeling process and prevent unsightly green yolks. Today, the hard-boiled egg remains a beloved staple, enjoyed for its convenience, nutrition, and versatility in a wide range of dishes.
Recipe
Cooking hard-boiled eggs perfectly can be a deceptively tricky task. The key is to strike the right balance between achieving a tender, creamy yolk and a firm, yet tender, white. With a few simple tips, you'll be on your way to making flawless hard-boiled eggs every time.
To begin, it's important to choose fresh, high-quality eggs. Older eggs tend to be more difficult to peel, so for the best results, opt for eggs that are no more than a week or two old.
Additionally, make sure to use a pot large enough to accommodate the number of eggs you're cooking, allowing them to sit in a single layer without crowding.
Ingredients:
- Eggs
- Water
Cooking Instructions:
Place the eggs in a single layer in a pot and cover with cold water by 1 inch. Bring the water to a boil over high heat, then remove the pot from the heat and cover.
Let the eggs sit in the hot water for 12 minutes for large eggs. Drain the hot water and cover the eggs with cold water to stop the cooking.
Once the eggs have cooled, you can peel them. For the easiest peeling, gently tap each egg against the counter to crack the shell, then roll the egg between your hands to loosen the shell before peeling.
With a bit of practice, you'll be able to enjoy perfectly cooked, easy-to-peel hard-boiled eggs every time.
Cooking Steps
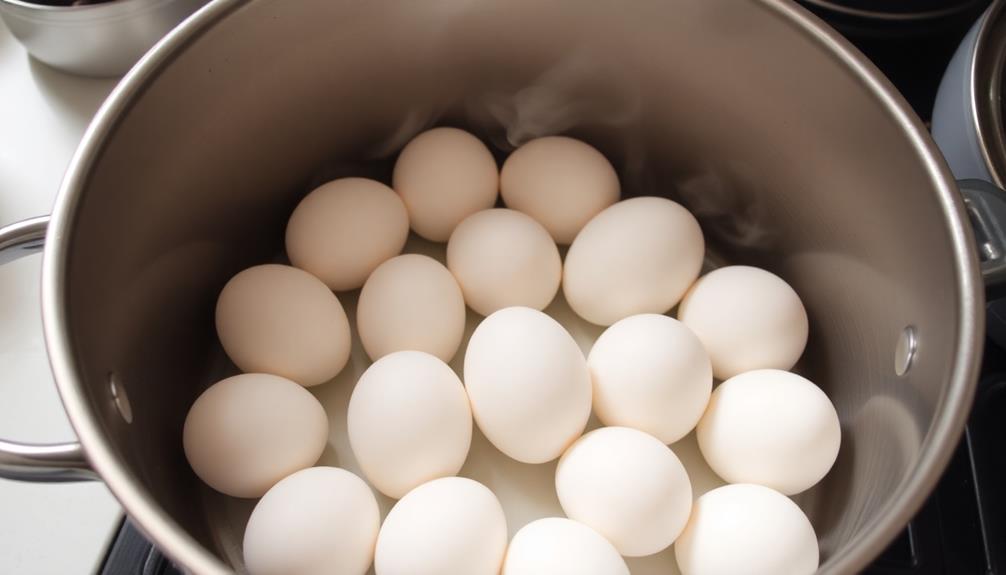
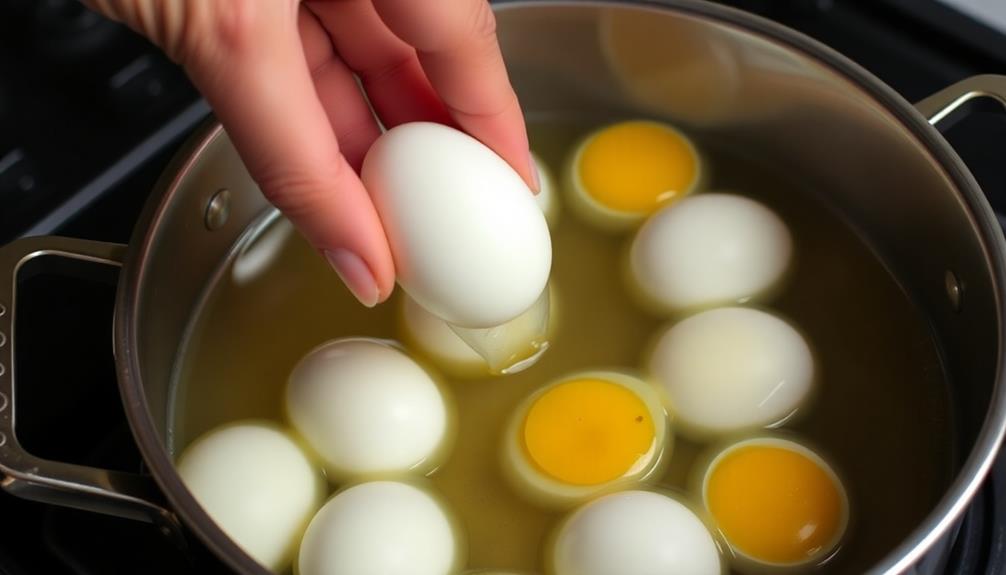
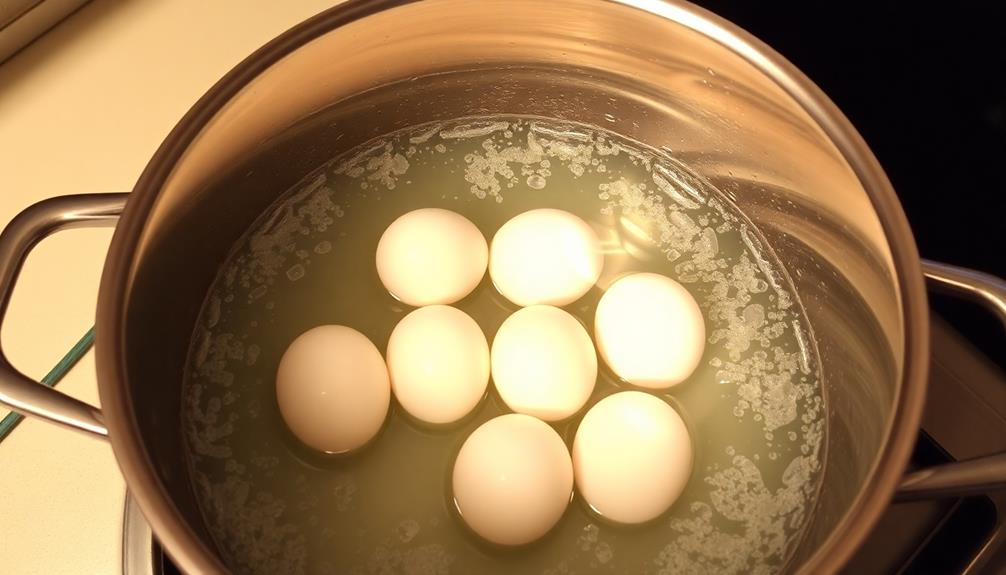
To perfectly hard-boil eggs, start by placing them in a single layer in a pot.
Bring the water to a full boil, then remove the pot from the heat and let the eggs sit covered for 10-12 minutes.
Step 1. Place Eggs in Single Layer

With the water boiling, gently place the eggs in a single layer at the bottom of the pot. This ensures even cooking and prevents any eggs from sticking together. You don't want to overcrowd the pot, so be sure to leave a little space between each egg. This will allow the water to circulate freely and cook the eggs evenly.
Once the eggs are in the pot, cover it with a lid and let the water come back to a gentle boil. This will help the eggs cook through without cracking the shells. Set a timer for the desired doneness, whether you prefer soft, medium, or hard-boiled eggs. Remember, the cooking time may vary depending on the size of your eggs and the altitude of your location.
Gently removing the cooked eggs from the pot can be a delicate process. Use a slotted spoon to lift them out one by one, allowing any excess water to drip off before transferring them to a bowl.
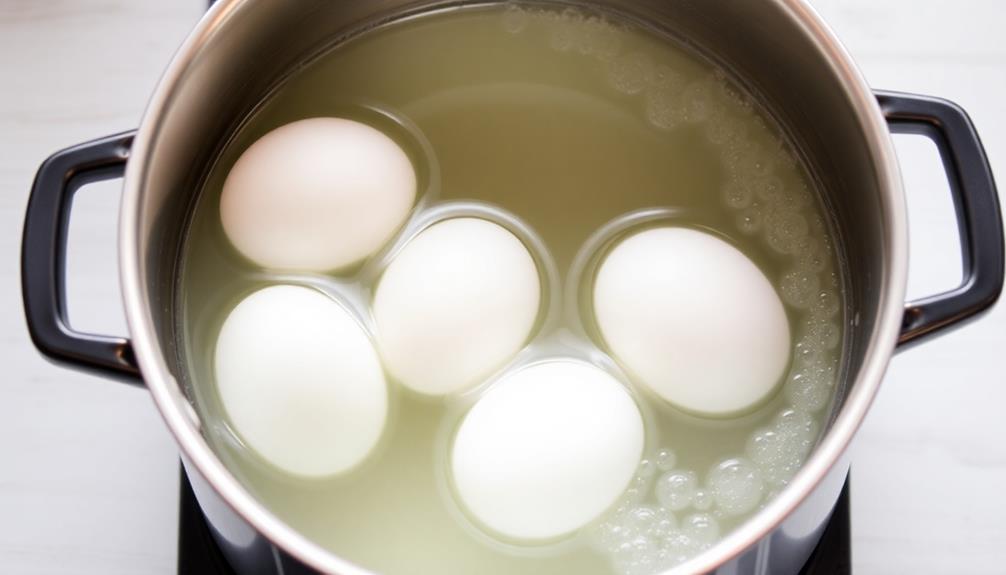
Step 2. Bring Water to a Boil

Fill a pot with enough water to cover the eggs by about an inch. Bring the water to a boil over high heat.
You'll know the water's boiling when you see continuous bubbles rapidly rising to the surface. Once the water reaches a full, rolling boil, it's time to add the eggs. The boiling water will help the eggs cook evenly and create that perfect hard-boiled texture.
If the water doesn't seem to be boiling vigorously, turn up the heat. You want a strong, rapid boil to get the best results. Adjust the heat as needed to maintain the boil throughout the cooking process.
Keep a close eye on the pot, as the boiling water can sometimes start to bubble over. If that happens, simply reduce the heat slightly.
With the water at a rolling boil and the eggs gently submerged, you're ready to set the timer and move on to the next step.
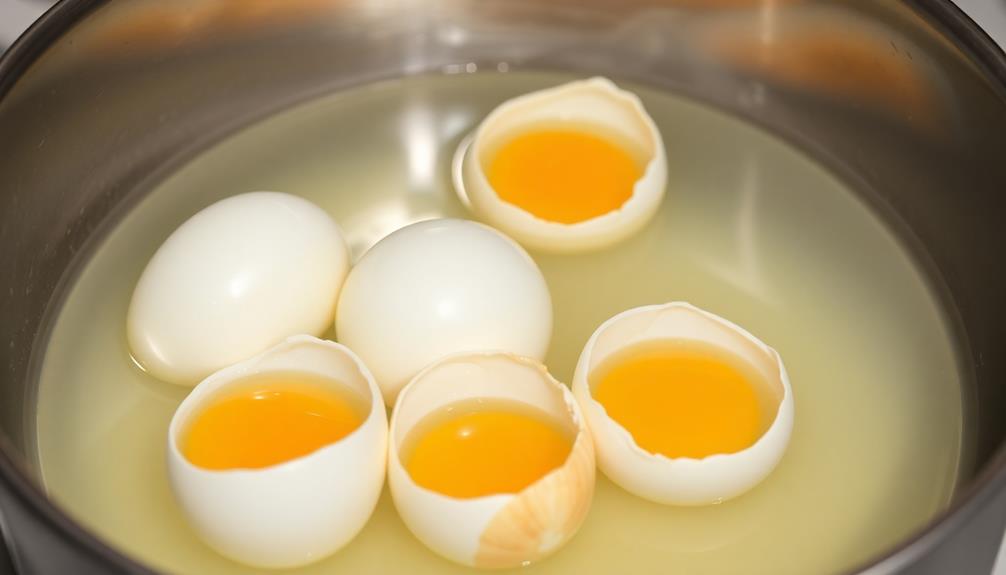
Step 3. Remove Eggs From Heat
Once the water reaches a rolling boil, let the eggs cook for the desired amount of time.
When they're done, it's time to remove the eggs from the heat. Using tongs or a slotted spoon, gently transfer the eggs from the boiling water to a bowl of ice water. This quick temperature change will make the shells easier to peel. Let the eggs sit in the ice bath for at least 15 minutes. This ensures the yolks are fully set and the eggs are chilled all the way through.
After 15 minutes, you can remove the eggs from the ice bath. At this point, the shells should slide off easily.
If you plan to use the hard-boiled eggs right away, go ahead and peel them. If you won't use them right away, you can leave them unpeeled. The shells will protect the eggs and help them stay fresh in the refrigerator for up to one week.
Step 4. Let Eggs Sit Covered for 10-12 Minutes
After the eggs have been submerged in the boiling water, let them sit covered for 10-12 minutes. This is a crucial step to ensure your hard-boiled eggs turn out perfectly. The residual heat in the water will continue to cook the eggs, making the yolks firm and delicious.
During this time, the eggs will gently finish cooking to the desired doneness. Don't worry if they seem a bit soft at first – the carryover cooking will firm them up nicely. You can use this time to prepare any other ingredients or toppings you'd like to enjoy with your hard-boiled eggs.
When the time's up, you can remove the lid and transfer the eggs to a bowl of ice water. This quick chilling process will make the shells easier to peel and prevent the yolks from getting that unappetizing green tinge.
With just a little patience, you'll have perfectly cooked hard-boiled eggs, ready to be enjoyed however you like!
Step 5. Drain Eggs and Cool Immediately
After letting the eggs sit covered for the allotted time, it's time to drain them and cool them down immediately.
Carefully remove the pot from the heat and pour out the hot water. Quickly and gently transfer the hard-boiled eggs to a bowl filled with ice water. This rapid cooling process will stop the cooking and help the eggs peel more easily later on.
Let the eggs sit in the ice bath for at least 15 minutes. This allows the eggs to fully cool down to room temperature.
Once cooled, you can remove the eggs from the water and store them in the refrigerator until you're ready to enjoy them. The quick cooling will also make the shells slip off more easily when you're ready to peel the eggs.
Final Thoughts
Mastering the art of hard-boiling eggs is a rewarding experience that can elevate your culinary skills.
You've mastered the perfect cooking time, the ideal water temperature, and the quick chilling process. Now, you can confidently serve up beautifully cooked eggs, whether you're making deviled eggs for a party or a nutritious breakfast to start your day.
Remember, the keys to perfect hard-boiled eggs are attention to detail and a little bit of practice. Don't be afraid to experiment with different techniques until you find what works best for you.
With the right method, you'll consistently produce flawless hard-boiled eggs that are easy to peel and bursting with flavor. Embrace the journey, and enjoy the delicious rewards of your hard work.
Your culinary repertoire just got a little more impressive.
Frequently Asked Questions
How Long Can Hard-Boiled Eggs Be Stored?
Hard-boiled eggs can be stored in the refrigerator for up to one week. They'll stay fresh and safe to eat, but the quality may start to decline after a few days. Keep them chilled and enjoy within a week.
Can You Eat the Egg Shells?
You can technically eat the eggshells, but they're not meant for consumption. The shells are primarily made of calcium carbonate, which can be nutritious, but they're quite hard and unappetizing to eat. It's best to discard the shells after hard-boiling eggs.
What Are the Benefits of Eating Hard-Boiled Eggs?
Eating hard-boiled eggs provides several benefits. They're a great source of protein, containing all the essential amino acids your body needs. Plus, they're rich in vitamins, minerals, and antioxidants that can support your overall health and well-being.
Can You Make Hard-Boiled Eggs in an Instant Pot?
Yes, you can make hard-boiled eggs in an Instant Pot. It's a quick and easy way to prepare perfectly cooked eggs with a firm yolk and tender white. The Instant Pot's pressurized cooking makes for easy-to-peel hard-boiled eggs every time.
How Can You Easily Peel Hard-Boiled Eggs?
To easily peel hard-boiled eggs, start by cooling them in an ice bath right after cooking. The rapid cooling will make the shells slip right off, giving you perfectly peeled eggs every time.