Craving crispy, golden-brown hash browns that melt in your mouth? This foolproof recipe's got you covered! Start by shredding some russet potatoes, then soak and drain them to remove excess starch. Next, sizzle the potatoes in a hot skillet with a bit of butter and oil until they're perfectly browned on the outside and fluffy on the inside. Season with salt and pepper, and you've got a breakfast side dish that'll have your taste buds doing a happy dance. Ready to take your hash browns to the next level? Keep reading to discover even more tips and tricks.
Key Takeaways
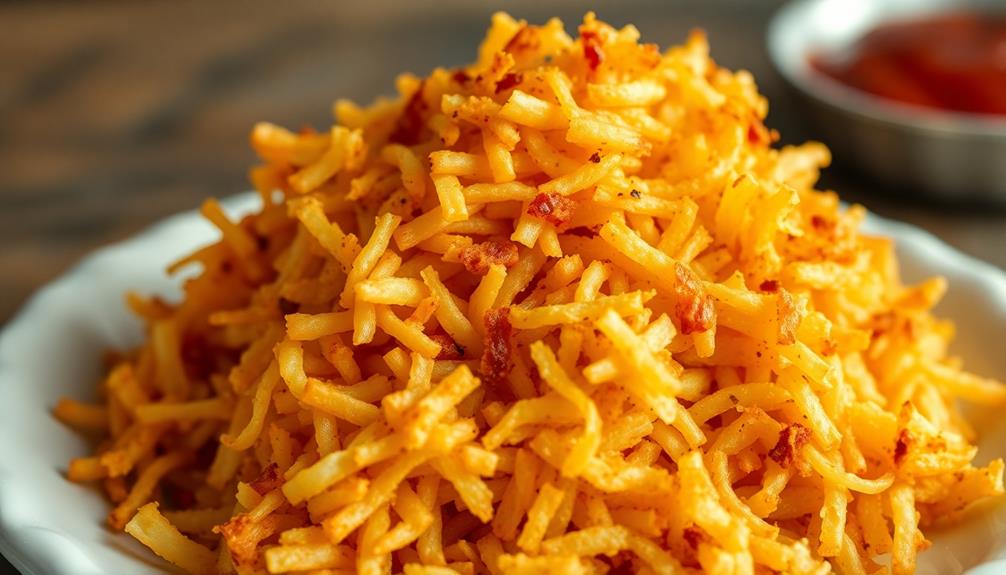
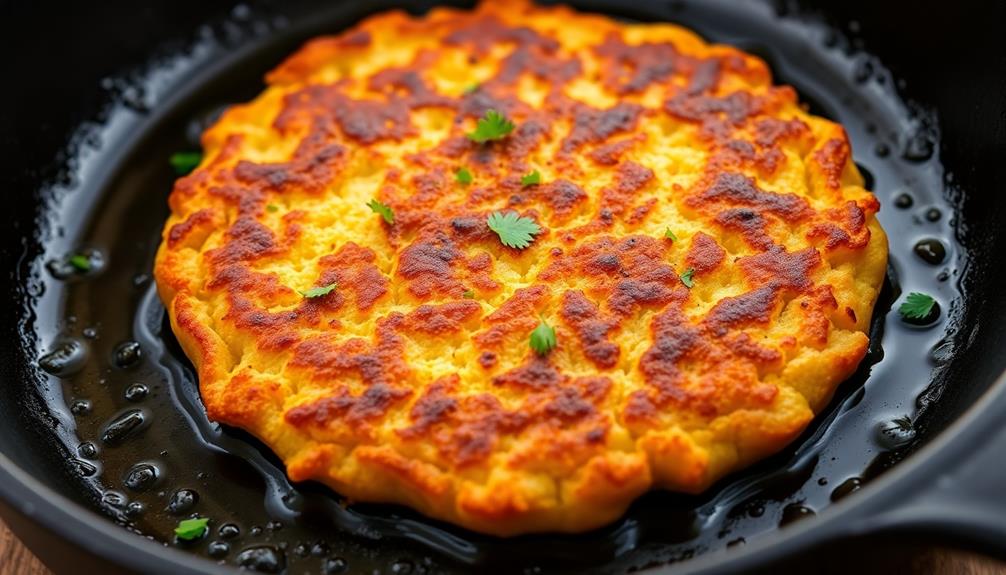
- The recipe yields crispy, golden-brown hash browns with crunchy edges and fluffy interiors.
- Key ingredients include russet potatoes, unsalted butter, vegetable oil, salt, and black pepper.
- Properly draining the grated potatoes is crucial for achieving optimal texture.
- Cooking in batches may be necessary to maintain high heat for perfect crispiness.
- The hash browns should be served immediately for best enjoyment while hot and crispy.
Top picks for "golden hash brown"
As an affiliate, we earn on qualifying purchases.
History
According to culinary historians, the origins of the golden hash brown can be traced back to the early 20th century. These crispy potato cakes were likely inspired by the traditional European dish of rösti, which features shredded, pan-fried potatoes.
As immigrants from various European nations settled in North America, they adapted this hearty staple to local ingredients and cooking methods, eventually giving rise to the hash brown as we know it today. The evolution of hash browns parallels the way different cultures have influenced pet care, such as the detailed Ultimate Hamster Care Guide that highlights the importance of proper nutrition and habitat for small animals.
The term "hash brown" emerged in the early 1900s, referring to the practice of "hashing" or finely chopping and then pan-frying cooked potatoes.
Over the decades, hash brown recipes evolved, with the addition of various seasonings and cooking techniques to achieve the signature golden-brown crust and fluffy interior.
Today, the humble hash brown remains a beloved breakfast classic, enjoyed worldwide for its satisfying texture and comforting flavor.
Recipe

Golden Hash Browns Recipe
Crispy, golden-brown hash browns are a breakfast staple that can elevate any morning meal. This recipe yields perfectly cooked hash browns that are a delightful combination of crunchy edges and fluffy interiors. Whether you're hosting a brunch or simply craving a satisfying home-cooked breakfast, these hash browns are sure to impress.
To enhance your kitchen experience, consider the efficiency of modern appliances, including those with toilet flushing efficiency, which can save water and reduce utility bills.
The key to achieving the optimal texture lies in the right balance of ingredients and technique. By grating the potatoes and properly draining them, you'll create the ideal foundation for that coveted crispiness. With a few simple steps, you can transform humble potatoes into a show-stopping side dish that will have your family and guests asking for seconds.
Ingredients:
- 3 medium russet potatoes, peeled and grated
- 1 tablespoon unsalted butter
- 1 tablespoon vegetable oil
- 1/2 teaspoon salt
- 1/4 teaspoon black pepper
Instructions:
Squeeze the grated potatoes between paper towels or a clean kitchen towel to remove as much moisture as possible.
Heat the butter and oil in a large nonstick skillet over medium-high heat. Add the grated potatoes in an even layer and cook for 5-7 minutes, or until the bottom is golden brown.
Flip the hash browns and continue cooking for another 5-7 minutes, or until the other side is crispy and golden. Season with salt and pepper.
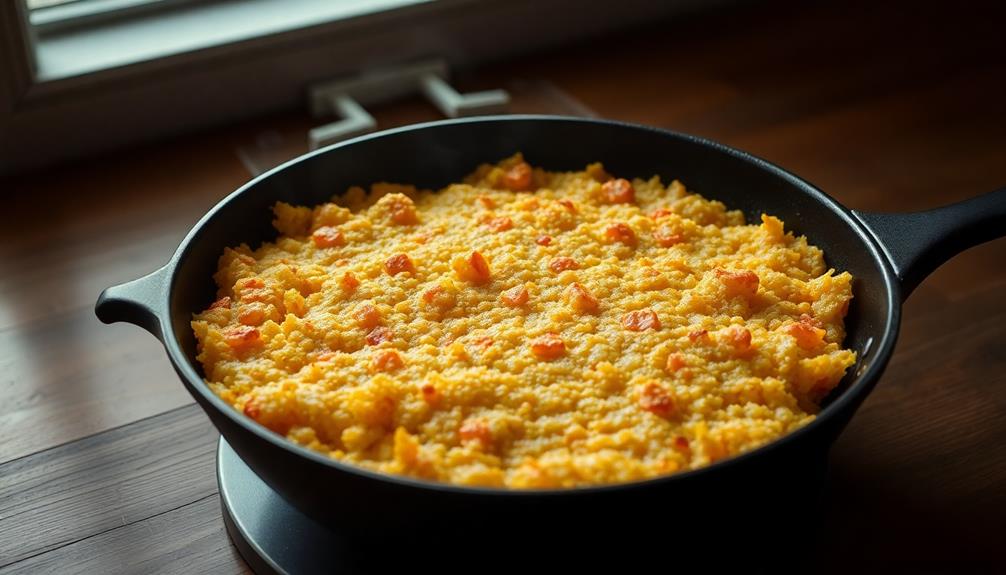
For best results, cook the hash browns in batches, if necessary, to maintain the high heat and achieve the perfect texture. Serve the golden hash browns immediately, while they're hot and crispy. Enjoy!
Cooking Steps
Shred those potatoes into long, thin strips.
Soak the shredded potatoes in water to remove excess starch, then drain and pat them dry.
Now, it's time to fry the potatoes in hot oil until they're golden brown, seasoning with a sprinkle of salt and pepper for the perfect hash browns.
Step 1. Shred Potatoes Into Long Strips

Once you've washed and peeled the potatoes, it's time to shred them into long, thin strips. You can use a box grater or a food processor with a shredding attachment to make this job quick and easy.
Gently press each potato half against the large holes of the grater, moving it back and forth to create long, slender strips. If using a food processor, simply feed the peeled potato pieces through the shredding disc. Work in batches if needed to avoid overcrowding.
Be sure to shred the potatoes just before frying them, as they'll start to discolor if left exposed to air for too long.
Once shredded, give the potato strips a gentle squeeze to remove any excess moisture. This will help them get extra crispy when cooked.
Now that you've got your perfectly shredded potatoes, you're ready to start frying up those delicious golden hash browns!
Step 2. Soak Shredded Potatoes in Water

After shredding the potatoes, it's important to soak them in cold water. This step helps remove excess starch, which can make the hash browns sticky.
Simply place the shredded potatoes in a bowl and cover them with cold water. Let them soak for at least 30 minutes, stirring occasionally. This will help the potatoes retain their shape and crisp up nicely during the cooking process.
Once the potatoes have soaked, drain them thoroughly in a colander or strainer. Gently squeeze out any excess moisture using your hands or a clean kitchen towel.
Removing as much water as possible will prevent the hash browns from becoming soggy. Now that your shredded potatoes are prepped, you're ready to move on to the next step: cooking them to golden perfection.
Get ready to create some tasty hash browns!
Step 3. Drain and Pat Dry Potatoes

Next, drain the shredded potatoes thoroughly in a colander or strainer. Gently press down on the potatoes to remove as much excess moisture as possible. You don't want your hash browns to be soggy, so this step is crucial.
Once drained, lay the potatoes out on a clean kitchen towel or paper towels. Gently pat them dry, making sure to absorb any remaining water. This will help the potatoes crisp up nicely when you cook them.
After drying the potatoes, you can transfer them to a bowl or plate, ready for the next step. Be careful not to pack them too tightly, as you want the individual shreds to have room to crisp up.
If the potatoes are still a bit damp, don't worry – just give them a few more pats with the towel. The goal is to remove as much moisture as you can before cooking, so your hash browns turn out deliciously golden and crispy.
Step 4. Fry Potatoes in Hot Oil

Heat a large, preferably nonstick, skillet over medium-high heat. Once it's nice and hot, add just enough oil to lightly coat the bottom. You want the oil shimmering, but not smoking.
Carefully add the drained potato shreds, spreading them out in an even layer. Let them sizzle and crisp up, resisting the urge to stir too often. After a few minutes, use a spatula to flip sections of the hash browns, allowing the uncooked parts to get golden-brown and crispy.
Continue this process, flipping and rearranging the potatoes, until they're all evenly fried to perfection. The key is letting them get a nice sear on each side without overcrowding the pan.
When they're done, transfer the crispy hash browns to a paper towel-lined plate to drain any excess oil. Season with a sprinkle of salt and pepper, then serve hot and enjoy!
Step 5. Season With Salt and Pepper

With the crispy hash browns now transferred to a paper towel-lined plate, it's time to season them.
Grab a pinch of salt and a few grinds of fresh black pepper. Sprinkle the salt and pepper evenly over the hash browns, using your fingers to spread it around. You want just enough seasoning to enhance the natural potato flavor without overpowering it.
Gently toss the seasoned hash browns to ensure every piece is coated. The salt will bring out the hash browns' natural sweetness, while the pepper adds a subtle kick of heat and aroma.
Feel free to add a bit more of either seasoning if you'd like a stronger flavor. Just be careful not to over-season, as you can always add more but can't take it away once it's on there.
Now that your golden hash browns are perfectly seasoned, they're ready to be enjoyed!
Serve them hot, perhaps alongside your favorite breakfast dishes for a delicious and satisfying meal.
Final Thoughts
Having followed the steps above, you now have a golden batch of delicious hash browns. Well done! You should feel proud of your crispy, evenly browned hash browns.
These hash browns are perfect for breakfast, brunch, or even a tasty side dish. The key is to let the potatoes sizzle and develop that irresistible, golden crust. Be sure to savor every bite – the combination of fluffy interior and crisp exterior is simply divine.
Looking ahead, you can experiment with different seasonings or mix-ins to customize your hash browns. Try adding chopped onions, bell peppers, or even shredded cheese for extra flavor.
You can also play around with the size and shape of your hash brown portions. Whether you prefer small, bite-sized pieces or large, hefty patties, the choice is yours.
As you continue honing your hash brown skills, you'll discover endless possibilities to elevate this classic dish.
Frequently Asked Questions
Can I Use Different Types of Potatoes?
You can certainly use different types of potatoes for this recipe. Russet, Yukon Gold, or even sweet potatoes would work well. The key is to adjust cooking times and technique to achieve the desired texture.
How Do I Make the Hash Browns Crispy?
To make your hash browns crispy, you'll want to grate or shred the potatoes, then squeeze out as much moisture as possible. Fry them in batches in hot oil, making sure not to overcrowd the pan for maximum crispness.
Can I Freeze the Cooked Hash Browns?
You can absolutely freeze the cooked hash browns. Simply let them cool completely, then arrange them in a single layer on a baking sheet and freeze until solid. Transfer to an airtight container for up to 3 months.
How Long Do the Hash Browns Keep?
You can store the cooked hash browns in the refrigerator for up to 5 days. Be sure to let them cool completely before transferring them to an airtight container. They'll stay fresh and delicious for several days when stored properly.
Can I Add Other Ingredients to the Recipe?
You can absolutely add other ingredients to the recipe! Feel free to experiment with spices, cheeses, or even veggies. Just be mindful of how the additions might affect the cooking time and overall texture of the hash browns.