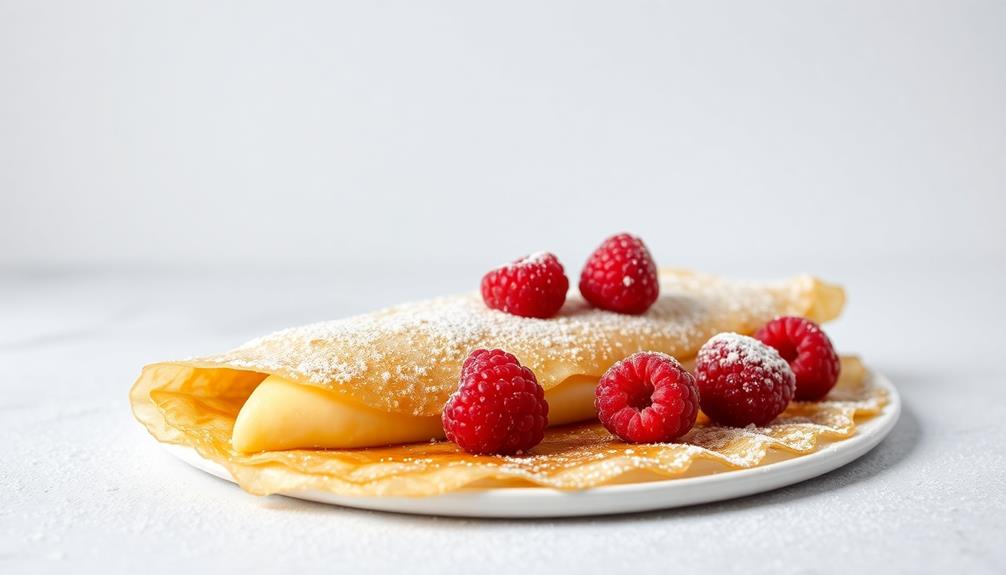
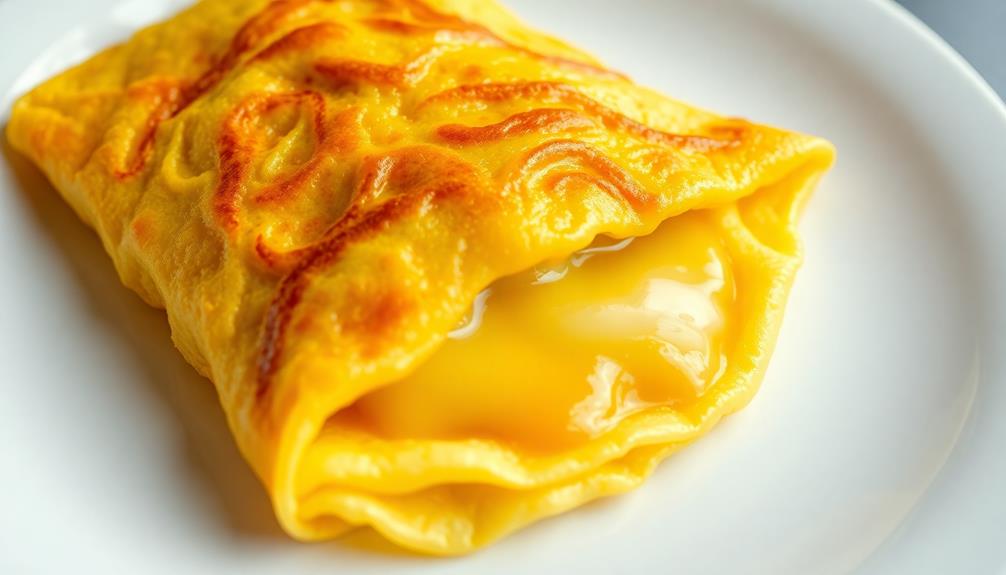
Crafting perfect crepes is simpler than you might think. The secret lies in preparing the batter properly and mastering the cooking technique. Start by whisking together a smooth batter with flour, eggs, milk, melted butter, and a pinch of salt. Let it rest for 30 minutes before cooking. When ready, lightly grease a pan and pour in the batter, tilting and swirling to evenly distribute it. Cook each crepe until the edges brown and the center sets, then gently flip. Maintain a medium heat, avoid overcrowding, and embrace any unique shapes – the imperfections add character. Curious to learn more delectable ways to enjoy these versatile delights?
Key Takeaways
- Prepare a smooth, lump-free batter by whisking together the essential ingredients of flour, eggs, milk, butter, and salt.
- Allow the batter to rest for at least 30 minutes to achieve the optimal texture for cooking.
- Use a non-stick pan and maintain a consistent medium heat to prevent sticking and burning.
- Gently pour and swirl the batter in the pan to evenly distribute it, creating thin, delicate crepes.
- Experiment with a variety of sweet or savory fillings to personalize the crepes and cater to diverse tastes.
History
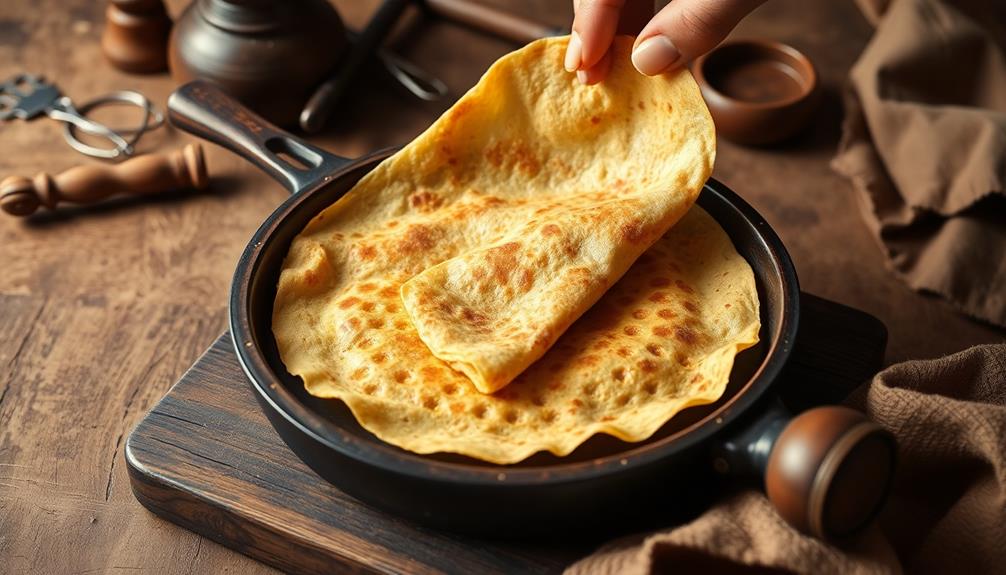
Although the exact origins of crepes are unclear, they can be traced back to ancient Greece and Rome, where thin, pancake-like flatbreads were commonly enjoyed.
Over the centuries, the crepe evolved, finding its way to France, where it became a beloved staple. In the 13th century, the first recorded mention of crepes was in the town of Brittany, where they were cooked on large, flat griddles.
Recipe
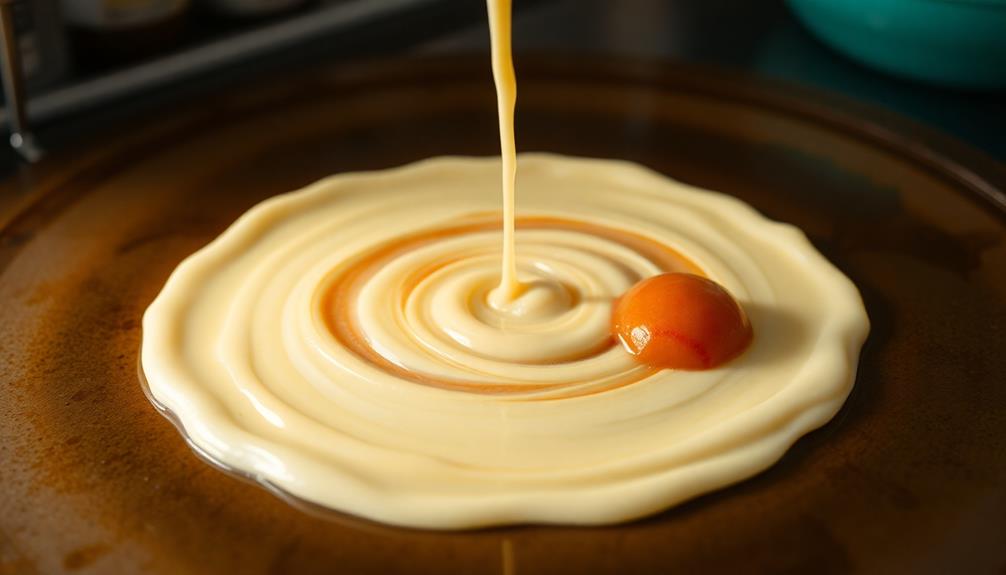
Crepes are a delicate and versatile French dish, perfect for breakfast, lunch, or dessert. They can be filled with sweet or savory ingredients, making them a crowd-pleasing option for any occasion. The key to achieving perfect crepes lies in the batter and the technique.
First, it's important to let the batter rest for at least 30 minutes before cooking. This allows the flour to fully hydrate, resulting in a smooth and pourable consistency. Additionally, using a non-stick pan and lightly greasing it between each crepe is essential for easy flipping and a delicate texture.
Ingredients:
- 1 cup (125g) all-purpose flour
- 2 eggs
- 1 cup (240ml) milk
- 2 tablespoons (30ml) melted butter
- 1/4 teaspoon (1.25ml) salt
Instructions:
In a large bowl, whisk together the flour, eggs, milk, melted butter, and salt until the batter is smooth and free of lumps. Let the batter rest for 30 minutes.
Heat a non-stick pan over medium heat. Lightly grease the pan with butter or oil. Pour approximately 1/4 cup (60ml) of batter into the pan, tilting the pan to evenly distribute the batter. Cook for 1-2 minutes, or until the edges start to lightly brown and the center is set. Carefully flip the crepe and cook for an additional 30 seconds to 1 minute.
Transfer the cooked crepe to a plate and repeat with the remaining batter, greasing the pan between each crepe.
When cooking crepes, it's important to maintain a consistent temperature and to avoid overcrowding the pan. Experiment with different fillings, both sweet and savory, to find your favorite combinations. Enjoy your homemade crepes!
Cooking Steps

Whisk the batter until it reaches a smooth, pourable consistency.
Lightly grease the pan before pouring in the batter.
Tilt and swirl the pan to evenly coat the surface, then cook the crepe until it's lightly browned.
Step 1. Whisk Batter Until Smooth Consistency
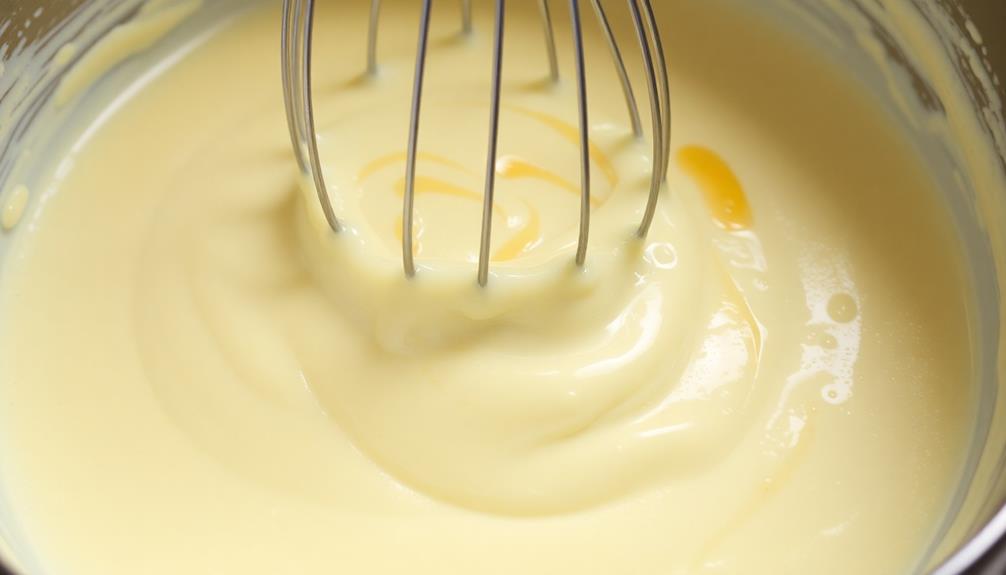
Once you have gathered all the necessary ingredients, it's time to whisk the batter until it reaches a smooth, lump-free consistency. Start by pouring the flour into a large mixing bowl. Gradually add the milk, stirring continuously to prevent any clumps from forming.
Be sure to incorporate the eggs and melted butter as well, whisking vigorously until the mixture is completely smooth and uniform. Don't be afraid to put some elbow grease into it! Whisk the batter for 2-3 minutes, or until you can no longer feel any grainy texture.
The goal is a silky, pourable consistency that will result in beautifully thin, delicate crepes. If the batter seems too thick, add a splash of milk and whisk again. Conversely, if it's too thin, simply let it rest for a few minutes to thicken up on its own.
With a little practice, you'll get a feel for the perfect crepe batter consistency.
Step 2. Grease the Pan Lightly

Next, lightly grease your pan. You can use a small amount of butter, oil, or nonstick cooking spray to coat the surface. This will help prevent the crepes from sticking and make them easier to flip.
Be sure to spread the grease evenly across the entire pan, getting into the corners and sides. You don't need a thick layer – just a light coating will do the trick.
Once your pan is greased, heat it over medium heat. You'll want the pan to be hot but not scorching. When a drop of water sizzles on the surface, it's ready for your first crepe.
Gently pour in a small amount of batter, tilting the pan to swirl it and create a thin, even layer. Cook the crepe for about 1-2 minutes, until the edges start to lift and the surface looks dry.
Carefully flip it over and cook for another 30 seconds to 1 minute. Slide the crepe onto a plate and repeat the process with the remaining batter.
Step 3. Pour Batter Into Heated Pan
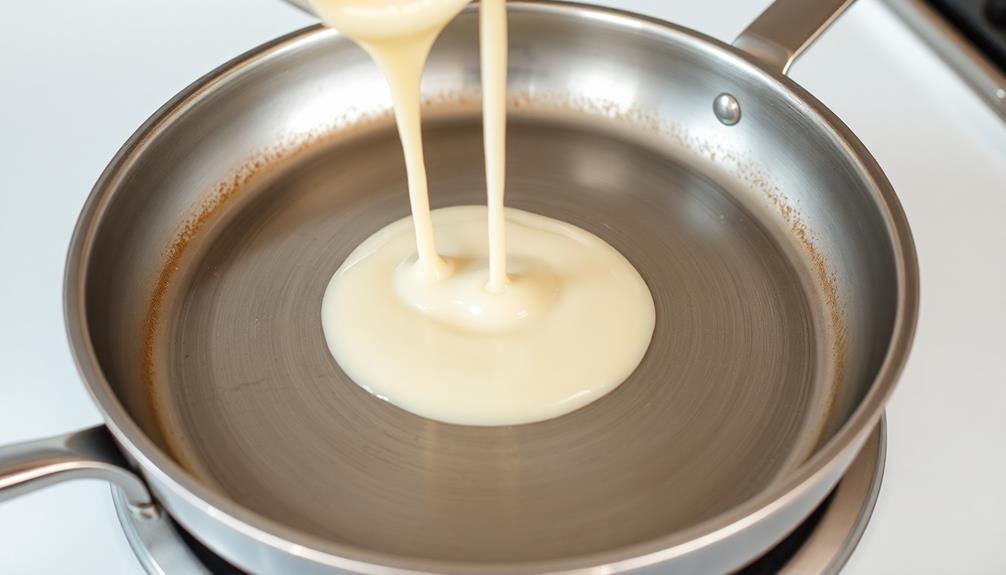
With the pan heated and lightly greased, it's time to pour in the batter.
Hold the batter-filled ladle or measuring cup about 6 inches above the pan, then slowly pour the batter onto the center of the pan. Use a gentle, circular motion to let the batter spread evenly across the surface.
Don't worry if the batter doesn't reach the edges right away – it will spread as it cooks.
Once the batter is in the pan, let it cook for about 1 minute. You'll know it's ready to flip when the edges start to curl up and the center looks set.
Gently slide a thin spatula under the crepe and flip it over. Cook the other side for another 30 seconds to 1 minute, until lightly browned.
Be careful not to overcrowd the pan – cook one crepe at a time for best results.
Pour in just enough batter to thinly cover the surface.
With a little practice, you'll be flipping perfect crepes in no time!
Step 4. Tilt and Swirl the Pan
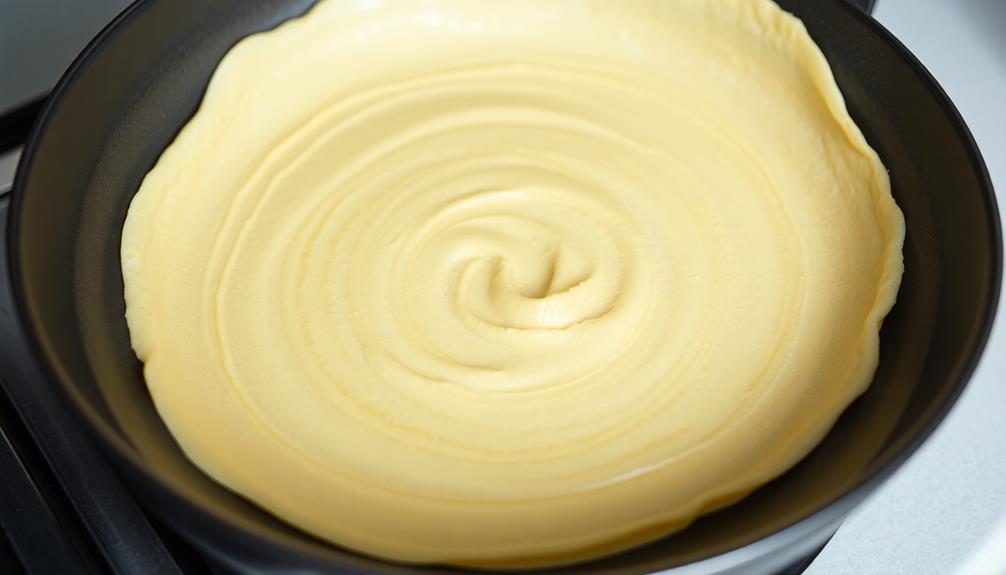
As the batter sizzles in the pan, gently tilt and swirl it around to help the crepe take shape. Using smooth, circular motions, guide the liquid batter up the sides of the pan, coating the surface evenly. This tilting and swirling technique is key to creating those thin, delicate crepes you crave.
Don't worry if the batter doesn't spread perfectly at first – with a little practice, you'll get the hang of it.
Once the batter has coated the pan, let it cook for about 30 seconds to a minute, until the edges begin to lightly brown. Then, using a spatula, gently lift up the crepe to check the underside. If it's nicely golden, it's ready to flip!
Carefully slide the spatula underneath and flip the crepe over. Cook for another 30 seconds on the other side, then slide the crepe onto a plate.
Repeat this process, tilting and swirling the pan, for each new crepe.
Step 5. Cook Until Lightly Browned
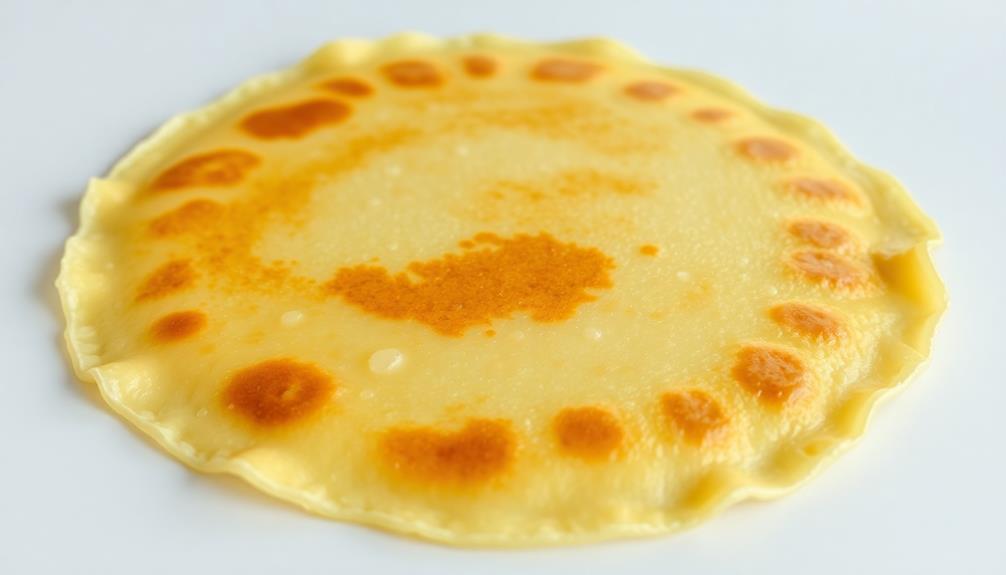
Once the batter has coated the pan, let it cook for about 30 seconds to a minute.
You'll see the edges start to set and turn a light golden brown. This is your cue to gently slide a spatula under the crepe and flip it over.
Don't worry if it doesn't look perfect – crepes are all about embracing their unique, delicate shapes!
The second side will only need 15-20 seconds to cook.
You're looking for a light, even browning all over. When it's ready, slide the spatula under the crepe and transfer it to a plate or baking sheet.
Repeat this process with the remaining batter, stacking the cooked crepes on top of each other.
Be gentle when flipping and moving the crepes – they're incredibly thin and delicate.
If any tear, don't worry, you can still enjoy them!
The key is to keep the heat moderate and work quickly.
With a little practice, you'll be making perfect, golden brown crepes in no time.
Final Thoughts
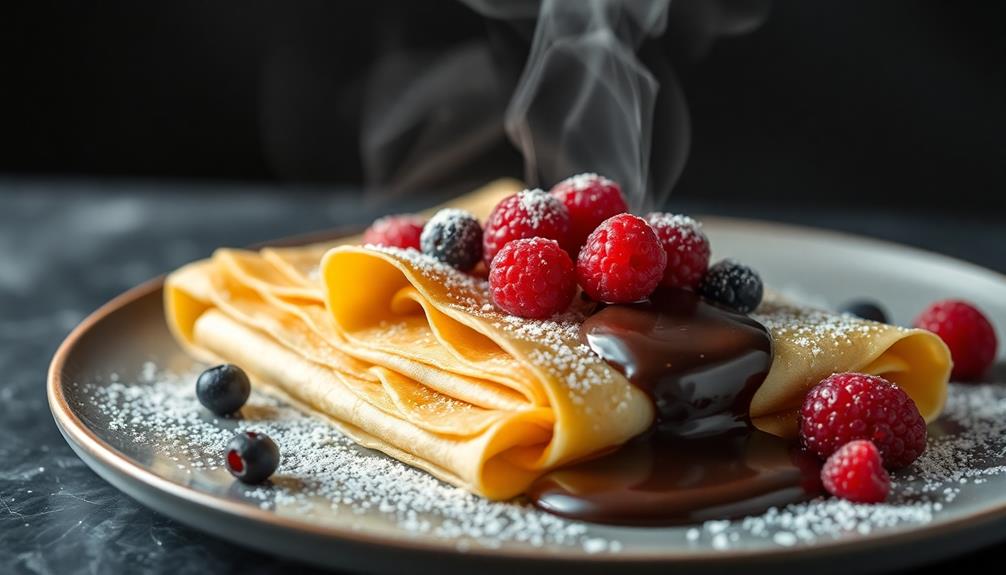
Mastering the art of crafting perfect crepes unlocks a world of culinary possibilities. With the techniques you've learned, you can now bring the delicate, versatile crepe to life in your own kitchen.
Whether you choose to fill them with sweet or savory ingredients, the options are endless. Crepes make for a delightful breakfast, a sophisticated dessert, or even a satisfying main course.
Experiment with different batters, fillings, and toppings to discover your personal favorites. Don't be afraid to get creative and put your own spin on this classic French dish.
Frequently Asked Questions
What Is the Difference Between French and American-Style Crepes?
The main difference between French and American-style crepes is their thickness. French crepes are paper-thin and delicate, while American crepes are thicker and fluffier. Additionally, French crepes are typically served with sweet fillings, while American crepes can be savory or sweet.
Can I Use a Regular Pan Instead of a Crepe Pan?
You can use a regular pan instead of a dedicated crepe pan, but you may need to adjust the heat and cooking time to get the right texture. Just be sure to use a non-stick surface for best results.
How Do I Prevent the Crepes From Sticking to the Pan?
To prevent crepes from sticking, make sure your pan is well-greased with butter or oil. Heat the pan over medium heat, and pour just enough batter to coat the surface. Quickly swirl the pan to spread the batter evenly.
How Do I Keep the Crepes Warm Until Serving?
To keep your crepes warm until serving, stack them on a plate and cover with a damp paper towel or clean kitchen towel. This will prevent them from drying out and becoming brittle while you prepare the rest of your meal.
Can I Make the Batter in Advance?
Yes, you can make the crepe batter in advance. Simply store it covered in the fridge for up to 2 days. When ready to use, give it a quick stir and you're good to go!

