
Whip up the perfect omelette in a flash with a few simple tips. Crack fresh eggs into a bowl, then whisk vigorously to incorporate air and create that signature fluffiness. Heat your skillet to medium, melt some butter, then pour in the eggs. As the omelette sets, tilt the pan to allow uncooked egg to flow to the edges. Lift the edges to ensure even cooking. Remove from heat when the top is just barely set – the center should still be soft and creamy. With a little practice, you'll be an omelette master in no time. Keep reading to discover more expert techniques.
Key Takeaways
- Use a non-stick skillet and a steady medium heat to ensure even cooking and easy folding of the omelette.
- Whisk the eggs vigorously to incorporate air, resulting in a fluffy texture.
- Add just enough butter to the skillet to prevent sticking without creating greasiness.
- Monitor the cooking closely and remove from heat when the top is barely set, allowing the center to remain soft.
- Experiment with different fillings like cheese, vegetables, or meats to customize the omelette to your taste.

Gevi Commercial Espresso and Coffee Makers, Professional 20 Bar Espresso Maker with Milk Frother, Stainless Steel Expresso Coffee Machines for Home, Compact Cappuccino Machine, Great Gift
𝐎𝐩𝐭𝐢𝐦𝐚𝐥 𝐅𝐥𝐚𝐯𝐨𝐫 𝐄𝐱𝐭𝐫𝐚𝐜𝐭𝐢𝐨𝐧 - Equipped with a 20-bar pump, NTC temperature control, pre-infusion feature, and a pressure gauge,...
As an affiliate, we earn on qualifying purchases.
History

The origins of the omelette can be traced back to ancient Greece, where cooks would whip eggs and bake them in a pan. This simple dish soon spread throughout Europe, becoming a staple breakfast food.
In the 17th century, the omelette evolved, with French chefs perfecting the technique of folding the eggs to create a fluffy, golden-brown exterior.
During the 19th century, the omelette made its way to America, where it became a beloved breakfast classic. Cooks experimented with fillings, from cheese and vegetables to meat and herbs, creating endless variations.
Today, the omelette remains a beloved dish worldwide, enjoyed for its versatility and delicious flavour.
Whether you're a novice or an experienced chef, mastering the art of the perfect omelette is a rewarding culinary journey. With a few simple tips and a bit of practice, you can whip up a delightful omelette in no time, delighting your taste buds and impressing your family and friends.

Blink Outdoor 4 – Wireless smart security camera, two-year battery life, 1080p HD day and infrared night live view, two-way talk. Sync Module Core included – 5 camera system
Outdoor 4 is our most affordable wireless smart security camera yet, offering up to two-year battery life for...
As an affiliate, we earn on qualifying purchases.
Recipe

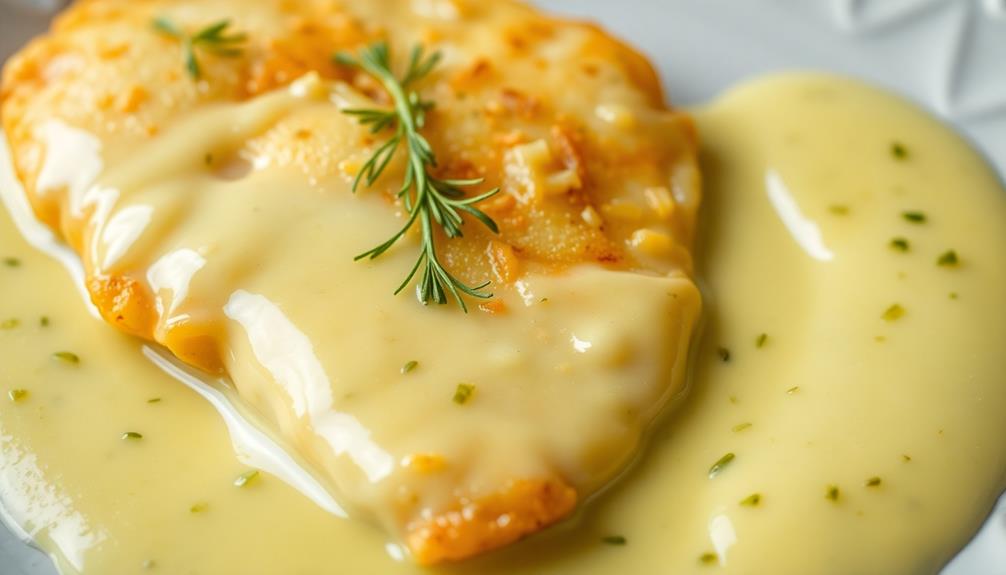
Achieving the perfect omelette requires a delicate balance of technique and ingredients. The key is to gently cook the eggs, allowing them to set gradually and creating a soft, fluffy texture. To enhance the nutritional value of your omelette, consider adding ingredients like spinach or tomatoes, which are packed with vitamins and antioxidants, making it a great option for an anti-inflammatory breakfast.
The filling can be customized to suit your personal preferences, making this dish a versatile and satisfying breakfast or brunch option.
When preparing the omelette, it's important to use fresh, high-quality eggs and to whisk them lightly to incorporate air, resulting in a lighter, fluffier final product. The choice of fillings can range from classic cheese and vegetables to more adventurous combinations, ensuring that every bite is a delight.
Ingredients:
- 3 large eggs
- 1 tablespoon unsalted butter
- 2 tablespoons milk or water
- Salt and freshly ground black pepper, to taste
- Your choice of fillings (e.g., shredded cheese, diced vegetables, cooked meats)
In a small non-stick skillet over medium heat, melt the butter. Whisk the eggs and milk/water together in a bowl, and season with salt and pepper. Pour the egg mixture into the heated skillet and let it sit for 20-30 seconds to set the bottom.
Using a spatula, gently push the cooked eggs towards the center, tilting the pan to allow the uncooked egg to flow to the edges. Continue this process until the omelette is mostly set but still slightly runny on top, about 2-3 minutes.
Add your desired fillings to one half of the omelette, then use the spatula to fold the other half over the filling. Slide the omelette onto a plate and serve immediately.
For the best omelette, be sure to use a non-stick skillet and keep the heat at a moderate level to prevent the eggs from overcooking or burning. Additionally, resist the urge to overfill the omelette, as this can make it difficult to fold and may result in a messy presentation.
With a little practice, you'll be able to create the perfect omelette every time.

aosu Security Cameras Outdoor Wireless, 4 Cam-Kit, No Subscription Required, Solar-Powered, Home Security Cameras System with 360° Pan & Tilt, Auto Tracking, 2K Color Night Vision, Easy Setup
No Subscription Required with aosuBase: All recordings will be encrypted and stored in aosuBase without subscription or hidden...
As an affiliate, we earn on qualifying purchases.
Cooking Steps

Crack those eggs into a bowl and whisk them vigorously until they're light and frothy.
Next, heat up a skillet over medium heat, then add a pat of butter to the pan.
Now, pour that egg mixture right into the hot skillet – it's time to get cooking!
Step 1. Crack Eggs Into a Bowl
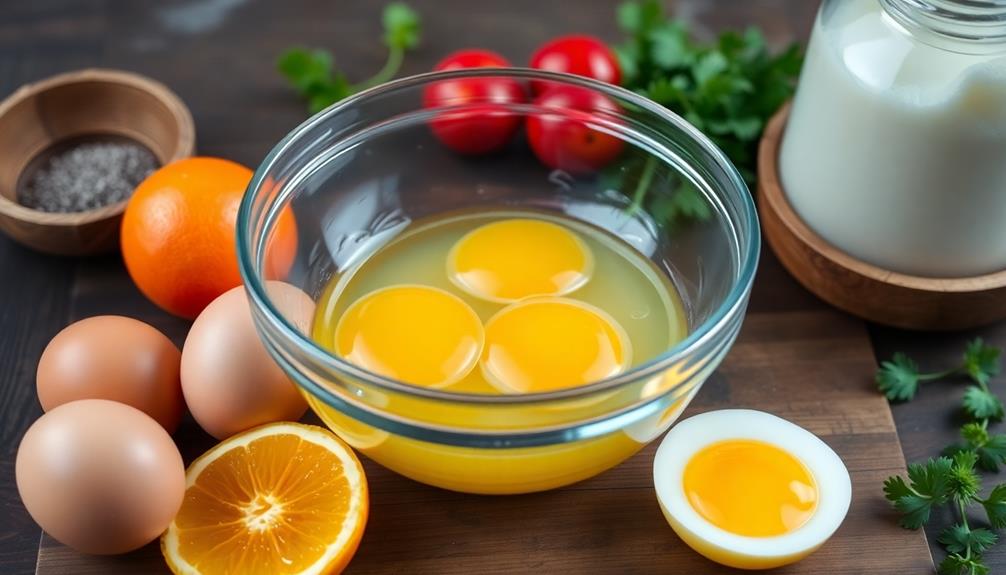
To begin, crack 2-3 fresh eggs into a medium-sized bowl. Be gentle but firm as you tap the eggs against the side of the bowl, allowing the shells to crack open.
Once cracked, use your fingers to gently separate the shells, letting the eggs slide into the bowl. Avoid letting any eggshells fall in, as they can impart a bitter taste.
Next, use a fork or small whisk to lightly beat the eggs. Don't over-whisk, as you want to maintain some texture. Beating the eggs incorporates air, which will result in a fluffier omelette.
For extra flavor, you can add a splash of milk or a pinch of salt and pepper at this stage. Gently swirl the bowl to ensure the ingredients are evenly distributed.
Your eggs are now ready to be poured into the pan. Be sure to have all your other omelette fillings prepared and within reach, as the cooking process moves quickly.
Step 2. Whisk Eggs Vigorously
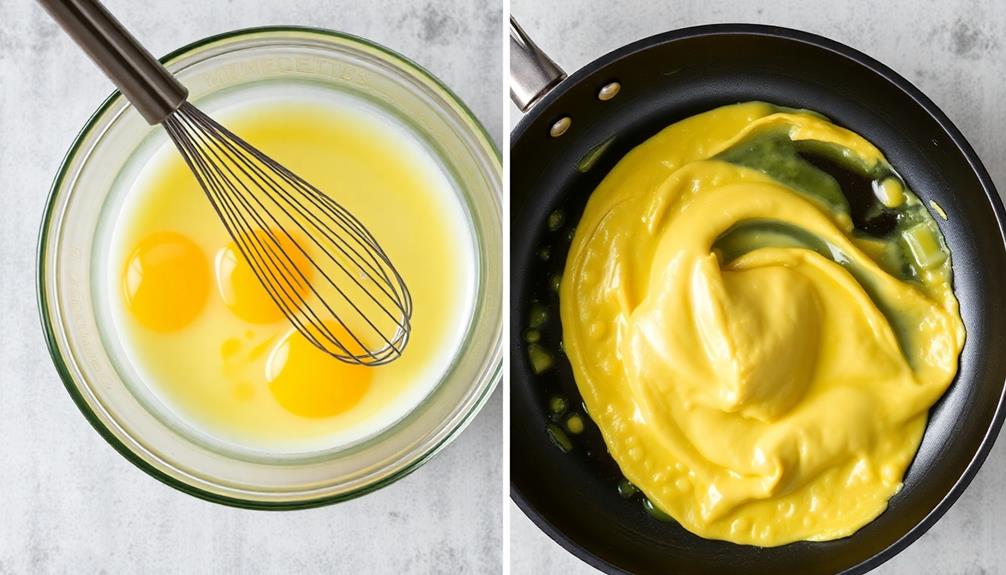
Vigorously whisk the eggs until they're light and airy. This crucial step incorporates air into the eggs, resulting in a fluffy omelette. Use a fork or whisk and beat the eggs briskly for about 30 seconds.
You'll know you're done when the eggs have doubled in volume and appear pale and frothy. Whisking aerates the eggs, creating tiny air pockets that will expand when cooked. This gives the omelette its signature light and tender texture.
Don't overbeat, though – just whisk until the eggs are evenly blended, with no visible strings of egg white. Rushed or half-hearted whisking produces a dense, rubbery omelette. Take the time to do this step properly for best results.
With the eggs prepped, you're ready for the next step: heating the pan. Gather your remaining ingredients and cooking tools, then heat the pan over medium-low to begin assembling your perfect omelette.
Step 3. Heat Skillet Over Medium

Once the eggs are vigorously whisked, it's time to heat the skillet over medium.
Place the skillet on the stovetop and turn the burner to a medium setting. You'll want the skillet to get nice and hot, but not scorching. Keep an eye on it and let it warm up for a minute or two.
When the skillet is hot, add a small knob of butter or a drizzle of oil.
Swirl it around to coat the bottom of the pan. The butter or oil should sizzle gently – that's how you know the skillet is at the perfect temperature. If it smokes or burns, the heat is too high. Adjust the burner as needed to maintain a steady, even heat.
With the hot, lubricated skillet ready, it's time to pour in the whisked eggs.
They should immediately begin to set around the edges. Use a spatula to gently push the cooked egg towards the center, tilting the pan to allow the uncooked egg to flow to the sides. Repeat this process until the omelette is mostly set.
Step 4. Add Butter to Skillet

Next, how much butter should you add to the skillet? The amount of butter you need can vary, but a good rule of thumb is about 1 to 2 teaspoons per egg you're using. This will help create a delicious, golden-brown exterior for your omelette.
Once your skillet is heated, add the butter and let it melt completely. Swirl the pan to ensure the bottom is evenly coated. You want the butter to be hot but not burning. If it starts to brown too quickly, reduce the heat slightly.
The melted butter will help prevent the eggs from sticking and give your omelette a rich, velvety texture. Be sure to use just enough butter to lightly coat the surface of the pan. Too much butter can make the omelette greasy.
Pay close attention as the butter melts, and adjust the heat as needed to keep it from burning. With the right amount of butter, you're well on your way to creating a perfect omelette.
Step 5. Pour Egg Mixture Into Skillet
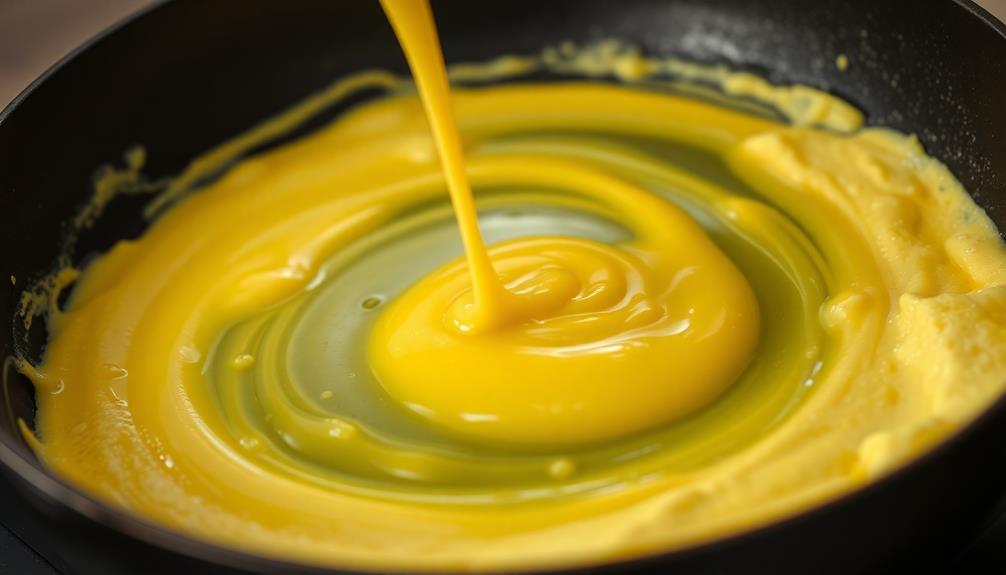
With the melted butter coating the skillet, gently pour the egg mixture into the center of the pan. Slowly allow the eggs to spread outward, creating an even layer.
Don't stir or disturb the eggs just yet – let them set for a minute or two. This will help the bottom of the omelette cook and firm up while the top remains a bit runny.
Once the edges have started to set, use a spatula to gently lift the omelette, tilting the pan to allow the uncooked egg on top to flow underneath. This technique will help the omelette cook evenly throughout.
Continue this process, lifting the edges and tilting the pan, until the top is just barely set but the center is still a bit soft and creamy. Avoid overcooking, as that will result in a dry, rubbery omelette.
With practice, you'll get a feel for the perfect moment to remove it from the heat.

aosu Security Cameras Outdoor Wireless, 4-Cam-Kit, 166° Ultra-Wide-Angle, Battery Powered, No Subscription Required, Home Security Cameras System with 2K Color Night Vision, Spotlight, Motion Alert
Maximize Security Coverage - 166° ultra-wide angle lens provides complete coverage without any blind spots. Live view all...
As an affiliate, we earn on qualifying purchases.
Final Thoughts

Making the perfect omelette is an art form that takes practice and patience. Don't be discouraged if your first attempts aren't flawless. With each try, you'll get better at mastering the techniques.
Remember to use the freshest ingredients and adjust the cooking time to your desired texture. A fluffy, golden omelette is the ultimate goal, but you might need to experiment to find your personal preference.
Don't be afraid to get creative by adding your favorite fillings, herbs, or spices. The beauty of omelettes is their versatility. You can enjoy them for breakfast, lunch, or dinner.
They make a quick, satisfying meal that's perfect for any time of day. Keep practicing, and soon you'll be whipping up restaurant-quality omelettes right in your own kitchen.
The joy of cooking is in the journey, so embrace the process and have fun with it.
Frequently Asked Questions
What Type of Pan Works Best for Making an Omelette?
You'll want to use a non-stick skillet or omelette pan for the best results. The slick surface allows the eggs to slide right out, and the shallow depth helps the omelette cook evenly.
How Can I Prevent My Omelette From Sticking to the Pan?
To prevent your omelette from sticking to the pan, use a non-stick skillet and coat it with a little butter or oil. Make sure the pan is hot before adding the egg mixture. Also, use a spatula to gently lift the edges as it cooks.
Can I Make a Large Omelette to Serve Multiple People?
Yes, you can make a large omelette to serve multiple people. Use a larger pan, add more eggs, and be sure to grease the pan well to prevent sticking. Cook in batches if needed to ensure even cooking.
Is It Necessary to Use Butter or Oil When Making an Omelette?
You don't necessarily need to use butter or oil when making an omelette. You can simply cook the eggs in a non-stick pan without any added fats. However, using a small amount of butter or oil can enhance the flavor and prevent sticking.
How Can I Add Fillings to My Omelette Without It Falling Apart?
To add fillings to your omelette without it falling apart, you should wait until the omelette is nearly cooked before adding the fillings. This will help the omelette hold its shape and prevent the fillings from making it fall apart.