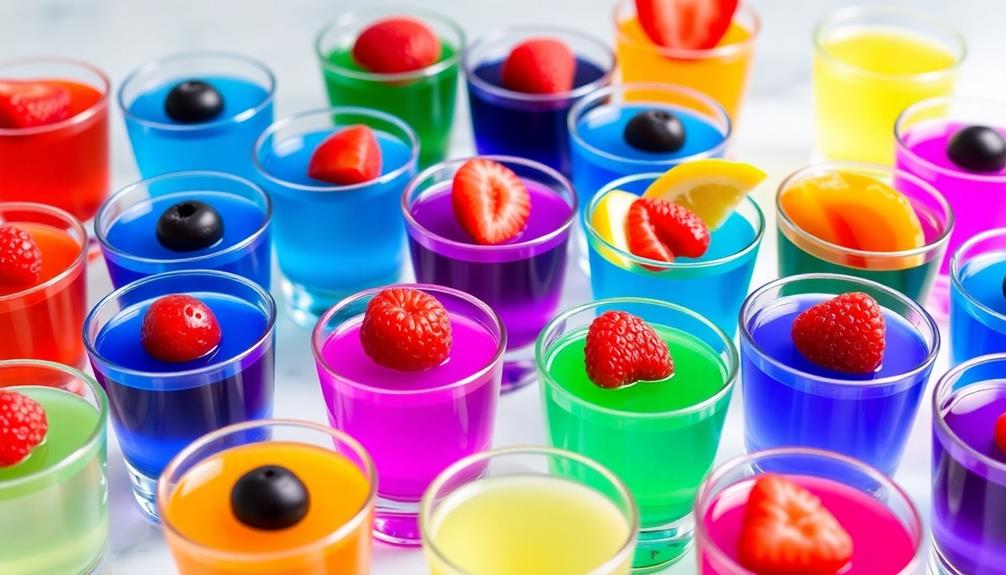
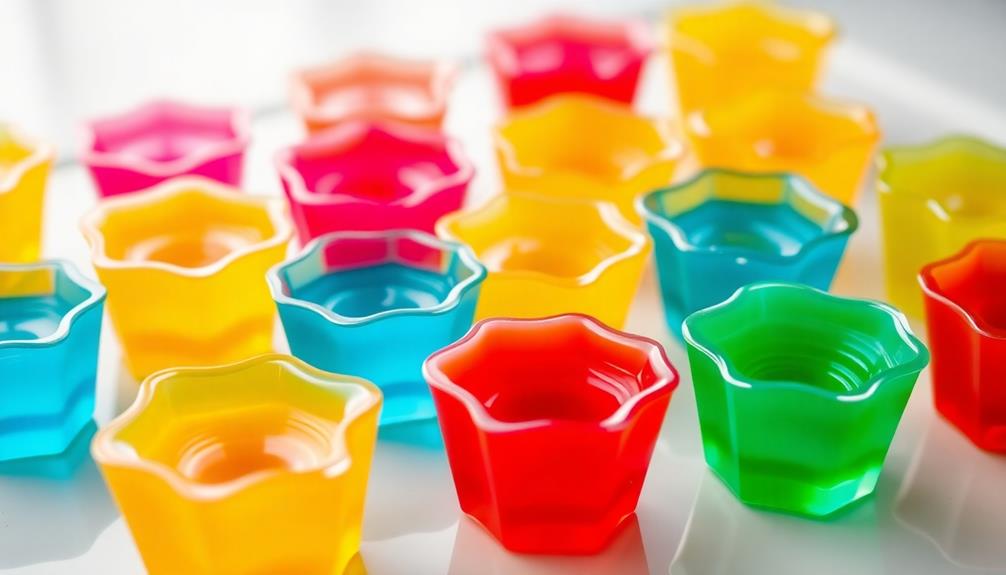
You'll be the life of the party with these tasty jello shots! The classic recipe starts with a simple 1:1 ratio of liquor and jello mix, which you can customize with all sorts of fruity flavors. Just dissolve the jello in boiling water, stir in your favorite spirit, then pour into molds and chill until set. You can get creative with fun shapes and garnishes too. The key is finding the perfect balance between alcohol and jello for the ideal texture – not too runny, not too dense. Once you've mastered the basics, you'll be a jello shot pro in no time!
Key Takeaways
- The classic jello shot recipe uses a 1:1 ratio of alcohol to boiling water, along with a packet of Jell-O for a fun, bite-sized cocktail experience.
- Jello shots can be made in a variety of flavors, using different types of alcohol and fruit juices, to cater to diverse tastes at parties.
- Proper chilling time of at least 4 hours is crucial to ensure the jello shots have a firm, glossy texture before unmolding and serving.
- Creative presentation techniques, such as using themed molds or garnishing with fresh fruit, can enhance the visual appeal of jello shots.
- Responsible consumption and clear labeling of alcohol content are important to prioritize guest safety when serving jello shots at parties.

Philips 3300 Series Fully Automatic Espresso Machine with integrated milk frother and grinder, 5 Hot & Iced Coffee Pre-Sets, 40% Quieter SilentBrew, 15-Bar Pressure, Glossy Black (EP3326/90)
5 PRESETS, ENDLESS COMBINATIONS: Espresso, coffee, espresso lungo, iced coffee, or simply hot water, take your pick. Top...
As an affiliate, we earn on qualifying purchases.
History
The origins of Jello shots can be traced back to the late 19th century, when enterprising bartenders began experimenting with gelatin-based cocktails.
These early Jello shots were often made with fruit juices and served at social gatherings, providing a fun and unique way to enjoy alcoholic beverages.
Over the years, the recipe for Jello shots has evolved, with countless variations incorporating different flavors and spirits.
The popularity of Jello shots soared in the 1970s and 1980s, becoming a staple at college parties and social events.
Their convenience, versatility, and ability to pack a punch made them an instant hit.
Today, Jello shots remain a beloved party favorite, with creative and sophisticated recipes elevating the humble gelatin-based drink.
From classic flavors to more adventurous combinations, Jello shots continue to capture the imagination of hosts and guests alike, offering a playful and delicious way to enjoy a night of revelry.

Philips 3200 Series Fully Automatic Espresso Machine, LatteGo Milk Frother, 5 Coffee Varieties, Intuitive Touch Display, 100% Ceramic Grinder, AquaClean Filter, My Coffee Choice, Black (EP3241/54)
5 AROMATIC COFFEES: Enjoy your favorite coffees for special moments. Whether you crave an espresso, coffee, americano, cappuccino...
As an affiliate, we earn on qualifying purchases.
Recipe
Jello shots are a classic party favorite, offering a fun and flavorful way to enjoy your favorite cocktail in a convenient, bite-sized form.
Whether you're hosting a gathering or simply looking to add a playful touch to your next celebration, this easy-to-follow recipe for the Best Jello Shots is sure to delight your guests.
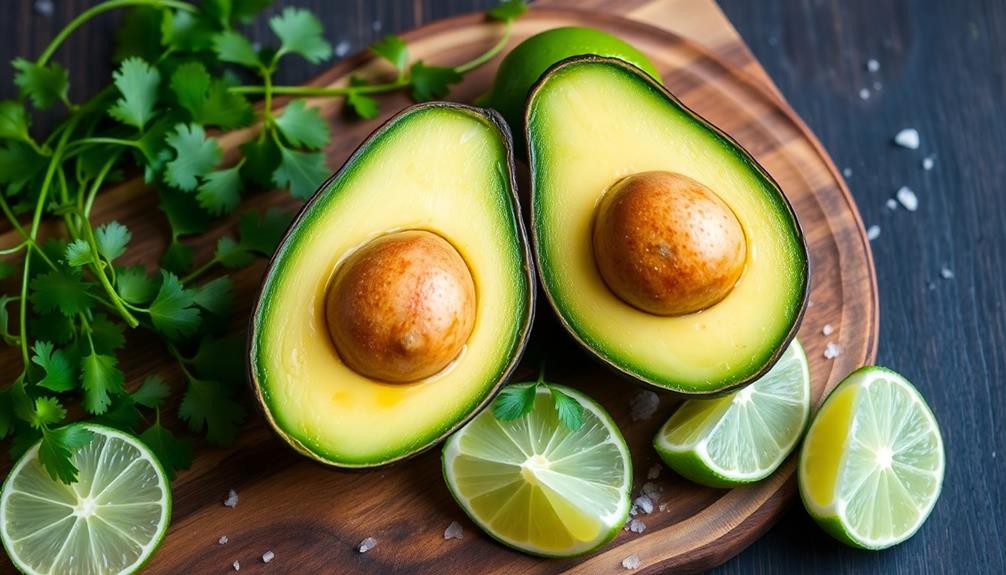
The beauty of jello shots lies in their versatility. You can experiment with a variety of fruit juices, liquors, and even creative garnishes to create a unique and personalized experience.
From the classic vodka and lime to more adventurous combinations like tequila and grapefruit, the possibilities are endless.
Ingredients:
- 1 (3-ounce) package of your favorite Jell-O flavor
- 1 cup of boiling water
- 1 cup of your preferred liquor (such as vodka, rum, or tequila)
- Optional garnishes (such as fresh fruit, sprinkles, or mint leaves)
Instructions:
In a medium-sized bowl, whisk together the Jell-O powder and boiling water until the gelatin is completely dissolved.
Stir in the liquor of your choice and mix well. Carefully pour the jello mixture into shot glasses or a muffin tin, filling each cavity about three-quarters full.
Refrigerate for at least 4 hours or until the jello shots are set.
Tips:
When making jello shots, be mindful of the alcohol content. Start with a lower ratio of liquor to Jell-O, as the gelatin can intensify the potency of the alcohol.
Additionally, consider adding a splash of fruit juice or soda to create a more balanced and flavorful shot. Lastly, don't be afraid to experiment with different Jell-O flavors and garnishes to find your perfect combination.

Philips 5500 Series Fully Automatic Espresso Machine, LatteGo Milk System, Integrated Grinder, 20 Hot & Iced Coffee Pre-Sets, Quick Start, SilentBrew, 15-Bar Pressure, Black Chrome (EP5544/94)
20 PRESETS, ENDLESS COMBINATIONS: Hot drinks like espresso, coffee, lattes, and cappuccinos, to iced coffee, or simply hot...
As an affiliate, we earn on qualifying purchases.
Cooking Steps
First, you'll need to measure out the alcohol and jello mix.
Then, pour the jello mixture into molds and chill it in the refrigerator until it sets.
Step 1. Measure Alcohol and Jello Mix
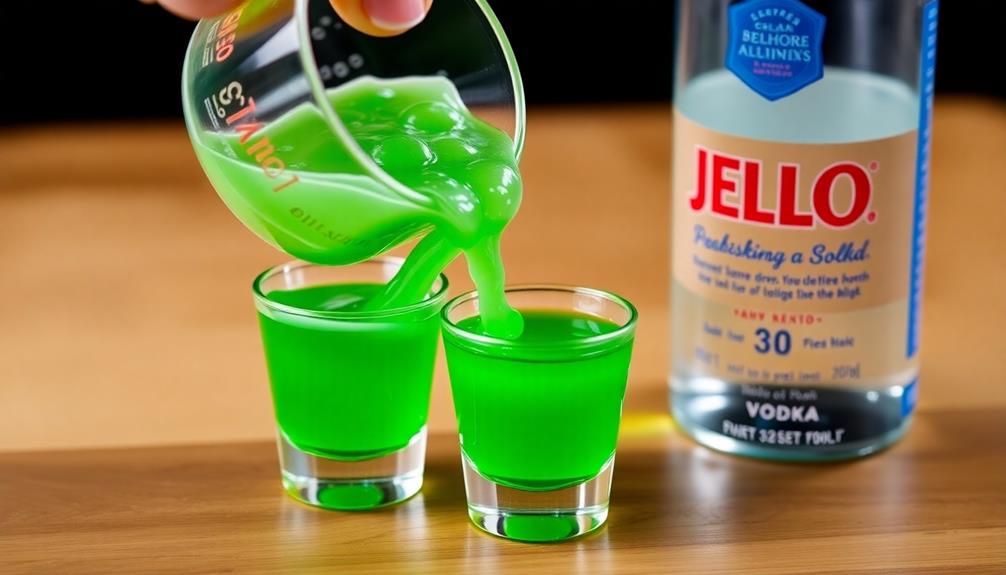
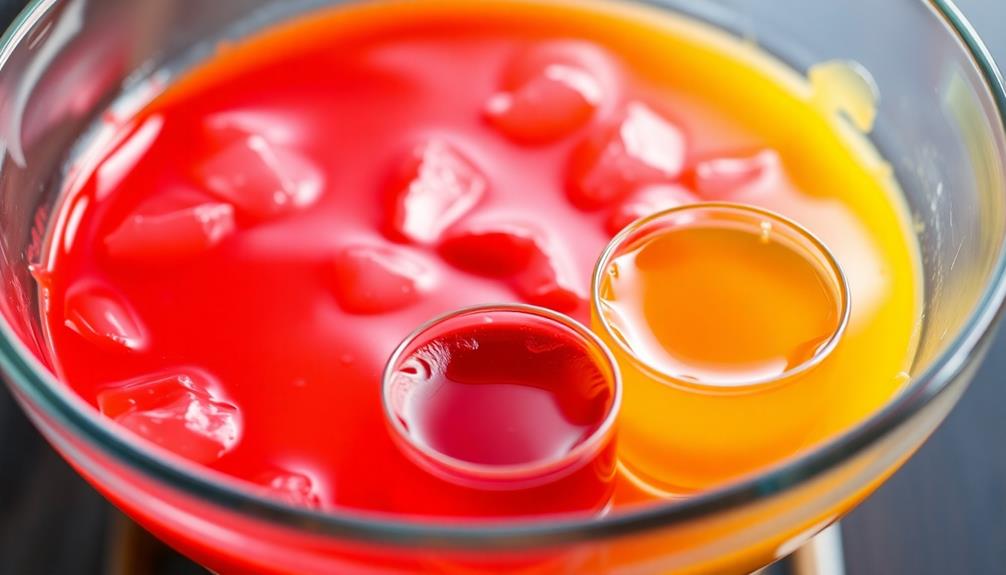
With the jello mix on hand, it's time to measure out the alcohol that will give your shots their signature kick. First, decide how strong you want your jello shots to be – the more alcohol, the bigger the punch. A good starting point is a 1:1 ratio of jello mix to liquor. So if you're using a 3-ounce box of jello, you'll want to add 3 ounces of your chosen spirit. Vodka, rum, and tequila are all popular options.
Once you've selected your alcohol, carefully pour it into the jello mix. Stir thoroughly to fully incorporate the liquor. You don't want any pockets of undissolved jello.
If the mixture seems too thick, add a splash more alcohol to thin it out. On the other hand, if it's too runny, use a bit less liquor next time. The final consistency should resemble slightly thickened gelatin.
Now you're ready to pour the jello shot mixture into molds and chill until set. Just remember – these pack a punch, so enjoy responsibly!
Step 2. Pour Jello Mixture Into Molds
Now that you've blended the jello mix and alcohol to the right consistency, it's time to start pouring the mixture into your desired molds.
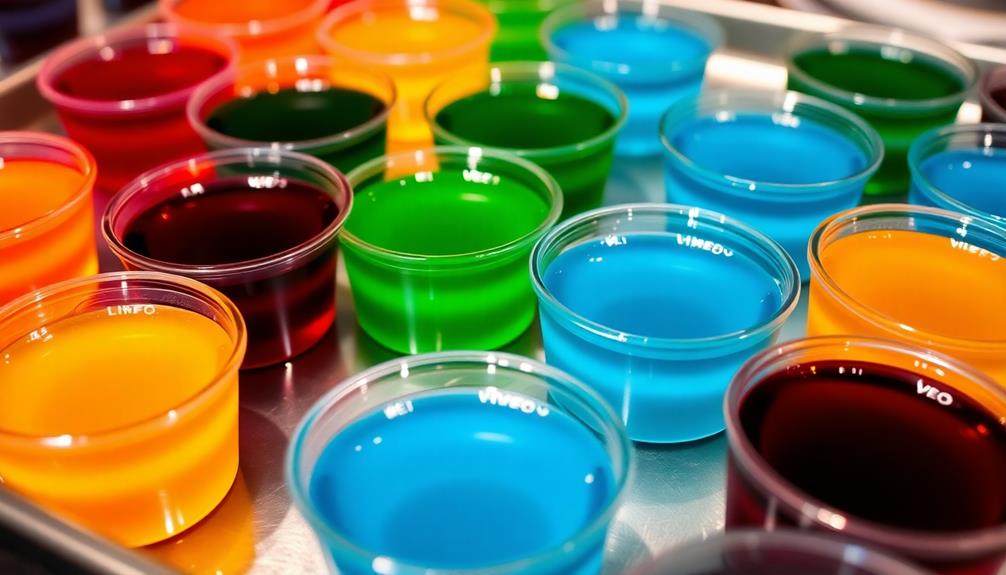
Whether you're using shot glasses, plastic cups, or fun themed molds, the process is the same. Gently pour the jello mixture into each mold, being careful not to overfill. Leave a small amount of space at the top to allow for expansion as the jello sets.
Once all the molds are filled, place them in the refrigerator and let the jello chill for at least 4 hours, or until completely firm. This is crucial – you don't want your jello shots to be too soft or they'll be a mess.
After the waiting time, you can pop the jello shots out of the molds and enjoy! They're perfect for parties, gatherings, or a fun treat. Just be sure to store any leftovers in the fridge until you're ready to serve.
Step 3. Chill Jello Mixture in Refrigerator
Once the jello mixture is poured into the molds, the final step is to chill them in the refrigerator. This is crucial to ensure the jello shots set properly and have a firm, sliceable texture.
Place the filled molds on a flat surface in the fridge, making sure they're level. Depending on the recipe, the jello may need to chill for at least 4 hours, or even overnight. Keep an eye on them and resist the temptation to peek – opening the fridge door can slow the chilling process.
Once the jello has fully set, you'll know it's ready when the surface looks glossy and firm to the touch.
Carefully remove the jello shots from the molds, running a knife around the edges if needed. Arrange the chilled jello shots on a serving platter and get ready to wow your guests!
The delightfully jiggly treats are now ready to be enjoyed. Just be sure to keep them chilled until it's party time.
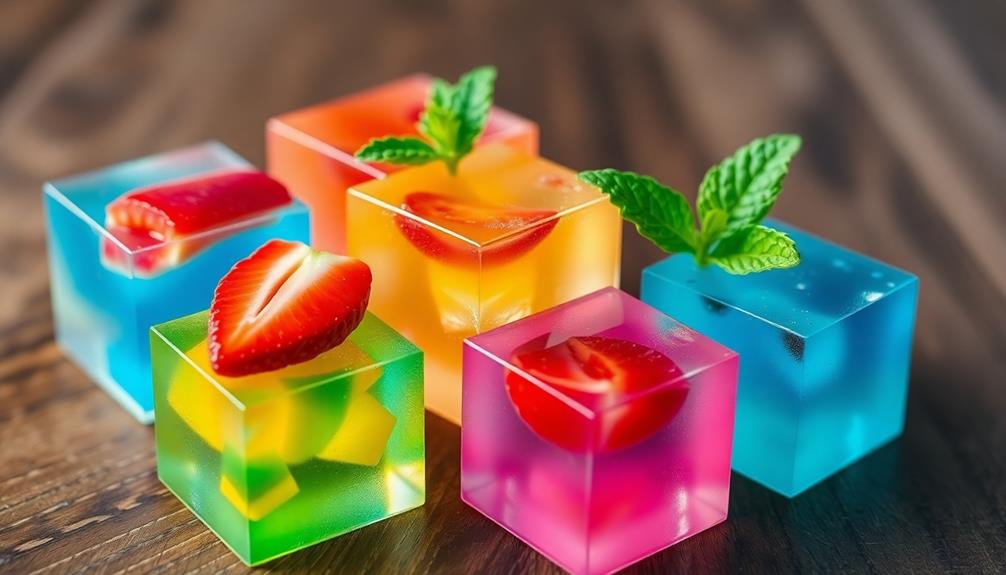
Step 4. Unmold and Serve Chilled Jello Shots
Carefully remove the chilled jello shots from their molds. Use a knife or small spatula to gently loosen the edges, then turn them out onto a serving platter. The jello shots should slide out cleanly, retaining their fun, wiggly shape.
Arrange the jello shots in a visually appealing pattern on the platter. You can group them closely together or space them out, depending on your desired look. If any of the jello shots stick or become misshapen during the unmolding process, simply rearrange them on the platter.
Once all the jello shots are unmolded, give them a final chill in the refrigerator for about 15 minutes. This will help them firm up and prevent any unwanted dripping or melting when served.
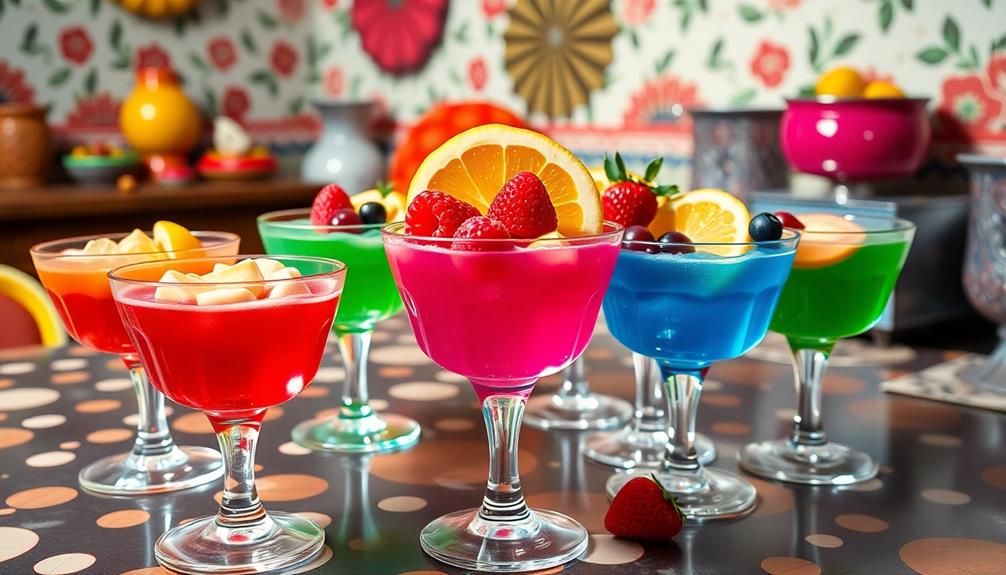
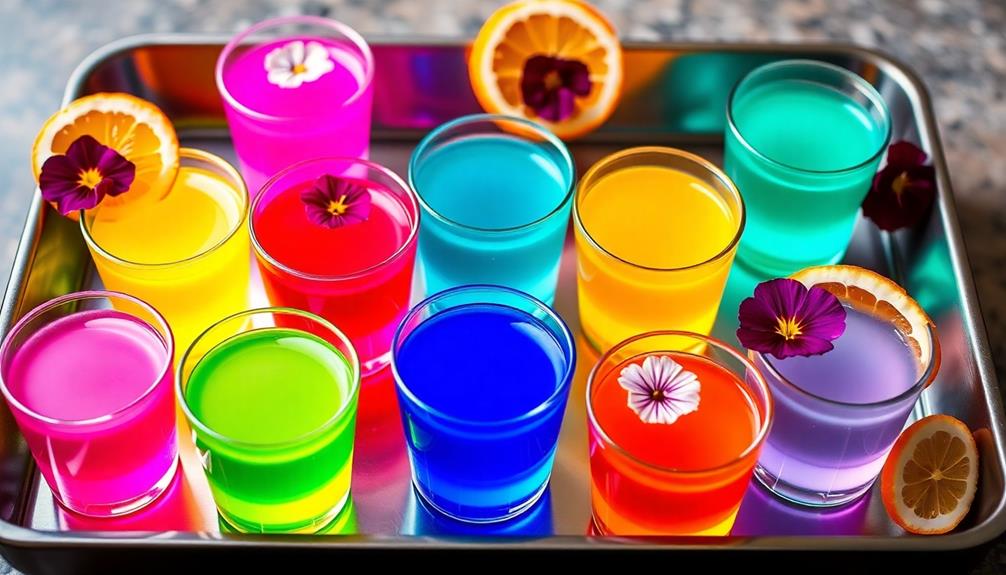
Step 5. Garnish With Fruit or Herbs
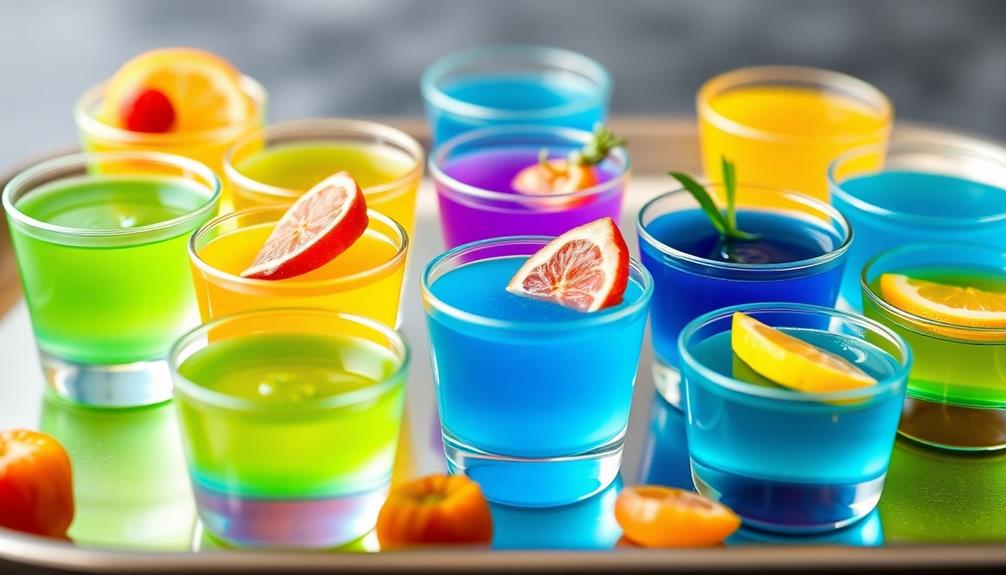
Garnishing the chilled jello shots with fresh fruit or herbs adds a vibrant, eye-catching touch. You can slice up lemon, lime, or orange wedges and place them around the edge of the shot glasses. Berries like raspberries, blueberries, or sliced strawberries also make a lovely garnish.
For an herbal accent, try sprinkling a few mint leaves or a tiny sprig of rosemary on top. The contrasting colors and textures will make your jello shots look extra appetizing and professional.
Get creative with your garnishes! You could even try edible flowers like viola or nasturtium petals for a fancy presentation. Just be sure to choose ingredients that complement the flavor of your jello shots.
The garnishes shouldn't overpower the main event. A simple, elegant touch is all you need to take your jello shots to the next level. Serve them chilled, and enjoy the refreshing combination of gelatin, liquor, and fresh garnishes.

Philips 1200 Series Fully Automatic Espresso Machine, Classic Milk Frother, 2 Coffee Varieties, Intuitive Touch Display, 100% Ceramic Grinder, AquaClean Filter, Aroma Seal, Black (EP1220/04)
With Philips 1200 Series enjoy the delicious taste and aroma of coffee from fresh beans at the perfect...
As an affiliate, we earn on qualifying purchases.
Final Thoughts

After experimenting with various jello shot recipes, you may have discovered that the best results come from striking the right balance between the alcoholic content and the jello consistency.
Finding that sweet spot can take some trial and error, but the end result is well worth it. When you nail the texture and potency, your jello shots will be the talk of the party.
The key is to pay close attention to the ratios of liquids, whether it's vodka, tequila, or other spirits, and the amount of jello powder you use.
Too much alcohol can make the jello shots too runny, while too much jello can result in a dense, rubbery texture.
With a little practice, you'll be able to create the perfect, jiggly shots that pack a punch.
Don't be afraid to get creative with fun shapes, colors, and garnishes to really make your jello shots stand out.
Just remember to enjoy them responsibly and have fun!
Frequently Asked Questions
How Long Do Jello Shots Need to Set Before Serving?
Jello shots typically need 2-4 hours to fully set before serving. This allows the gelatin to properly congeal, ensuring the shots hold their shape and have the desired texture when served. Be patient and let them chill completely before enjoying.
Can I Use Any Brand of Gelatin for Jello Shots?
You can use any brand of gelatin for jello shots, as long as it's unflavored. The type of gelatin won't affect the taste or consistency of your shots, so feel free to use your preferred brand.
How Many Jello Shots Can Be Made From One Recipe?
The number of jello shots you can make from one recipe depends on the size of the shot cups or molds you use. Typically, a standard recipe yields around 12-20 jello shots, but you can adjust the portion sizes to make more or fewer.
Do Jello Shots Need to Be Refrigerated Before Serving?
Yes, jello shots need to be refrigerated before serving. Leaving them at room temperature will cause the gelatin to soften, making them messy and difficult to handle. Keep them chilled until it's time to enjoy your jello shot creations.
Can I Freeze Jello Shots for Later Use?
Yes, you can freeze jello shots for later use. Simply pour the prepared jello shots into molds or cups, freeze until solid, then transfer to an airtight container or freezer bag. They'll keep for up to 2 months.