Making homemade ice cream at home is a fun, rewarding project – and it's easier than you might think! Start by gathering a few basic ingredients like cream, milk, sugar, and vanilla. Then, simply mix them together, freeze the mixture, and churn it into a creamy, smooth ice cream. You can even customize the flavors by adding your favorite mix-ins like chocolate chips or fresh fruit. It may take a little patience, but the end result is a delightfully fresh and creamy treat that's well worth the effort. And if you'd like more detailed tips on how to make your homemade ice cream perfect, just keep reading.
Key Takeaways
- Homemade ice cream offers a fresh, creamy taste with unparalleled quality and the ability to customize flavors to personal preferences.
- The basic ingredients include heavy cream, whole milk, granulated sugar, and vanilla extract, with optional mix-ins like fruits, chocolate, or nuts.
- The preparation involves chilling the ice cream maker, mixing the ingredients, freezing the mixture for 20-30 minutes, churning the mixture, and storing the ice cream before serving.
- Homemade ice cream can be stored in an airtight container in the freezer for up to 2 weeks, and should be allowed to soften at room temperature before serving.
- Customization options include adding fruit puree, chocolate chips or chunks, crushed cookies, flavored extracts, and spices to create unique, personalized ice cream flavors.
Top picks for "homemade cream recipe"
Open Amazon search results for this keyword.
As an affiliate, we earn on qualifying purchases.
History
The origins of ice cream can be traced back centuries, with early variations found in ancient civilizations. Sherbets and ices made from snow, fruit juices, and honey were enjoyed by the wealthy in Persia, China, and ancient Greece.
In the 1600s, Italian chefs developed techniques to freeze custards and cream mixtures, paving the way for modern ice cream.
By the 1700s, ice cream had become a delicacy in Europe, often reserved for royalty. When it arrived in America, it quickly gained popularity. In 1774, the first advertisement for ice cream appeared in the New York Gazette, and by the 1800s, it had become a beloved summertime treat for the masses.
The 20th century saw advancements in ice cream technology, from the invention of the hand-cranked freezer to the development of pasteurization.
Today, ice cream remains a timeless favorite, with endless flavor possibilities for all to enjoy.
Recipe

Making homemade ice cream is a delightful and rewarding experience. The fresh, creamy taste is unparalleled, and the process allows you to customize the flavors to your liking. Whether you're looking to impress guests or simply indulge in a sweet treat, this DIY ice cream recipe is sure to satisfy.
Preparing ice cream at home is a straightforward process that requires a few basic ingredients and a little bit of patience. The end result is a frozen dessert that not only tastes amazing but also allows you to control the quality and composition of the ingredients.
Ingredients:
- 2 cups heavy cream
- 1 cup whole milk
- 3/4 cup granulated sugar
- 1 teaspoon vanilla extract
- Pinch of salt
Instructions:
In a medium saucepan, combine the heavy cream, milk, and sugar. Heat the mixture over medium, stirring occasionally, until the sugar has completely dissolved and the liquid is hot but not boiling.
Remove the pan from the heat and stir in the vanilla extract and a pinch of salt. Allow the mixture to cool to room temperature, then cover and refrigerate for at least 2 hours, or until thoroughly chilled.
Once the base is chilled, pour it into an ice cream maker and churn according to the manufacturer's instructions, typically 20-30 minutes.
Transfer the freshly churned ice cream to a freezer-safe container, cover the surface with plastic wrap or parchment paper to prevent ice crystals from forming, and freeze for at least 2 hours before serving.
For a firmer texture, allow the ice cream to freeze for 4-6 hours or overnight. Enjoy your homemade ice cream!
Cooking Steps

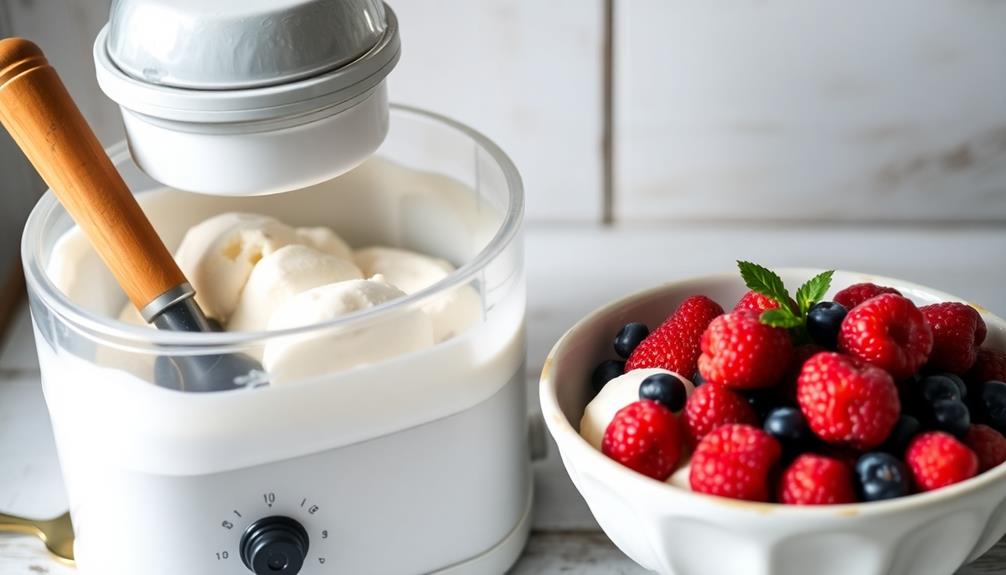
First, you'll need to chill your ice cream maker according to the manufacturer's instructions.
Next, simply mix together all the ingredients in a bowl.
Then, freeze the mixture for 20-30 minutes before churning it in the ice cream maker.
Step 1. Chill the Ice Cream Maker
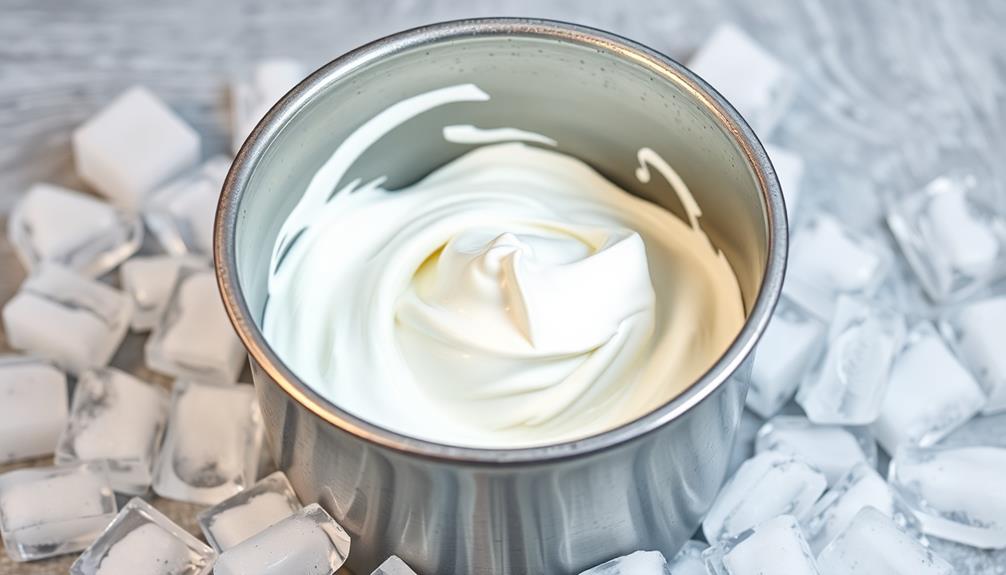
Before you can start churning your ice cream, you'll need to ensure your ice cream maker is properly chilled. Most models require at least 12 hours in the freezer to get the bowl cold enough. Double-check your specific instructions, as some may need even longer.
Once the bowl is frozen solid, remove it from the freezer and place it in the base of your ice cream maker.
Next, attach the paddle and secure the lid. Plug in the machine and turn it on. The churning process can take 20-40 minutes, depending on the recipe and your machine's settings.
As the mixture swirls, you'll see it slowly transform from a thin liquid to a thick, creamy consistency. Keep an eye on it, and resist the urge to peek too often, as that can affect the end result.
When the ice cream reaches your desired texture, it's ready to transfer to a storage container and freeze for a few hours before scooping and serving.
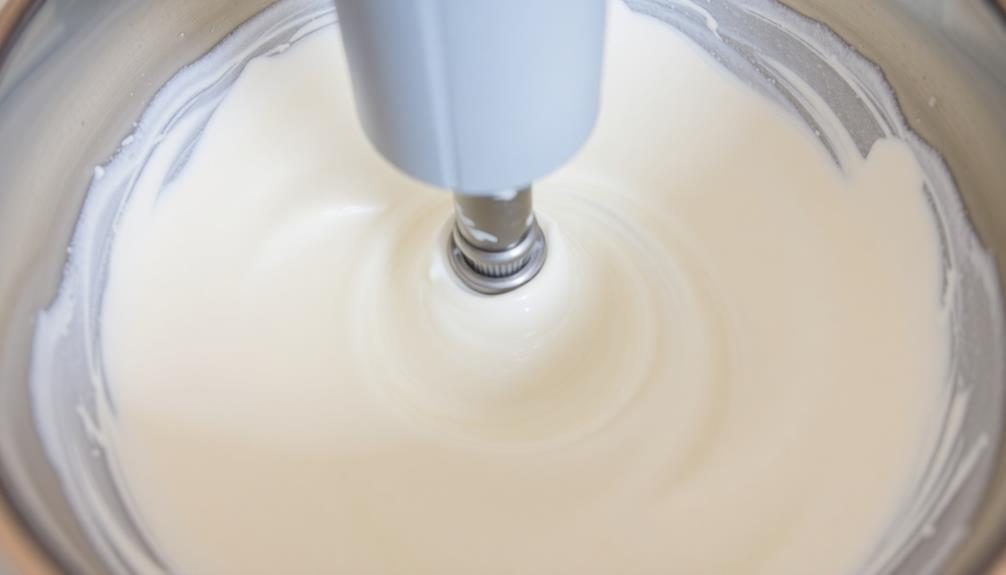
Step 2. Mix the Ingredients

With the ice cream maker all set, it's time to focus on the ingredients. In a large bowl, combine the heavy cream, milk, sugar, and any desired flavorings like vanilla extract or chocolate chips.
Using a whisk or hand mixer, mix the ingredients together until the sugar has fully dissolved and the mixture is well-blended. Be sure to scrape the sides of the bowl to incorporate all the ingredients.
Next, pour the ice cream base into the chilled ice cream maker and turn it on. Let the machine work its magic, churning the mixture for 20-30 minutes until it reaches your desired thickness and consistency.
Resist the urge to open the lid too often, as this can disrupt the freezing process. Once the ice cream has thickened, transfer it to an airtight container and freeze for at least 2 hours before serving.
Enjoy your homemade frozen treat!
Step 3. Freeze Mixture for 20-30 Minutes
Once the ice cream base is poured into the chilled ice cream maker, turn it on. The machine will begin to spin and churn the mixture, incorporating air and slowly freezing it. This process typically takes 20-30 minutes, depending on your specific ice cream maker and the temperature of the ingredients.
As the mixture freezes, it will thicken and become more creamy. You'll notice the mixture gradually climbing up the sides of the bowl. This is a good sign that the ice cream is nearing its desired consistency.
Be patient and resist the urge to open the lid too often, as this can slow down the freezing process.
Once the timer hits the 20-30 minute mark, turn off the machine and check the texture of the ice cream. It should have a soft, scoopable consistency. If it's still too soft, let it continue freezing for a few more minutes.
Once it reaches the perfect texture, you're ready to enjoy your homemade ice cream!
Step 4. Churn the Ice Cream Mixture

After the ice cream base has been poured into the chilled ice cream maker, it's time to turn it on. The machine's churning process is what transforms the smooth liquid into the creamy, scoopable ice cream you crave.
As the paddle inside the bowl starts to spin, it'll incorporate air into the mixture, creating that signature light and fluffy texture.
Keep an eye on the ice cream as it churns – it'll thicken up gradually over the next 20-30 minutes. Once it reaches your desired consistency, it's ready to enjoy! You can tell it's done when the mixture no longer looks liquidy and the paddle moves with more resistance.
At this point, transfer the fresh ice cream to a freezer-safe container and let it firm up for at least 2 hours before scooping. The final step is to add any mix-ins, like chocolate chips or chopped fruit, and enjoy your homemade frozen treat!
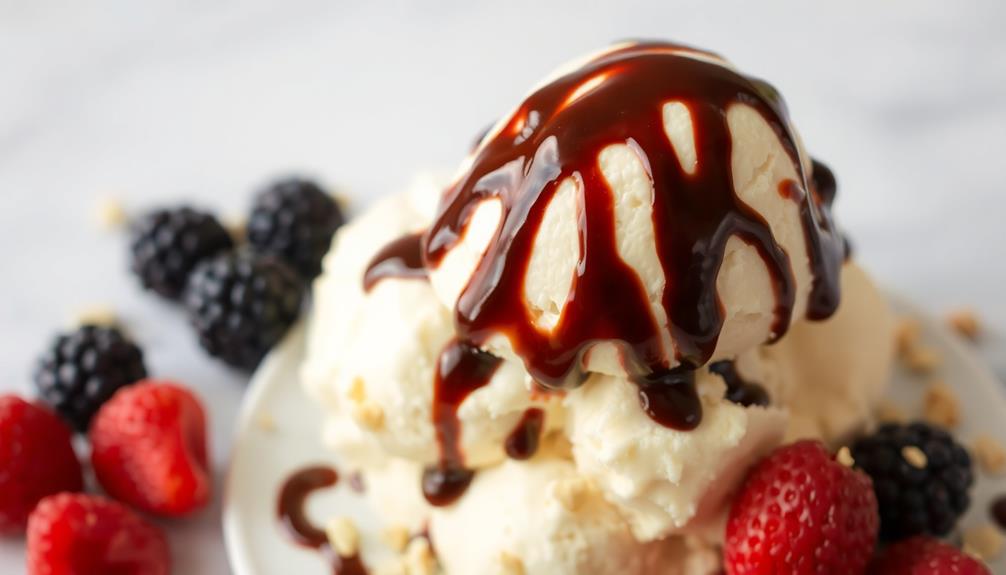
Step 5. Serve Chilled Ice Cream Immediately

Scoop the freshly churned ice cream into individual servings or your desired container.
It's best to serve it immediately, as the creamy texture is at its prime when it's cold and freshly made. Don't let it sit out for too long, or it'll start to melt and lose that perfect scoopable consistency.
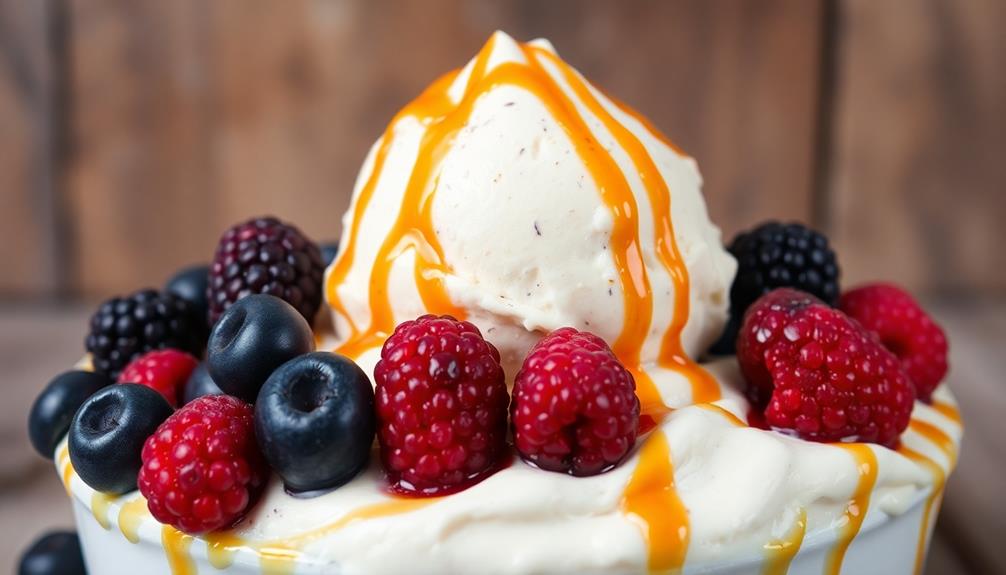
Once you've portioned out the ice cream, you can get creative with toppings.
Drizzle on some chocolate sauce, sprinkle crushed cookies or chopped nuts, or add a dollop of whipped cream. If you're feeling adventurous, try swirling in some fruit preserves or caramel. The possibilities are endless!
Just be sure to dig in right away and savor every bite of your homemade ice cream masterpiece. It's the perfect cool and creamy treat on a warm day. Enjoy!
Final Thoughts
Homemade ice cream is a delightful and satisfying treat that can be enjoyed year-round.
Now that you've mastered the art of crafting your own creamy, flavorful ice cream, you can experiment with endless possibilities.
Try mixing in your favorite fruit, nuts, or chocolate chips for a personalized touch.
Don't be afraid to get creative – the great thing about DIY ice cream is that you can tailor it to your unique tastes.
Frequently Asked Questions
How Long Does Homemade Ice Cream Last in the Freezer?
Homemade ice cream can last 2-4 weeks in the freezer if stored properly. Make sure to keep it in an airtight container and avoid opening the freezer door frequently to maintain the best quality.
Can I Use Any Type of Milk or Cream for the Recipe?
You can use different types of milk and cream for your homemade ice cream recipe. However, the type of dairy you choose will affect the texture and flavor of the final product. Experiment with whole milk, heavy cream, or a combination to find your perfect recipe.
Do I Need Any Special Equipment to Make Homemade Ice Cream?
You'll need some basic equipment to make homemade ice cream. A bowl, whisk, and hand mixer are essential. An ice cream maker makes the process easier, but you can also do it without one using a freezer.
How Can I Customize the Flavor of the Ice Cream?
To customize the flavor of your homemade ice cream, you can add various mix-ins like chocolate chips, nuts, fruit, or even extracts like vanilla or almond. Get creative with your favorite flavors to make it your own!
Is It Possible to Make a Dairy-Free or Vegan Ice Cream?
Absolutely! You can make delicious dairy-free or vegan ice cream using plant-based milks like almond, coconut, or oat. These alternatives allow you to create creamy, flavor-packed frozen treats that cater to dietary restrictions or preferences.