To make crispy fried chicken, start by brining the chicken in a mixture of buttermilk, salt, and spices for up to 24 hours. This ensures juicy, tender meat. Next, dredge the chicken in seasoned flour for a perfectly crisp exterior. Heat oil to 350-375°F, then gently lower the chicken into the hot oil and fry until golden brown, about 12-15 minutes. Drain the chicken on a wire rack to keep it crispy. Garnish with fresh parsley for a vibrant, flavorful touch. With the right technique, you'll enjoy golden, crunchy fried chicken that's truly finger-lickin' good. Keep reading to dive deeper into the secrets behind irresistible fried chicken.
Key Takeaways
Key Points:
- Brine the chicken in a mixture of buttermilk, salt, and spices for 30 minutes to 24 hours to enhance flavor and tenderness.
- Dredge the brined chicken in a seasoned flour mixture to achieve a crispy exterior.
- Fry the chicken in hot oil (350°F to 375°F) for 12-15 minutes until golden brown and cooked through.
- Allow the fried chicken to rest for 5-10 minutes before serving to redistribute the juices and enhance crispiness.
- Garnish the fried chicken with freshly chopped parsley for a vibrant contrast and added flavor.
History
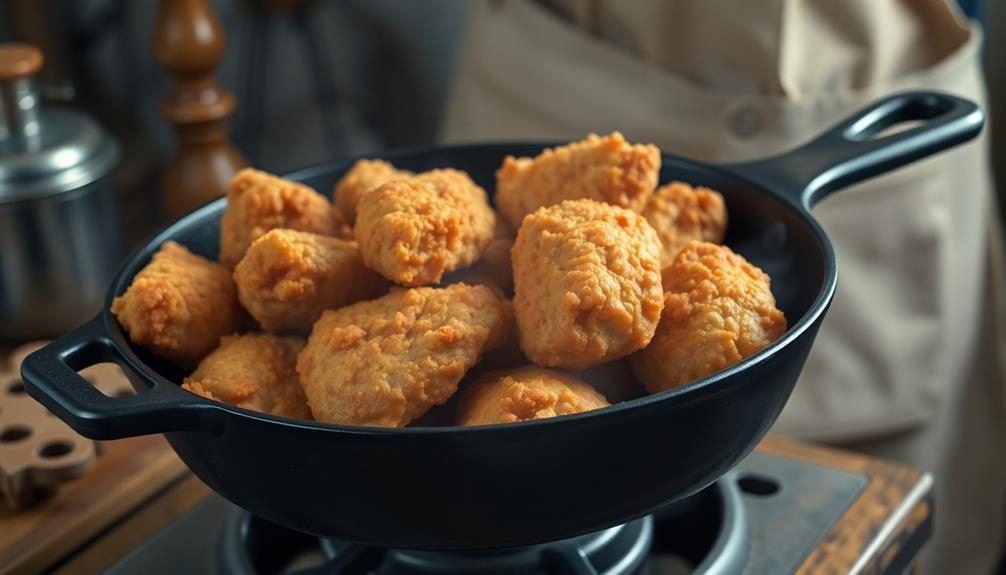
Fried chicken's origins can be traced back to the American South, where it became a beloved staple on family tables and in local diners.
The Southern culinary tradition of frying chicken in hot oil dates back to the 1800s, influenced by Scottish and West African cooking methods. As enslaved Africans were brought to the region, they incorporated their techniques for seasoning and frying chicken into Southern cuisine.
Over time, fried chicken became a symbol of Southern hospitality and pride, with each family developing their own secret recipes and methods.
Today, the crispy, golden-brown exterior and juicy interior of well-made fried chicken continues to delight people across the United States and beyond.
Whether enjoyed as a comfort food or a celebratory dish, the history of fried chicken is deeply rooted in the cultural traditions of the American South.
Recipe

Crispy fried chicken is a classic comfort food that never fails to satisfy. The key to achieving the perfect crunch lies in a well-executed frying process and a carefully curated seasoning blend.
To begin, it's important to start with high-quality, fresh chicken. Whether you opt for boneless, skinless chicken breasts or a mix of dark and white meat, the choice is yours. The key is to ensure the chicken is dry and at room temperature before it hits the hot oil.
Ingredients:
- 8 pieces of chicken (a mix of drumsticks, thighs, and/or breasts)
- 1 cup all-purpose flour
- 1 teaspoon paprika
- 1 teaspoon garlic powder
- 1 teaspoon onion powder
- 1 teaspoon dried thyme
- 1 teaspoon salt
- 1/2 teaspoon black pepper
- 1 cup buttermilk
- Vegetable oil for frying
Cooking Instructions:
In a large bowl, combine the flour, paprika, garlic powder, onion powder, dried thyme, salt, and black pepper. Whisk to blend the seasonings evenly.
Dip the chicken pieces into the buttermilk, allowing any excess to drip off, then dredge the chicken in the seasoned flour, pressing to help the coating adhere.
In a large, heavy-bottomed pot or Dutch oven, heat 2-3 inches of vegetable oil to 350°F. Carefully lower the chicken pieces into the hot oil and fry for 12-15 minutes, turning occasionally, until golden brown and cooked through.
Transfer the fried chicken to a paper towel-lined plate to drain excess oil.
Tips:
For an extra crispy crust, consider double-dipping the chicken in the buttermilk and flour mixture before frying.
Additionally, letting the coated chicken rest for 15-20 minutes before frying can help the breading adhere more effectively.
Serve the piping hot, crispy fried chicken immediately, accompanied by your favorite sides or dipping sauces.
Cooking Steps
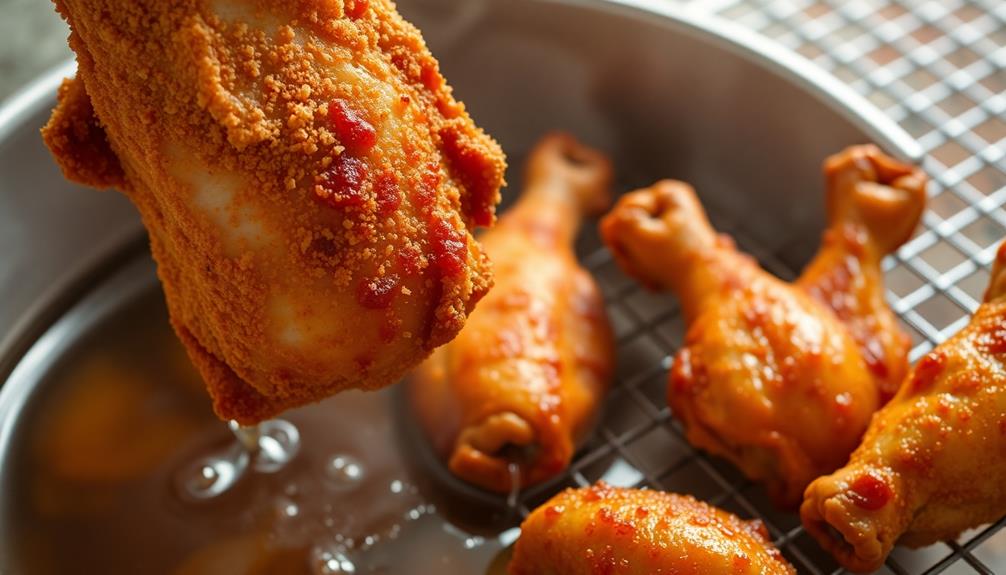
First, brine the chicken in a seasoned buttermilk mixture to tenderize the meat, which can enhance the flavor profile just like adding unique ingredients in homemade ice cream recipes.
Next, dredge the chicken pieces in a flavorful flour coating to create a crispy exterior.
Then, fry the chicken in hot oil until golden brown and cooked through.
Be sure to let the fried chicken rest for a few minutes before serving, and garnish with fresh parsley for a vibrant finishing touch.
Step 1. Brine Chicken in Seasoned Buttermilk
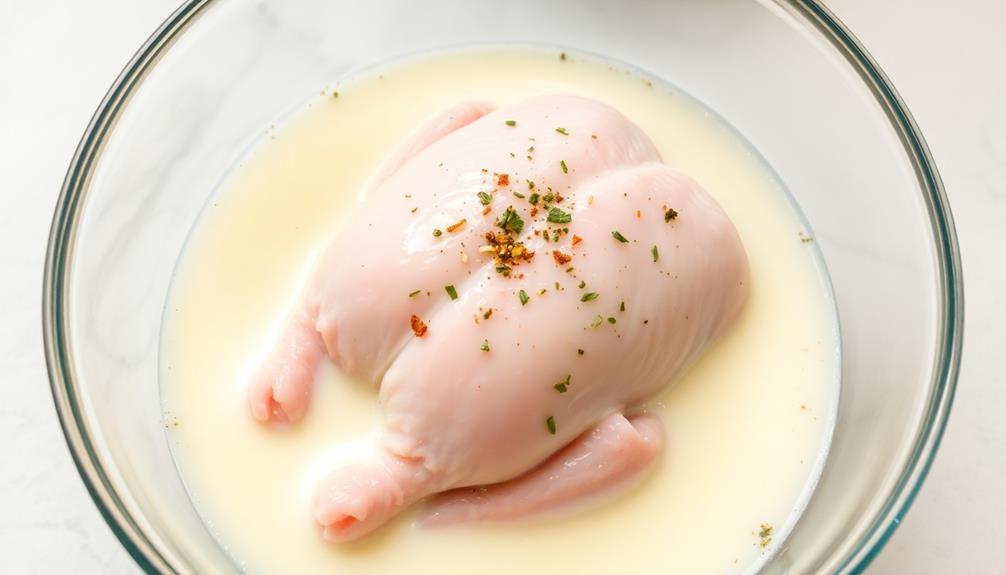
After you've prepared the chicken, the next step is to brine it in a seasoned buttermilk mixture. In a large bowl, combine the buttermilk, salt, pepper, garlic powder, and any other desired spices.
Submerge the chicken pieces in the buttermilk brine, making sure they're fully covered. Cover the bowl and refrigerate for at least 30 minutes, or up to 24 hours. The longer you brine the chicken, the more flavorful and tender it will become.
When you're ready to fry the chicken, remove the pieces from the brine and pat them dry with paper towels. This is an essential step to ensure the chicken crisps up nicely.
The buttermilk will help the breading adhere to the chicken, creating a delicious, crunchy exterior. Be sure to discard any remaining brine, as it's not suitable for frying.
With the chicken prepped and brined, you're now ready to move on to the next crucial step: breading the chicken.
Step 2. Dredge Chicken in Seasoned Flour

With the chicken prepped and brined, you'll want to dredge it in a seasoned flour mixture. In a shallow dish, combine all-purpose flour, paprika, garlic powder, onion powder, salt, and pepper. Give the mixture a good stir to evenly distribute the spices.
One by one, take the brined chicken pieces and dredge them in the seasoned flour, pressing it on to ensure full coverage. Shake off any excess before setting the coated chicken aside on a clean plate or baking sheet.
Repeat with the remaining chicken, being careful not to overcrowd the dish.
The flour coating is crucial for achieving that signature crispy fried chicken texture. It acts as a barrier, sealing in the juices and allowing the exterior to get deliciously golden-brown and crunchy when fried.
With your chicken fully dredged, you're now ready to take the next step towards mouthwatering fried perfection.
Step 3. Fry Chicken in Hot Oil
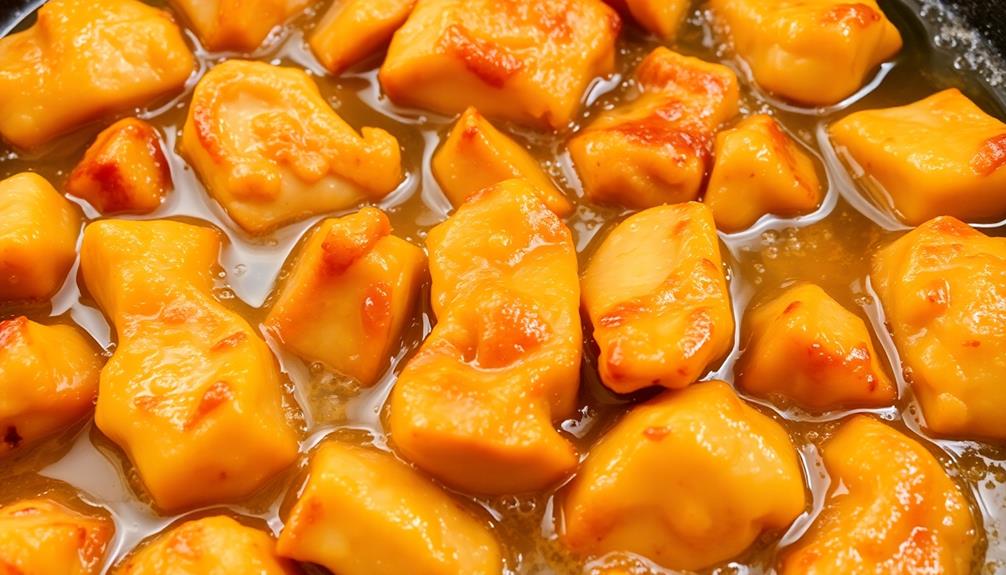
Heat a deep, heavy-bottomed pot or Dutch oven with at least 2 inches of oil to 350°F.
Once the oil is hot, gently lower the dredged chicken pieces into the oil, being careful not to overcrowd the pot. Fry the chicken for 12-15 minutes, flipping occasionally, until it's golden brown and cooked through. The internal temperature should reach 165°F.
Fry the chicken in batches if needed to maintain the oil temperature. Avoid overcrowding, as it can cause the oil temperature to drop and result in soggy, greasy chicken.
Use a slotted spoon or tongs to carefully transfer the fried chicken to a paper towel-lined plate or wire rack to drain excess oil.
Let the oil return to temperature between batches. Adjust the heat as needed to keep the oil at the proper frying temperature.
Serve the crispy fried chicken hot and enjoy!
Step 4. Let Chicken Rest Before Serving

Once the chicken has finished frying, let it rest on the prepared plate or rack for 5-10 minutes. This resting period is crucial for allowing the juices to redistribute throughout the meat, ensuring your fried chicken is moist and flavorful.
During this time, the exterior will also have a chance to further crisp up, locking in that perfect texture.
While you may be tempted to dig in right away, resist the urge and let the chicken sit. This brief wait is well worth it, as the resting process enhances the overall quality of your dish.
The chicken will be piping hot, so use this time to prepare any accompaniments, like dipping sauces or a fresh salad.
Once the resting period is over, your crispy fried chicken is ready to serve and enjoy. The combination of a well-executed fry and this essential resting step will result in a dish that's sure to impress.
Savor every juicy, crunchy bite!
Step 5. Garnish With Fresh Parsley

After allowing the fried chicken to rest, it's time to add the finishing touch with a garnish of fresh parsley.
Finely chop a handful of vibrant green parsley leaves and gently sprinkle them over the crispy chicken pieces. The bright, herbaceous flavor of the parsley perfectly complements the savory fried chicken, adding a refreshing contrast.
Not only does the parsley garnish enhance the dish's taste, but it also elevates the visual appeal.
The vibrant green specks scattered across the golden-brown chicken create an appetizing and visually striking presentation. This simple yet elegant touch will make your fried chicken look like it was prepared by a professional chef.
Final Thoughts
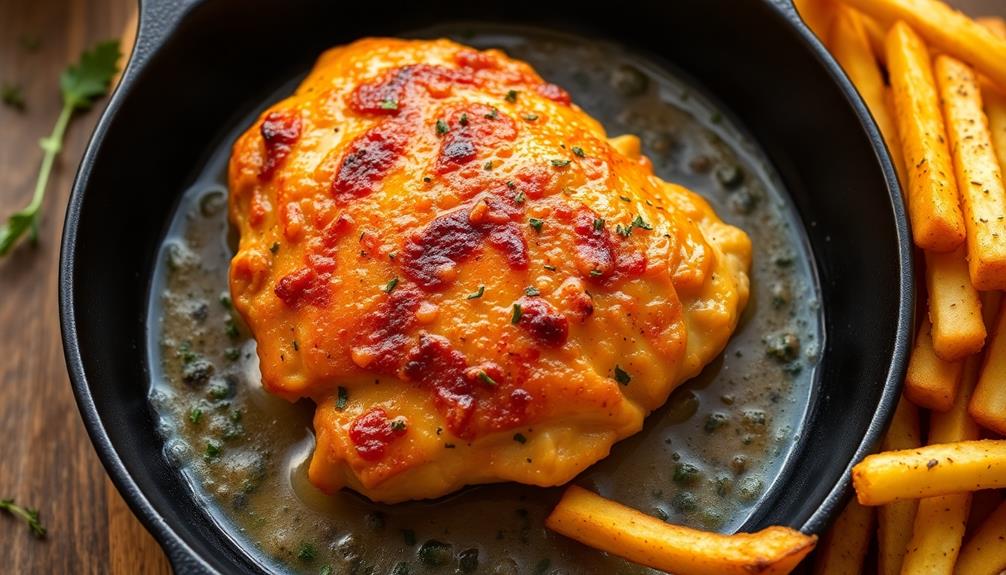
Ultimately, crafting the perfect crispy fried chicken is a delightful culinary journey. While the steps may seem meticulous, the end result is well worth the effort.
Remember, the secret lies in the details – from the seasoning blend to the oil temperature. Don't be afraid to experiment and find what works best for your taste buds.
As you continue to hone your fried chicken skills, take pride in your culinary accomplishments. Serve your crispy creations with a side of fresh parsley, adding a touch of vibrant color and herbal flavor.
Savor each bite, relishing the satisfying crunch and juicy interior. Sharing this delectable dish with family and friends is sure to bring smiles and delight all around.
Embrace the process, have fun, and enjoy the journey of mastering the art of crispy fried chicken. With patience and practice, you'll be serving up restaurant-worthy plates in no time.
Happy frying!
Frequently Asked Questions
Can I Use a Different Type of Oil?
You can certainly use a different type of oil for frying. Just be mindful of the oil's smoke point and flavor profile to ensure you get that perfect crispy texture you're after.
How Do I Make the Breading Extra Crispy?
To make the breading extra crispy, start by coating the chicken pieces in a mixture of flour, cornstarch, and your preferred seasonings. Then, fry the chicken at a higher temperature to create a golden, crunchy exterior.
How Long Can the Fried Chicken Be Stored?
Fried chicken can be stored in the refrigerator for 3-4 days or in the freezer for 2-3 months. To maintain crispiness, let the chicken cool completely before storing it in an airtight container or resealable plastic bag.
Can I Use Boneless Chicken for This Recipe?
You can absolutely use boneless chicken for this recipe. Boneless chicken will cook faster and may yield a crisper texture compared to bone-in chicken. Just be mindful of the cooking time and adjust the frying duration accordingly.
How Do I Reheat the Fried Chicken Without Making It Soggy?
To reheat the fried chicken without making it soggy, preheat your oven to 400°F. Place the chicken on a wire rack set over a baking sheet and heat for 10-15 minutes, flipping halfway, until hot and crispy again.


