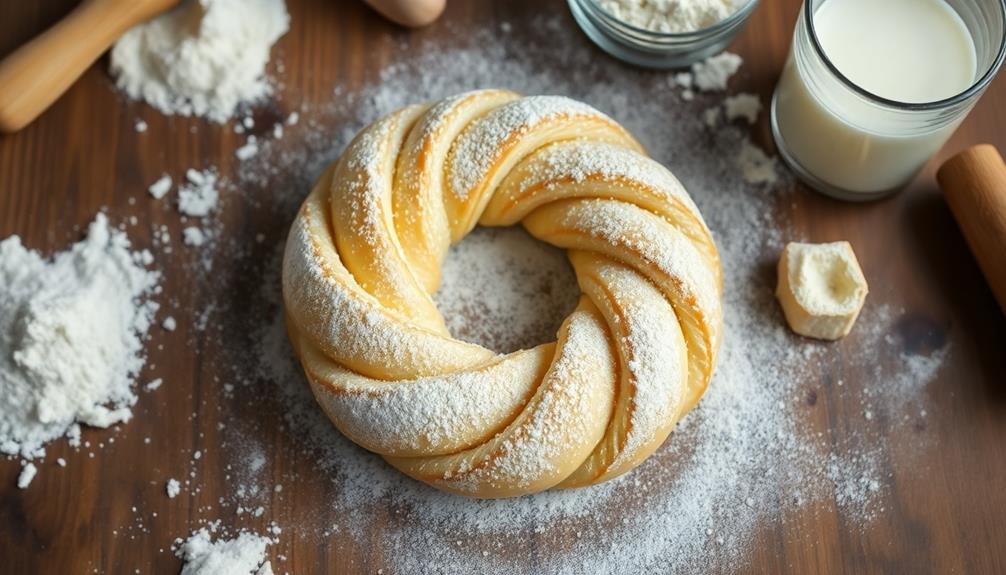
Making homemade donuts is a rewarding experience that's easier than you might think. Start by mixing your dry ingredients – flour, sugar, baking powder, and salt. Knead the dough for about 5 minutes to develop that perfect chewy texture. After a brief rise, roll and cut the dough into fun shapes. Fry the donuts until they're golden brown, then let your creativity shine with delectable toppings and glazes. From classic powdered sugar to creative flavor combinations, the possibilities are endless. With a few simple steps, you'll be whipping up fresh, mouthwatering donuts in no time – and you've only scratched the surface.
Key Takeaways
- Mix the dry ingredients (flour, sugar, baking powder, salt) thoroughly to ensure an even texture in the dough.
- Knead the dough for about 5 minutes to develop gluten for a chewy donut texture.
- Allow the dough to rise briefly in a warm spot for about 30 minutes to develop flavor.
- Roll and cut the dough into desired shapes, then fry the donuts until golden brown at around 350°F.
- Customize the donuts with coatings, fillings, and toppings to create unique flavor combinations.
History
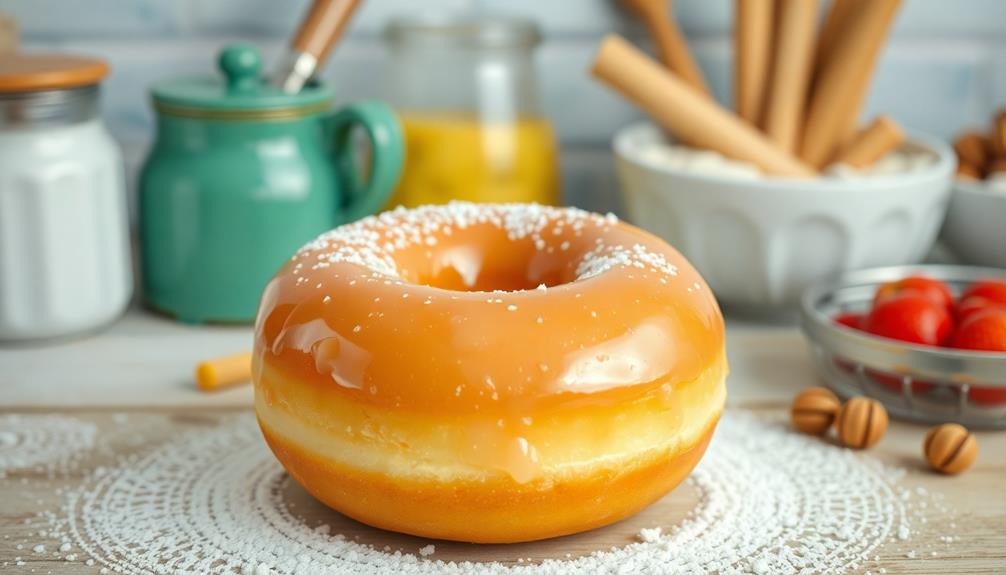
According to historical records, the donut's origins can be traced back to the early 19th century. These circular pastries were first popularized by Dutch settlers in New York, who called them "olykoeks," or "oily cakes." The name "donut" came later, as the unique shape was achieved by frying the dough with a hole in the center.
Over time, the donut evolved from a simple fried dough to a beloved treat in many flavors and styles. Some claim the hole was added to ensure the dough cooked evenly, while others believe it was a practical solution to prevent the centers from remaining doughy.
Regardless, the donut's iconic shape and versatility have made it a staple in bakeries and kitchens worldwide. Today, these delectable pastries come in an endless array of flavors, fillings, and toppings, satisfying sweet cravings across generations.
Recipe

Homemade donuts are a delightful treat that can be enjoyed any time of the day. Whether you prefer classic glazed, sugared, or filled donuts, the process of making them from scratch is surprisingly easy and rewarding. The aroma of freshly fried donuts wafting through the kitchen is sure to bring a smile to everyone's face.
Preparing donuts at home allows you to customize the flavors and toppings to suit your personal preferences. From delectable chocolate-coated to vibrant fruit-filled varieties, the possibilities are endless. Plus, you can ensure that your donuts are made with high-quality, wholesome ingredients, free from any preservatives or artificial additives.
Ingredients:
- 2 cups all-purpose flour
- 1/4 cup granulated sugar
- 2 teaspoons baking powder
- 1/2 teaspoon salt
- 1/3 cup milk
- 1 egg
- 2 tablespoons unsalted butter, melted
- Vegetable oil for frying
Instructions:
In a large bowl, whisk together the flour, sugar, baking powder, and salt. In a separate bowl, combine the milk, egg, and melted butter. Gradually add the wet ingredients to the dry ingredients, mixing until a soft dough forms.
On a lightly floured surface, roll the dough to 1/2-inch thickness and use a donut cutter or two different sized round cutters to cut out the donut shapes. Heat 2-3 inches of vegetable oil in a heavy-bottomed pot or Dutch oven to 350°F. Fry the donuts in batches for 1-2 minutes per side, or until golden brown. Drain on a paper towel-lined plate and allow to cool slightly before glazing or coating with your desired toppings.
Tips:
- For a fluffier texture, let the dough rest in the refrigerator for 30 minutes before rolling and cutting.
- Experiment with different shapes and sizes to create unique donut creations.
- Drizzle with chocolate or caramel sauce, coat with cinnamon-sugar, or fill with your favorite jams or custards for added flavor.
Cooking Steps
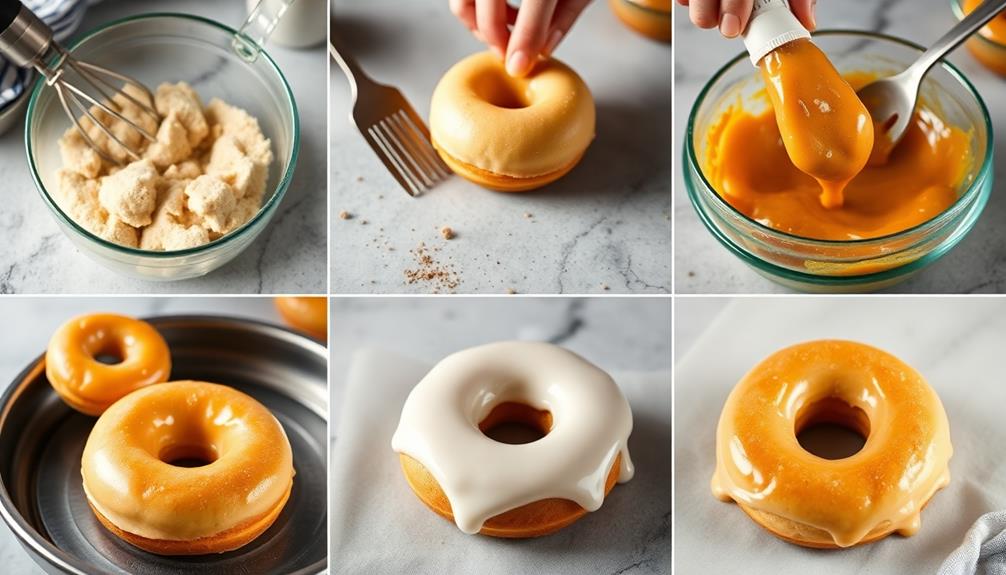
First, you'll need to mix the dry ingredients together in a large bowl.
Once that's done, knead the dough thoroughly until it's smooth and elastic.
Then, let the dough rise briefly before cutting it into your desired donut shapes.
Step 1. Mix Dry Ingredients
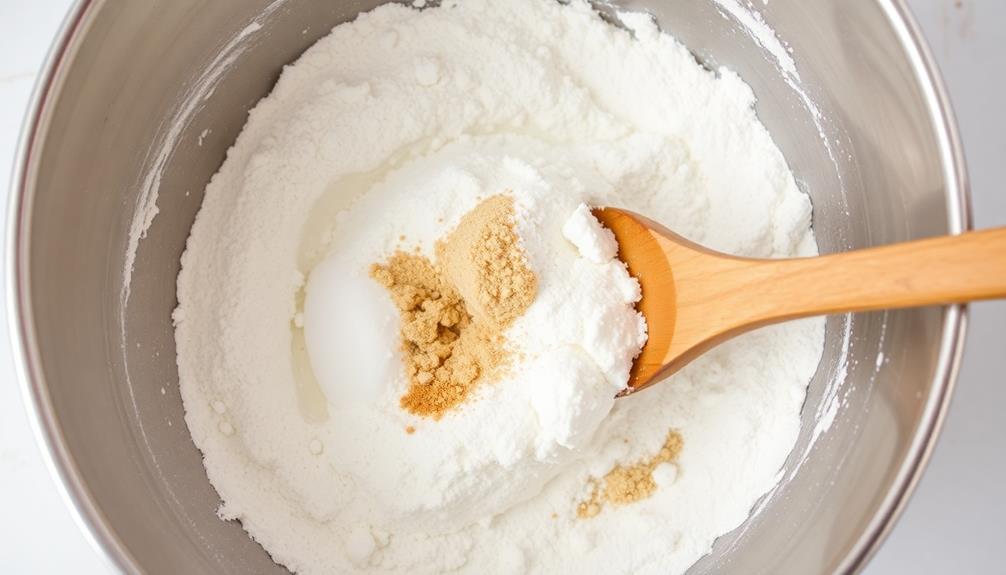
Start by whisking the flour, sugar, baking powder, and salt together in a large mixing bowl. Make sure to combine these dry ingredients thoroughly, so the batter will have an even texture when you add the wet ingredients. Use a whisk or a fork to stir the mixture for about a minute, ensuring there are no lumps.
Next, create a well in the center of the dry ingredients. This will make it easier to pour in the wet components later. You can use your fingers or the back of a spoon to shape the well. Be gentle, as you don't want to compact the dry mixture too much.
Once the dry ingredients are properly mixed and the well is formed, set the bowl aside.
You're now ready to move on to the next step: adding the wet ingredients. This is where the magic really starts to happen, as the combination of dry and wet components will begin to form your donut batter.
Step 2. Knead the Dough Thoroughly

After mixing the dry ingredients, it's time to knead the dough thoroughly. This step is crucial for developing the gluten in the flour, which gives the donuts their chewy texture.
Begin by turning the dough out onto a lightly floured surface. Using the heel of your hand, push the dough away from you, then fold it back over itself. Repeat this process, rotating the dough a quarter turn after each push and fold.
Knead for about 5 minutes, until the dough becomes smooth and elastic. Don't be afraid to add a sprinkle of flour if the dough starts to stick.
Once it reaches the desired consistency, form the dough into a ball and let it rest for 10 minutes. This resting period allows the gluten to relax, making the dough easier to work with when you're ready to roll and cut the donuts.
Step 3. Let Dough Rise Briefly
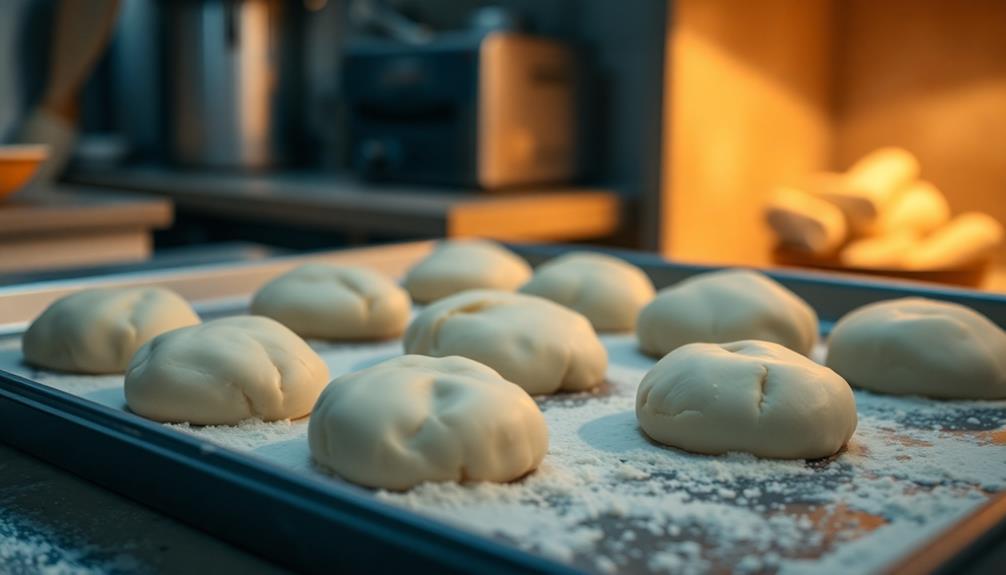
Upon completing the kneading, allow the dough to rise briefly. This crucial step helps the dough develop its structure and flavor.
Transfer the dough to a lightly greased bowl, then cover it with a damp towel or plastic wrap. Let the dough rest in a warm, draft-free spot for about 30 minutes.
During this time, the yeast will do its magic, feeding on the natural sugars and releasing carbon dioxide. This causes the dough to puff up and become light and airy.
Resist the temptation to skip or rush this step – the brief rise is essential for creating donuts with the perfect texture.
After 30 minutes, the dough should have doubled in size. Gently punch it down to release any air pockets, then you're ready to move on to the next step: rolling and cutting the dough.
With the dough now properly rested and risen, you're one step closer to hot, fresh homemade donuts!
Step 4. Cut Into Shapes

With the dough now properly rested and risen, you can begin cutting it into your desired donut shapes.
Lightly flour a clean work surface and gently roll out the dough to about 1/2-inch thickness. Depending on your preferred donut style, you can use a round cookie cutter or a donut cutter to cut the dough into circular shapes.
For classic raised donuts, carefully remove the center of each circle using a smaller round cutter to create the signature donut shape.
If you'd like to make filled donuts, simply cut the dough into round shapes without the center hole. This will give you a solid donut that you can later pipe or spoon a filling into.
Gather any leftover dough scraps, gently re-roll them, and continue cutting shapes until you've used up all the dough.
With your donuts now neatly shaped, it's time to prepare them for frying.
Step 5. Fry Donuts Until Golden Brown

Frying the donuts is the next crucial step. Heat a few inches of oil in a large pot or Dutch oven to 350°F. Carefully drop the dough shapes, a few at a time, into the hot oil. Fry for 1-2 minutes per side, flipping gently, until they're golden brown.
Be patient and avoid overcrowding the pot, which can cause the oil temperature to drop. Use a slotted spoon to transfer the fried donuts to a paper towel-lined plate. Let them drain for a minute or two, then transfer to a wire rack.
Repeat with the remaining dough, adjusting the heat as needed to maintain the proper frying temperature. The key is to keep a close eye on the donuts, turning them when the underside is golden.
Fry them until they're an even, rich brown color all over. With a little practice, you'll be frying up batches of perfectly crisp, fluffy donuts in no time!
Final Thoughts
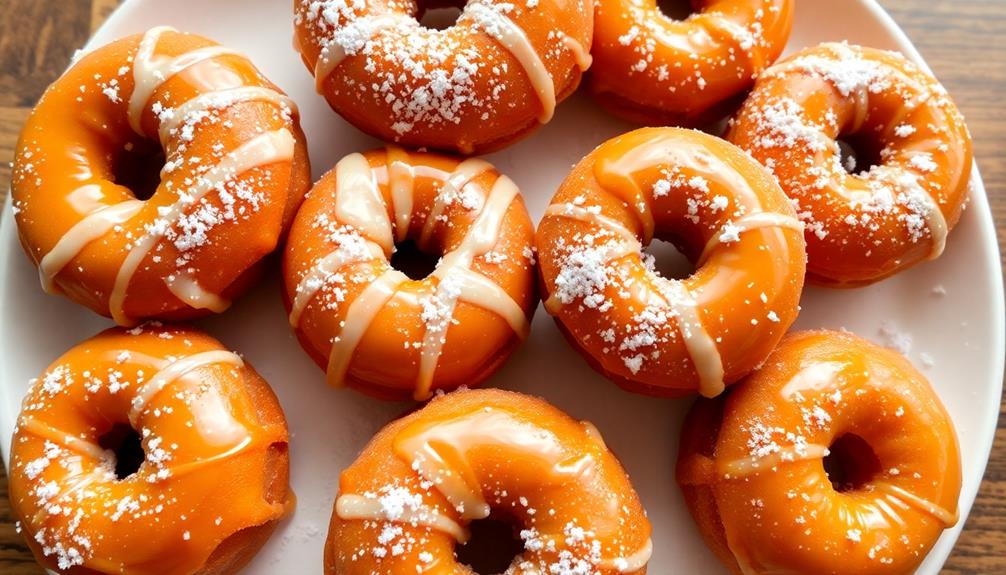
Donuts are a beloved treat that can bring joy to any occasion. Now that you've mastered the art of frying the perfect golden-brown donuts, it's time to consider the final touches.
Feel free to get creative with various glazes, icings, and toppings to make your donuts truly unique. A simple powdered sugar dusting can be a classic choice, or you could experiment with chocolate, maple, or fruit-based coatings.
Don't be afraid to mix and match flavors to find your signature style. Sprinkle on some colorful sprinkles, chopped nuts, or a drizzle of caramel for an extra special touch. The possibilities are endless!
Frequently Asked Questions
Can I Make Donuts Without a Donut Pan?
Yes, you can make donuts without a donut pan. You can use a biscuit cutter or even your hands to shape the dough into donut shapes. Just be sure to adjust the cooking time accordingly.
How Long Do Homemade Donuts Last?
Homemade donuts typically last 2-3 days at room temperature. To extend their shelf life, you can store them in an airtight container in the fridge for up to 5 days or freeze them for up to 2 months.
Can I Fry Donuts Instead of Baking Them?
Yes, you can fry donuts instead of baking them. Frying donuts will give them a crispy exterior and a light, fluffy interior, unlike baking which can result in a denser texture. Just be sure to monitor the frying temperature carefully.
Do I Need to Use Yeast in Donut Dough?
You don't necessarily need to use yeast in your donut dough. You can make delicious donuts using a simple baking powder-based dough. However, yeast will give your donuts a lighter, fluffier texture if you prefer that.
How Do I Prevent Donuts From Getting Soggy?
To prevent your donuts from getting soggy, you'll need to properly fry them at the right temperature and ensure they're completely cooked through. Let them drain well on a paper towel-lined plate after frying.

