Cake pops combine rich cake texture with the convenience of a tasty snack, making them a modern confectionary classic enjoyed by all ages. You'll start by crumbling cake and mixing it with frosting to form bite-sized balls. Then, you'll dip the chilled cake balls in melted chocolate to coat them before letting them cool completely. Get creative with decorations like sprinkles, nuts, and colored chocolate drizzles. Experiment with different cake and frosting flavors for unique creations. Cake pops are versatile and customizable, so have fun exploring the endless possibilities. If you continue reading, you'll discover even more tips for baking delicious cake pops.
Key Takeaways
- Cake pops combine the rich texture of cake with the convenience of a portable snack, appealing to all ages with endless flavor combinations.
- The basic recipe involves crumbling cake, mixing it with frosting, forming into balls, and coating with melted chocolate for a delicious treat.
- Proper techniques, such as thoroughly crumbling the cake and chilling the balls before dipping in chocolate, are essential for successful cake pops.
- Decorating options like sprinkles, chopped nuts, and drizzled chocolate can add visual appeal and personalization to the cake pops.
- Cake pops are versatile and adaptable, allowing for creativity and experimentation with flavors, shapes, and designs to create unique and enjoyable treats.
History
The origins of cake pops can be traced back to the late 1990s, when Bakerella, a popular food blogger, first introduced the concept. She discovered that crumbling cake and mixing it with frosting created a delightful, bite-sized treat that could be easily formed into balls and coated in chocolate or sprinkles.
This innovative idea quickly gained traction, with home bakers and professional chefs alike embracing the versatility of cake pops.
Over the years, the popularity of cake pops has continued to grow, with endless flavor combinations and decorative possibilities. From classic chocolate and vanilla to more adventurous flavors like red velvet and s'mores, cake pops have become a beloved staple in bakeries, parties, and even wedding celebrations.
Their miniature size and playful presentation make them a fun and interactive dessert option that appeals to both children and adults.
As the cake pop trend continues to evolve, it's clear that these bite-sized delights have solidified their place as a modern confectionary classic.
Recipe
Cake pops are a delightful and versatile treat that can be enjoyed by people of all ages. These bite-sized confections combine the rich, moist texture of cake with the convenience of a portable snack. Whether you're hosting a party, looking for a fun baking project, or simply craving a sweet indulgence, cake pops are sure to delight.
For those seeking a healthier option, consider crafting vegan cake pops that utilize plant-based ingredients, making them suitable for a variety of dietary preferences.
Crafting the perfect cake pops requires a combination of creativity and attention to detail. The process involves transforming a simple cake into a malleable mixture, shaping it into bite-sized balls, and coating them in a delectable shell of chocolate or other coatings. The result is a visually appealing and irresistibly tasty treat that can be customized to suit any occasion.
Ingredients:
- 1 box of cake mix (any flavor)
- 1 can of frosting (any flavor)
- Lollipop sticks or paper straws
- Chocolate or candy coating (for dipping)
- Sprinkles, crushed cookies, or other decorations (optional)
Directions:
Bake the cake according to the instructions on the box, allowing it to cool completely. Crumble the cake into a large mixing bowl, and then mix in the entire can of frosting until a smooth, dough-like consistency is achieved.
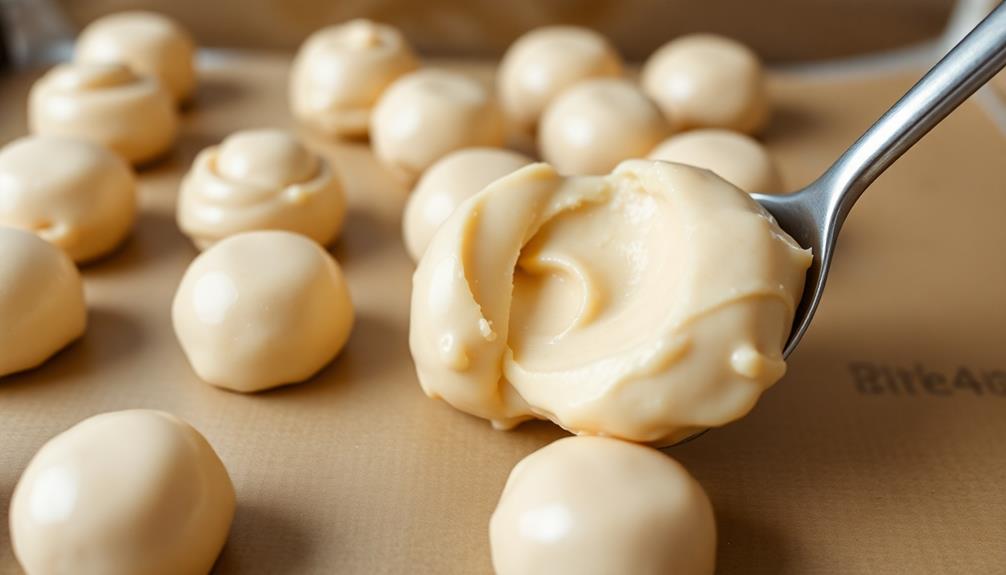
Using a small cookie scoop or spoon, form the mixture into 1-inch balls and place them on a parchment-lined baking sheet. Chill the cake balls in the refrigerator for at least 2 hours, or until firm.
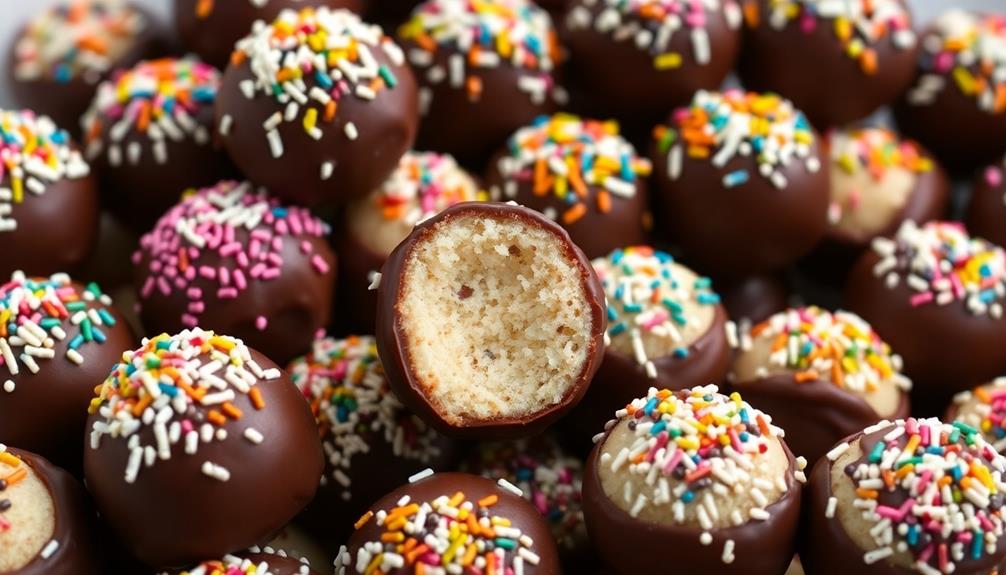
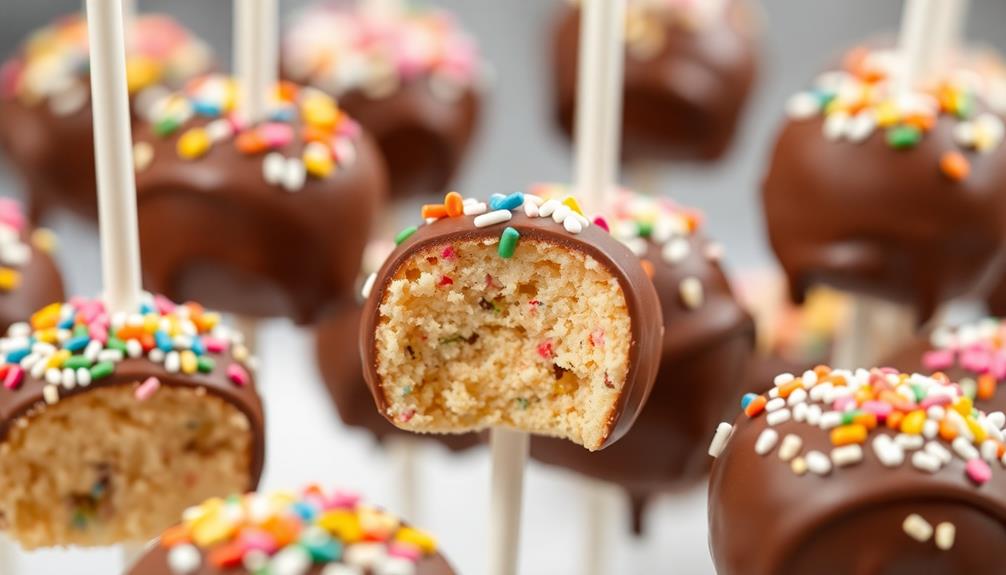
Melt the chocolate or candy coating in a double boiler or microwave, stirring frequently until smooth. Dip each cake ball into the coating, allowing any excess to drip off. Gently insert a lollipop stick or paper straw into the center of each cake ball.
Decorate the cake pops with sprinkles, crushed cookies, or other desired toppings while the coating is still wet. Allow the cake pops to set on the baking sheet or a wire rack until the coating is completely hardened.
Tips:
- For optimal texture, be sure to crumble the cake thoroughly before mixing in the frosting.
- Chilling the cake balls before dipping helps them maintain their shape and prevents the coating from slipping off.
- Experiment with different cake and frosting flavors to create unique and personalized cake pops.
- Store the finished cake pops in an airtight container in the refrigerator for up to 1 week.
Cooking Steps
First, scoop the cake batter into bite-sized balls.
Next, dip these balls into melted chocolate to fully coat them.
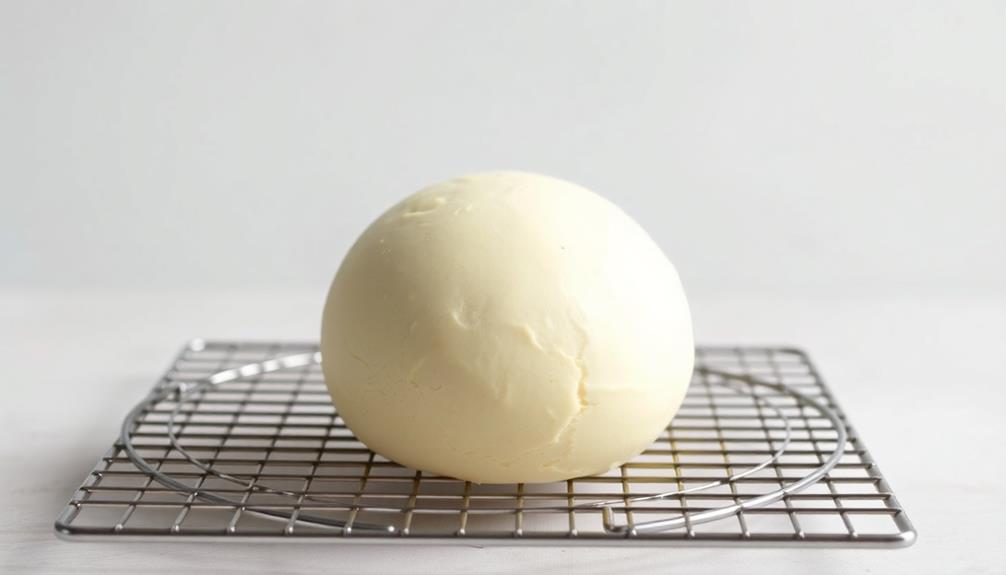
Step 1. Scoop Cake Batter Into Balls
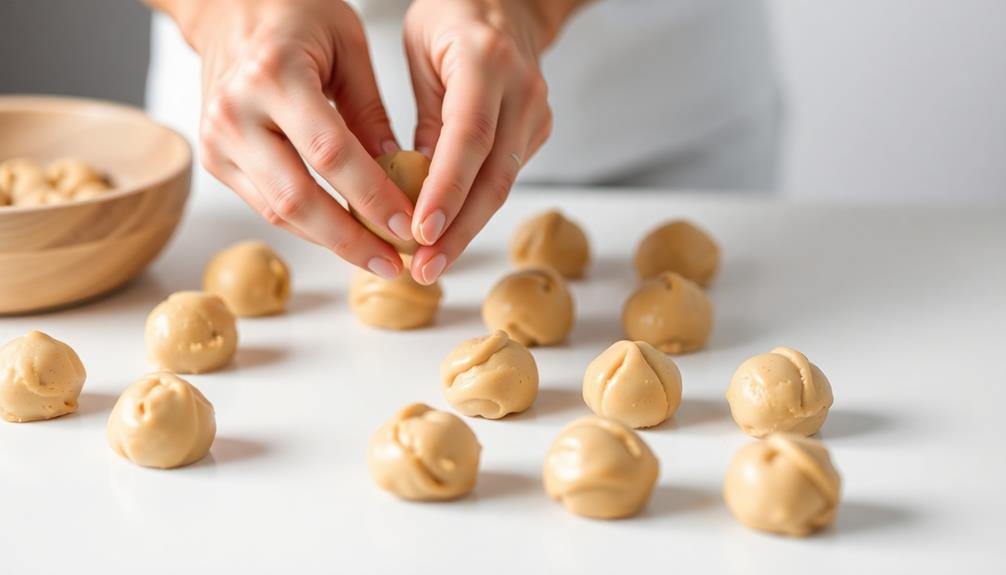
Once the cake has baked and cooled completely, you'll want to scoop the cake batter into evenly-sized balls. Use a small cookie scoop or spoon to portion out the cake, aiming for about 1-inch round balls.
Gently roll the scoops between your palms to shape them into smooth spheres. Make sure to work quickly, as the cake will start to crumble if it warms up too much.
Place the cake balls on a parchment-lined baking sheet, spacing them apart so they don't stick together. Once you've scooped all the cake, you can refrigerate the baking sheet for 30 minutes to help the balls firm up.
This will make them easier to dip in the chocolate coating later on. Be careful not to overhandle the cake balls, as they can easily break apart. With a little practice, you'll get the hang of scooping and shaping the perfect cake pop base.
Step 2. Dip Balls in Melted Chocolate
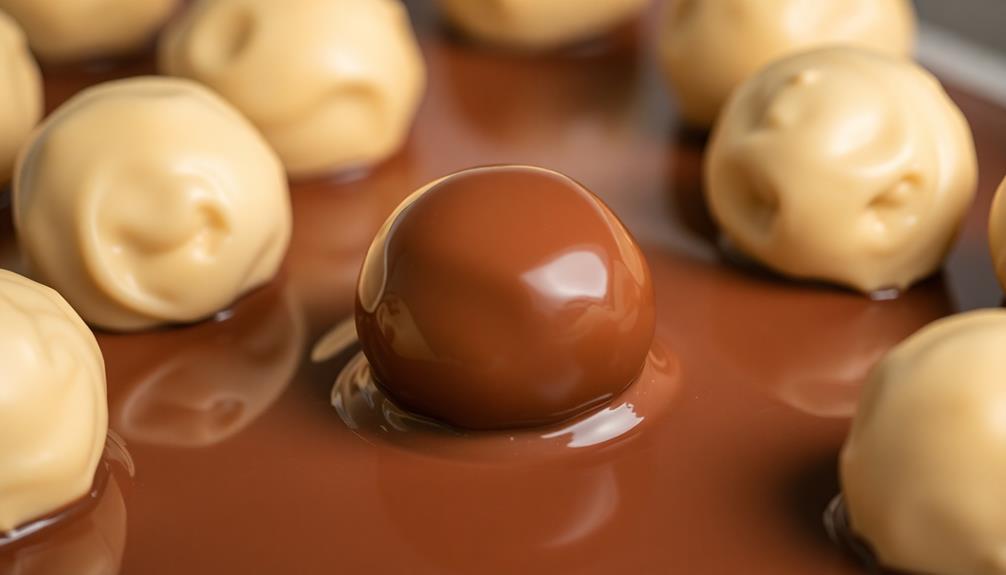
With the cake balls chilled and ready, it's time to start dipping them in melted chocolate. The first step is to melt the chocolate. You can use a double boiler or a microwave-safe bowl.
If using a microwave, heat the chocolate in 30-second intervals, stirring between each, until it's smooth and completely melted. Be careful not to overheat the chocolate, as that can make it seize up.
Next, take one of the chilled cake balls and hold it on a fork or a toothpick. Gently lower it into the melted chocolate, making sure it's fully submerged.
Lift it out, letting any excess chocolate drip back into the bowl. Carefully transfer the dipped cake ball to a parchment-lined baking sheet or a wire rack.
Repeat this process with the remaining cake balls, working in batches to keep the chocolate from hardening. Once all the balls are dipped, you can add any desired toppings, like sprinkles or crushed cookies, before the chocolate sets.
Step 3. Let Cake Balls Cool Completely
After dipping the cake balls in the melted chocolate, you'll want to let them cool completely. This step is crucial for ensuring the chocolate coating sets properly and the cake pops hold their shape.
Find a clean, flat surface and arrange the coated balls, spacing them out to prevent sticking. Depending on the temperature of your kitchen, this process can take anywhere from 15 to 30 minutes. Be patient and resist the urge to touch or move them until the chocolate has fully hardened.
Once cooled, the cake pops should have a smooth, shiny finish. If you notice any drips or uneven coverage, you can gently reheat the remaining chocolate and re-dip the affected pops. This will help create a seamless, professional-looking coating.
After the final cooling, your cake pops are ready for decorating or serving. Storing them in the refrigerator can extend their shelf life, but be sure to bring them back to room temperature before enjoying the delightful combination of moist cake and crisp chocolate shell.
Step 4. Drizzle With Colored Chocolate
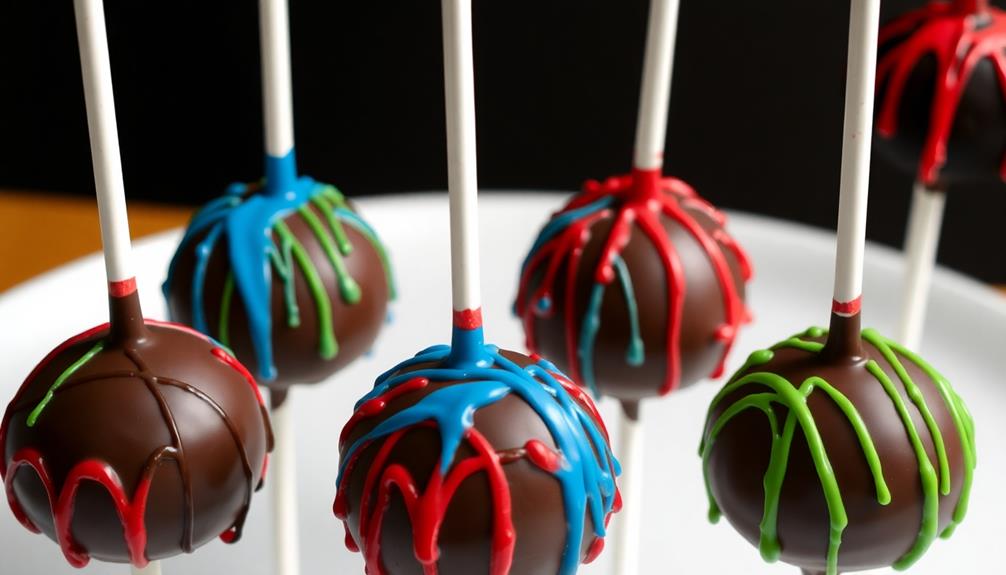
Now that your cake pops have hardened, you can take them to the next level by drizzling them with colored chocolate. Melt your desired color of chocolate in a small bowl, either by microwaving it in short bursts or using a double boiler.
Be careful not to overheat the chocolate, as it can seize up and become unusable. Once the chocolate is smooth and silky, dip the tip of a fork or spoon into the melted chocolate.
Gently flick your wrist to create delicate drizzle lines over the tops of the cake pops. If the chocolate seems too thick, you can thin it out by adding a bit of vegetable oil or shortening.
Repeat this process with as many colors as you'd like, allowing the chocolate to set in between each drizzle. The final result will be cake pops that look professionally decorated, with a vibrant and eye-catching appearance.
Drizzling with colored chocolate is a simple way to elevate your homemade cake pops and impress your friends and family.
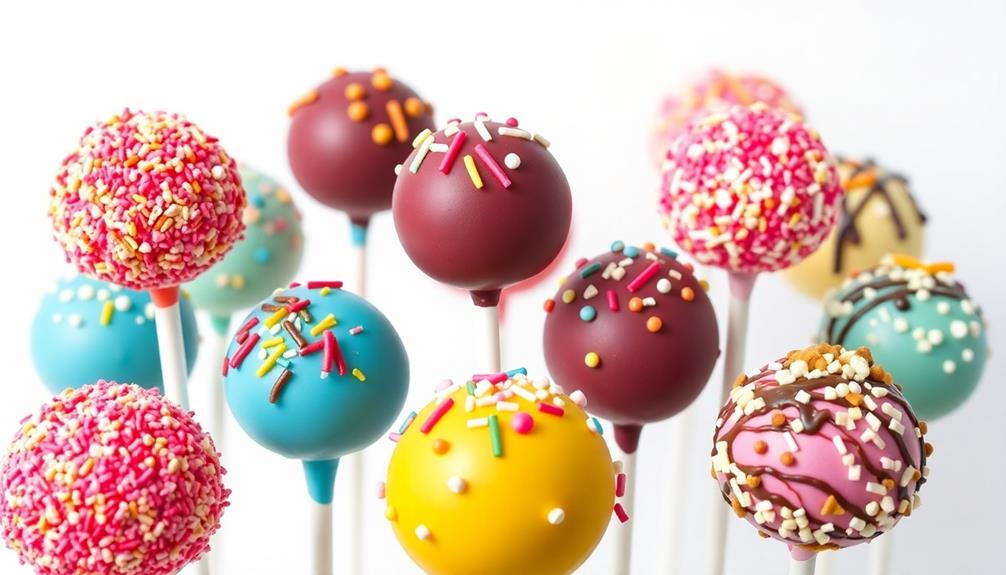
Step 5. Decorate With Sprinkles or Nuts
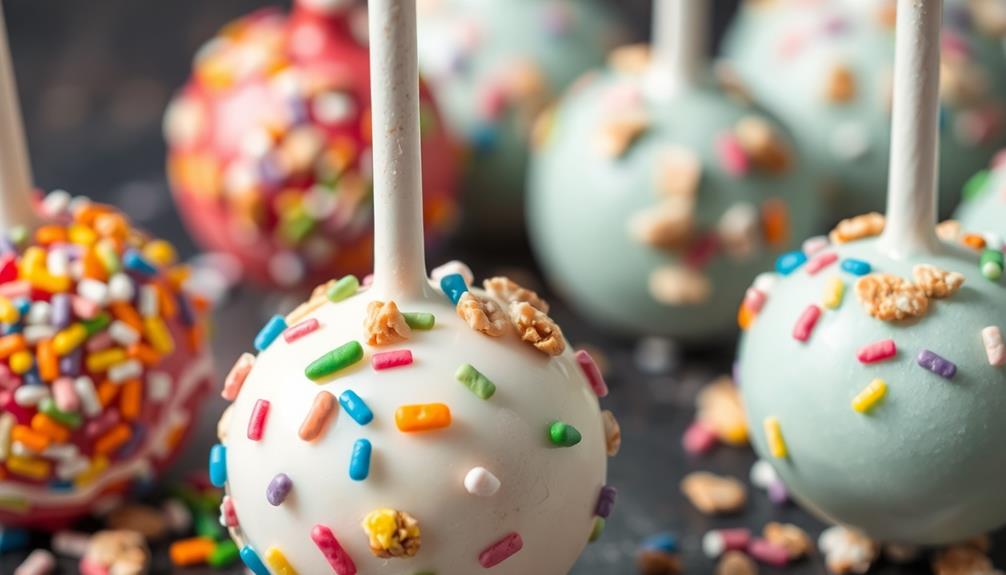
Once your cake pops have been drizzled with colored chocolate, you can further decorate them with sprinkles or nuts.
Sprinkles come in a wide array of colors and shapes, allowing you to customize your cake pops to match any theme or personal style. Simply dip the top of each pop into a small bowl of sprinkles, gently shaking off any excess. For a more uniform look, you can roll the entire cake pop in sprinkles, pressing them gently to help them adhere.
Alternatively, you can top your cake pops with chopped nuts, such as almonds, pecans, or walnuts. The crunch of the nuts provides a delightful contrast to the soft, cake-like interior.
Finely chop the nuts and place them in a shallow dish. Gently roll the cake pops in the nuts, applying a light touch to ensure they stick. You can also sprinkle the nuts over the drizzled chocolate for a more scattered, rustic appearance.
Final Thoughts

Cake pops are a delightful and versatile treat that can be enjoyed in countless ways. With the decorating steps complete, you can now proudly display your creations and share them with family and friends.
Whether you prefer simple designs or intricate patterns, each cake pop is a unique expression of your creativity.
As you continue exploring the world of cake pops, remember to have fun and experiment. Don't be afraid to try new flavors, shapes, or decorative techniques.
The beauty of cake pops lies in their ability to be personalized to suit any occasion or taste preference.
Ultimately, the joy of cake pops comes from the process of making them and sharing them with loved ones. Savor every bite, and take pride in the delicious and visually appealing treats you've created.
Cake pops are a sweet reminder that homemade treats made with care can bring happiness to both the creator and the recipient.
Frequently Asked Questions
How Long Can I Store the Cake Pops?
You can store the cake pops for up to a week in the refrigerator, or up to 3 months in the freezer. Be sure to store them in an airtight container to maintain their freshness.
Can I Freeze the Cake Pops for Later Use?
You can absolutely freeze the cake pops for later use. Simply place them in an airtight container or freezer bag and store them in the freezer for up to 3 months. This is a great way to have homemade treats on hand.
How Do I Achieve the Perfect Cake Pop Shape?
To achieve the perfect cake pop shape, use a melon baller or small cookie scoop to portion the cake mixture. Roll the scoops gently between your palms to create smooth, uniform spheres before coating and chilling them.
What Are Some Popular Flavor Combinations for Cake Pops?
When creating cake pops, you can explore a variety of popular flavor combinations. Classic choices like chocolate and vanilla are always crowd-pleasers, but you can also experiment with unique blends like lemon-raspberry or peanut butter-chocolate.
Can I Use Store-Bought Cake Mix for Making Cake Pops?
Yes, you can definitely use store-bought cake mix to make cake pops. It's a convenient and time-saving option that can still produce delicious results. Just follow the instructions on the box and get creative with your decorations.