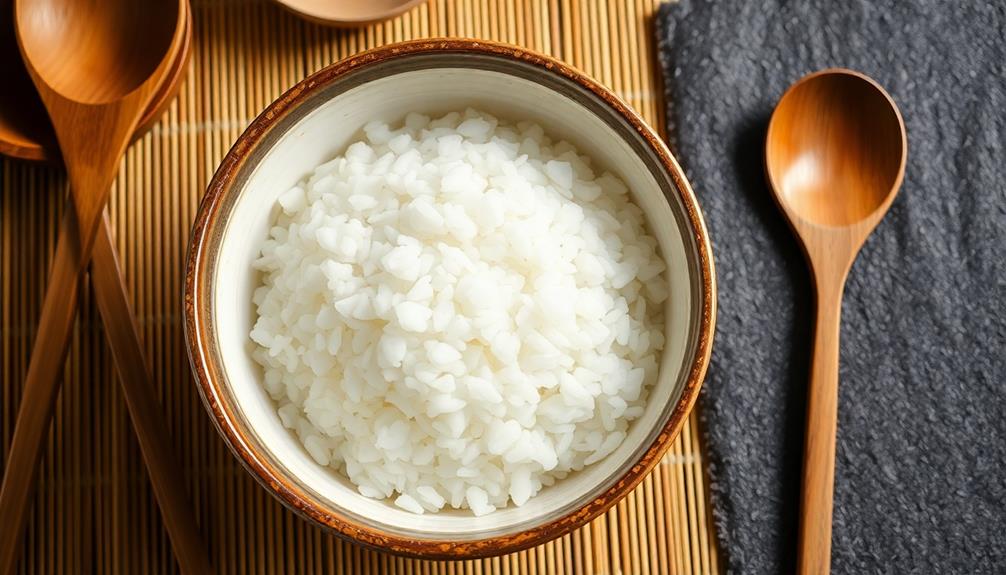
You can easily make delightful sushi rice at home! Start by thoroughly rinsing the short-grain rice to remove excess starch. Next, prepare a seasoning mixture of rice vinegar, sugar, and salt. Gently fold this into the cooked rice, fluffing it with a paddle to achieve the perfect texture. Let the rice cool slightly before chilling it in the fridge. With these simple steps, you'll have authentic-tasting sushi rice perfect for crafting all kinds of mouthwatering sushi rolls, nigiri, and more. Discover even more sushi-making secrets by continuing to explore this guide.
Key Takeaways
- Select high-quality short-grain sushi rice for optimal texture.
- Thoroughly rinse the rice under cold water to remove excess starch.
- Prepare a seasoning mixture of rice vinegar, sugar, and salt.
- Gently fold the seasoning into the cooked rice while it's warm.
- Allow the sushi rice to cool slightly before chilling and using for sushi.

National Geographic Amazing Chemistry Set - Chemistry Kit with 100+ Science Experiments Including Crystal Growing and Reactions, Science Kit for Kids, STEM Gift for Boys and Girls (Amazon Exclusive)
- Number of Experiments: Over 100 science experiments
- Included Materials: All materials for 15 experiments
- Bonus Experiments: 85 additional experiments included
As an affiliate, we earn on qualifying purchases.
History

Sushi rice, the foundation of traditional Japanese sushi, has a rich and fascinating history dating back centuries. It originated in ancient Japan, where rice farmers would press cooked rice into mounds and let it ferment, creating a tangy, vinegared flavor.
Over time, this technique evolved, and sushi rice became an integral part of the country's culinary heritage.
The process of making sushi rice involves carefully balancing the perfect blend of short-grain rice, rice vinegar, sugar, and salt. This precise combination helps to create the signature sticky, yet subtly sweet and tangy taste that's essential for an authentic sushi experience.
Mastering the art of sushi rice preparation is considered a hallmark of a skilled sushi chef, as it requires a keen understanding of the perfect texture and flavor.
Today, sushi rice remains a crucial component in the creation of various sushi dishes, from the classic nigiri to the beloved California roll.
Its importance in Japanese cuisine can't be overstated, as it continues to captivate food enthusiasts around the world.
Recipe
Sushi rice is the foundation of any homemade sushi roll. It's a delicate balance of short-grain rice, rice vinegar, sugar, and salt that creates the perfect texture and flavor. With a few simple steps, you can easily make sushi rice at home and enjoy fresh, authentic sushi anytime.
The key to perfect sushi rice is in the cooking method. Properly cooking the rice ensures it has the right consistency – sticky yet firm enough to hold its shape when rolled. Additionally, the vinegar, sugar, and salt mixture added to the cooked rice is essential for creating that signature sushi flavor.
Ingredients:
- 2 cups short-grain sushi rice
- 2 cups water
- 3 tablespoons rice vinegar
- 2 tablespoons sugar
- 1 teaspoon salt
Instructions:
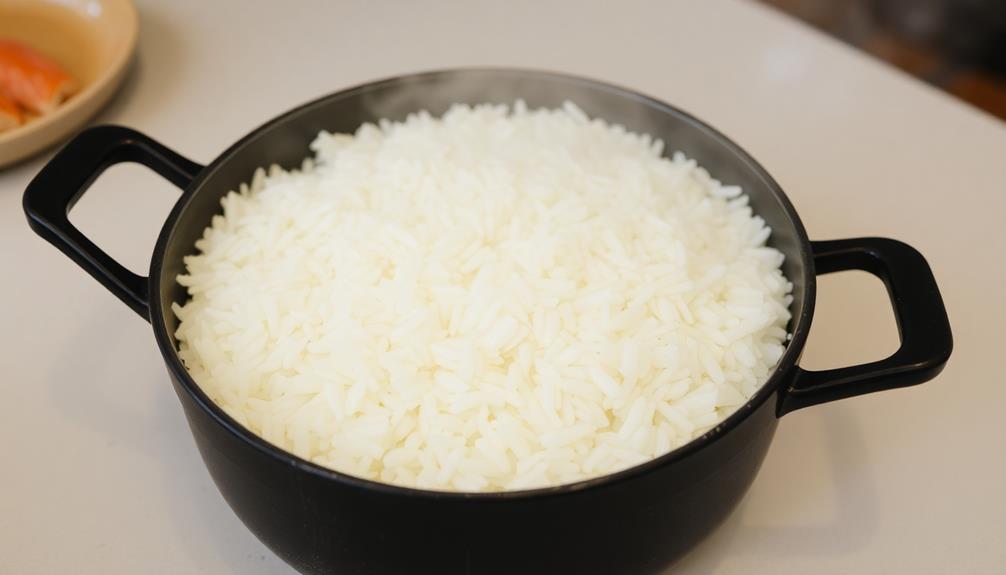
Rinse the rice in a fine-mesh strainer until the water runs clear. Transfer the rinsed rice to a medium saucepan and add the water. Bring to a boil over high heat, then reduce the heat to low, cover, and simmer for 15-20 minutes, or until the rice is tender and the water is absorbed. Remove from heat and let stand, covered, for 10 minutes.
Transfer the cooked rice to a large bowl. In a small bowl, combine the rice vinegar, sugar, and salt. Drizzle the vinegar mixture over the rice and use a rice paddle or wooden spoon to gently fold it in, taking care not to mash the rice. Cover the bowl with a damp cloth and let the rice cool to room temperature before using.
When making sushi rice at home, it's important to use the right type of rice and to cook it properly. Short-grain sushi rice, such as Calrose or Nishiki, is essential for achieving the right texture. Rinsing the rice before cooking helps remove excess starch, and letting the cooked rice stand covered helps it achieve the ideal stickiness.
With a little practice, you'll be making sushi rice that rivals your favorite sushi restaurant.
Cooking Steps
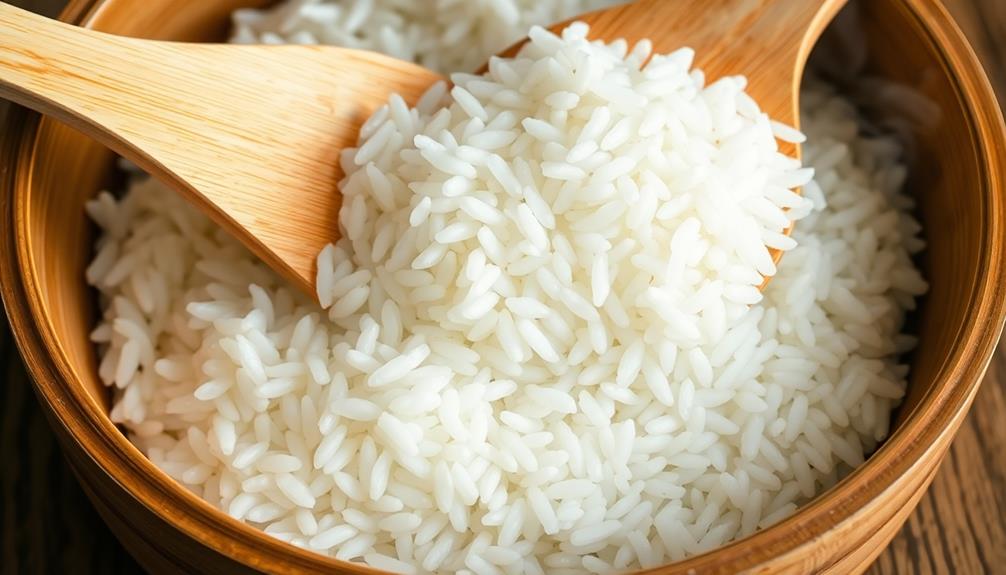
First, you'll want to thoroughly rinse the rice to remove any excess starch.
Then, you'll add the vinegar mixture and carefully fluff the rice with a paddle.
Step 1. Rinse Rice Thoroughly Before Cooking
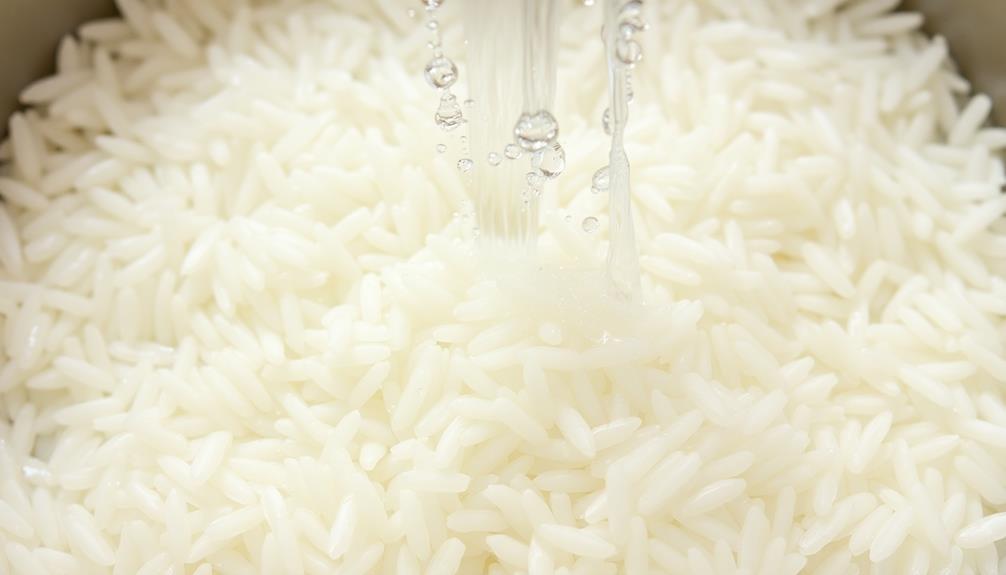
Rinsing the rice is a crucial first step in preparing delicious sushi rice. Before cooking, you'll want to thoroughly rinse the rice under cold running water. This helps remove any excess starch, which can make the cooked rice sticky and gloppy.
Start by placing the rice in a fine-mesh strainer or colander. Gently agitate the rice with your hands, allowing the water to run through and carry away the cloudy, starchy liquid. Continue rinsing until the water runs clear – this usually takes 2-3 minutes of gentle rubbing and swishing.
Be careful not to over-rinse, as that can strip the rice of its natural nutrients and flavor. Once the rice is nicely rinsed, you're ready to move on to the cooking step. Proper rinsing sets you up for fluffy, evenly cooked sushi rice that's perfect for rolling, molding, or serving however you like.
Don't skip this important first prep!
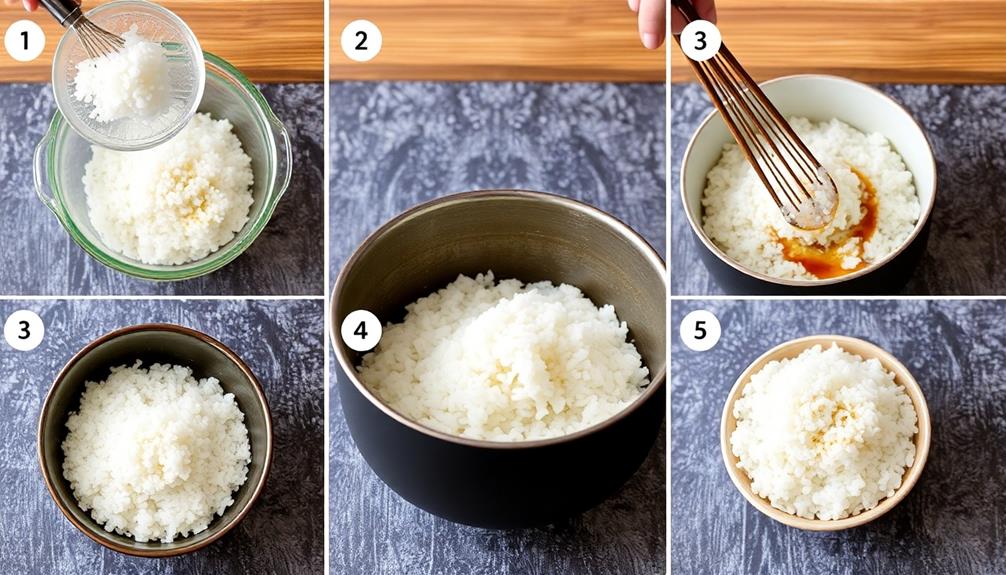
Step 2. Add Vinegar Mixture

After rinsing the rice, you'll need to prepare the vinegar mixture that will season and flavor the cooked grains. In a small bowl, combine the rice vinegar, sugar, and salt. Stir until the sugar and salt have fully dissolved.
This vinegar mixture will add the perfect balance of acidity, sweetness, and savory notes to your sushi rice.
Once the mixture is ready, you'll want to gently fold it into the hot, freshly cooked rice. Be careful not to overmix, as this can make the rice sticky and gummy.
Fold the vinegar in with a wooden spoon or rice paddle in a cutting motion, turning the rice gently to evenly distribute the flavors. Work quickly, as you want the rice to absorb the vinegar while it's still warm.
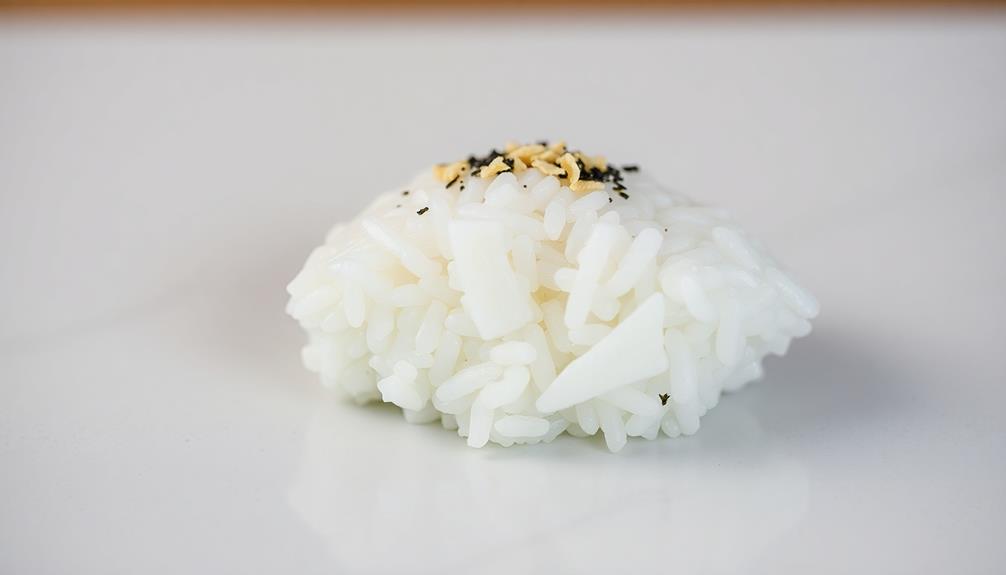
The resulting sushi rice should be shiny, slightly sticky, and full of delicious flavor.
Step 3. Fluff Rice With a Rice Paddle
Next, use a rice paddle or wooden spoon to gently fluff the vinegar-infused rice. This step is crucial for achieving the perfect texture.
Slowly and carefully run the paddle through the rice, lifting and turning it to incorporate air. The goal is to separate the grains and create a fluffy, light consistency. Avoid over-mixing, as this can make the rice sticky.
Gently fluffing the rice helps it cool evenly and absorb the flavors of the vinegar mixture. Take your time with this step, using a gentle, folding motion to prevent the rice from becoming dense or compacted.
Pay attention to the edges of the bowl, making sure all the rice is evenly fluffed.
Once the rice has a light, airy texture, you're ready to transfer it to a baking sheet or sushi mat to cool completely. This will prepare the rice for rolling and shaping into sushi.
Step 4. Let Rice Cool Slightly
With the rice now fluffed and aerated, you'll want to let it cool slightly before moving on. This step is crucial, as you don't want to handle the rice while it's still piping hot.
Allow it to sit for 5 to 10 minutes, giving it time to come down to a more manageable temperature. As it cools, the rice will continue to dry out a bit, which will make it easier to work with when you start seasoning and shaping it.
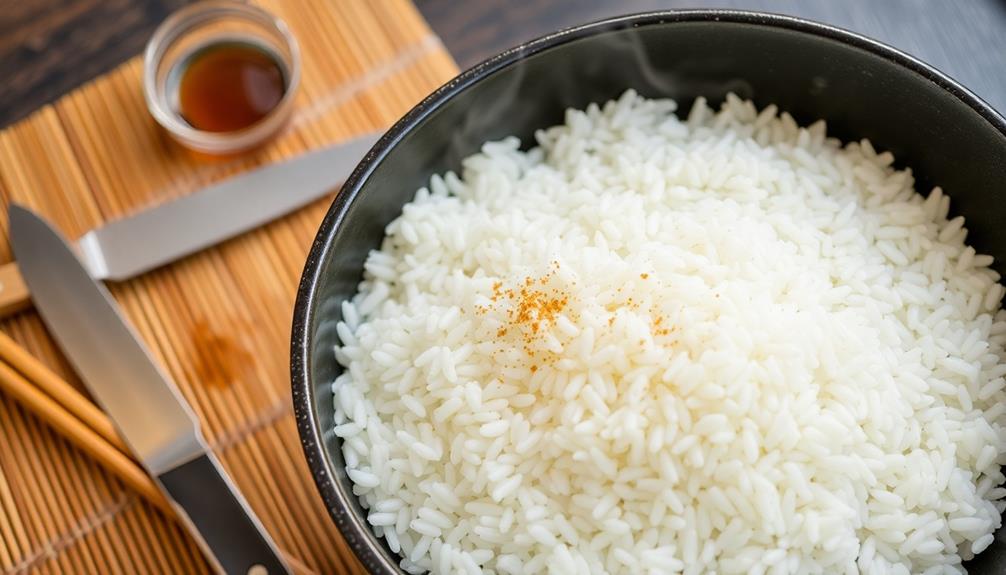
During this cooling period, you can gather the rest of your sushi-making supplies, such as your sushi rolling mat, a sharp knife, and the rice vinegar mixture you'll be using to season the rice.
This way, you'll be ready to go as soon as the rice is at the perfect temperature. Just be patient and let it cool at its own pace – rushing this step could lead to sticky, difficult-to-handle rice, which won't give you the desired sushi texture.
Step 5. Cover and Chill Sushi Rice

Once the rice has cooled slightly, you'll want to cover it and let it chill in the refrigerator for about 30 minutes. This chilling process helps the rice firm up and sets the shape, making it easier to work with when assembling your sushi rolls.
While the rice is chilling, take this time to prepare any other ingredients you'll need, like slicing vegetables or cutting your nori sheets.
When the 30 minutes are up, remove the rice from the fridge and give it a gentle stir to prevent sticking. The rice should now have a nice, sticky texture that's perfect for rolling.
Be sure to work with the chilled rice right away, as it can quickly become dry and difficult to handle if left out too long.
With the rice prepped and ready, you can now move on to shaping your sushi rolls. Remember to work carefully and have fun with the process – the more you practice, the better your sushi-making skills will become!
Final Thoughts
Making sushi rice at home can be a rewarding and delicious endeavor. With the right technique and a little practice, you'll be whipping up perfectly sticky and flavorful sushi rice in no time.
Remember, the key is to handle the rice gently, season it well, and let it cool properly before using. Don't be afraid to experiment and find the method that works best for your taste preferences.
Once you've mastered the art of making sushi rice, the possibilities are endless. You can use it to create all sorts of sushi rolls, nigiri, and even onigiri.
Impress your friends and family with your culinary skills, or enjoy a taste of Japan in the comfort of your own home. Just be sure to store any leftover rice properly to maintain its quality.
With a little patience and attention to detail, you'll be a sushi rice pro in no time.
Frequently Asked Questions
Can I Use Regular Rice Instead of Sushi Rice?
You can use regular rice instead of sushi rice, but it won't have the same sticky, slightly sweet flavor. The texture will also be different, as sushi rice is specially prepared to achieve the desired consistency.
How Long Does Homemade Sushi Rice Last in the Fridge?
Homemade sushi rice can last up to 5 days in the fridge. Make sure to store it in an airtight container and avoid exposing it to air, which can dry it out quickly. Enjoy your fresh sushi rice!
Is It Possible to Make Sushi Rice Without a Rice Cooker?
Yes, you can make sushi rice without a rice cooker. Use a saucepan, simmer the rice, and then gently fold in the vinegar mixture. It takes a bit more effort, but it's definitely possible to create delicious sushi rice at home without a rice cooker.
What Is the Best Way to Store Leftover Sushi Rice?
The best way to store leftover sushi rice is to refrigerate it in an airtight container. This will help preserve its texture and flavor for a few days. Avoid leaving it out at room temperature, as it can spoil quickly.
Can I Substitute Any Other Vinegar for Sushi Rice Vinegar?
You can substitute other vinegars for sushi rice vinegar, but they may affect the flavor. Try using rice vinegar or apple cider vinegar, but avoid stronger vinegars like balsamic or red wine vinegar.