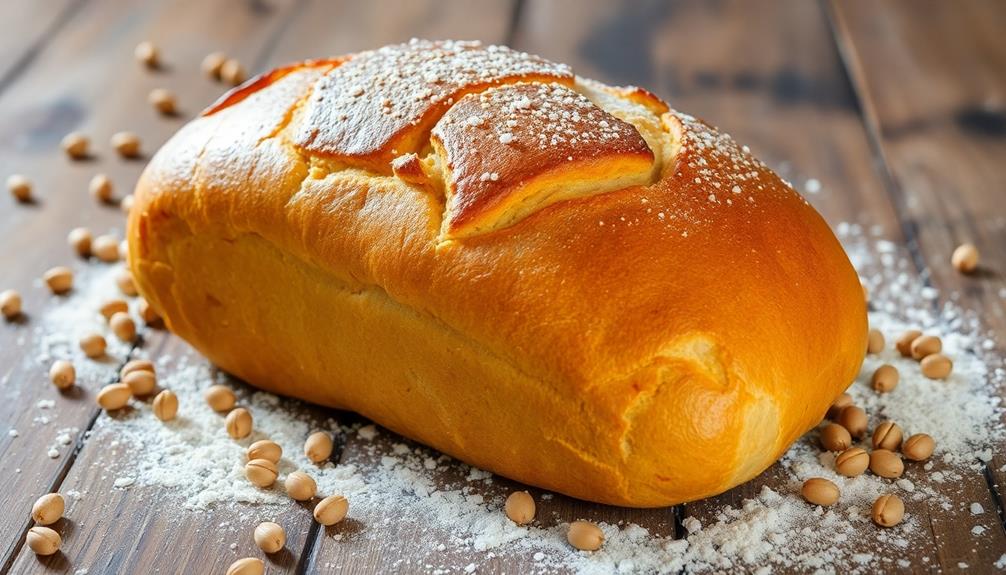
Making your own sourdough starter is easier than you might think! Start by mixing flour and water, then let the mixture sit at room temperature for 24 hours. After that, discard half and feed the remaining starter with more flour and water. Keep up this routine of regular feedings every 12-24 hours, and soon you'll have a bubbly, active starter ready for baking. Don't worry if it takes some tweaking to get the timing right – each starter develops its own unique personality. Stick with it, and you'll be making delicious homemade sourdough bread in no time.
Key Takeaways
- Gather the essential ingredients: 50g all-purpose flour, 50g whole wheat flour, and 100g filtered water.
- Mix the initial starter and let it sit at room temperature for 24 hours before feeding.
- Regularly discard and feed the starter with equal parts flour and water every 12-24 hours.
- Monitor the starter's consistency, aroma, and activity, adjusting the feeding schedule as needed.
- A well-fed, bubbly starter is ready for baking your homemade sourdough bread.
History
Sourdough bread has a rich history dating back thousands of years. The fermentation process used to create sourdough has been practiced since ancient times, with evidence of it being used in ancient Egypt and Greece. Sourdough got its name from the natural yeast and bacteria that ferment the dough, giving it a distinct sour flavor.
Over the centuries, sourdough has become a staple in many cultures around the world. It was a crucial food source for sailors, pioneers, and gold miners, as the long fermentation process helped the bread stay fresh for extended periods.
Today, sourdough remains popular for its robust flavor and chewy texture. Making your own sourdough starter allows you to connect with this age-old baking tradition and experiment with unique flavors. With a little patience and care, you can cultivate your own living culture to create delicious homemade sourdough bread.
Recipe
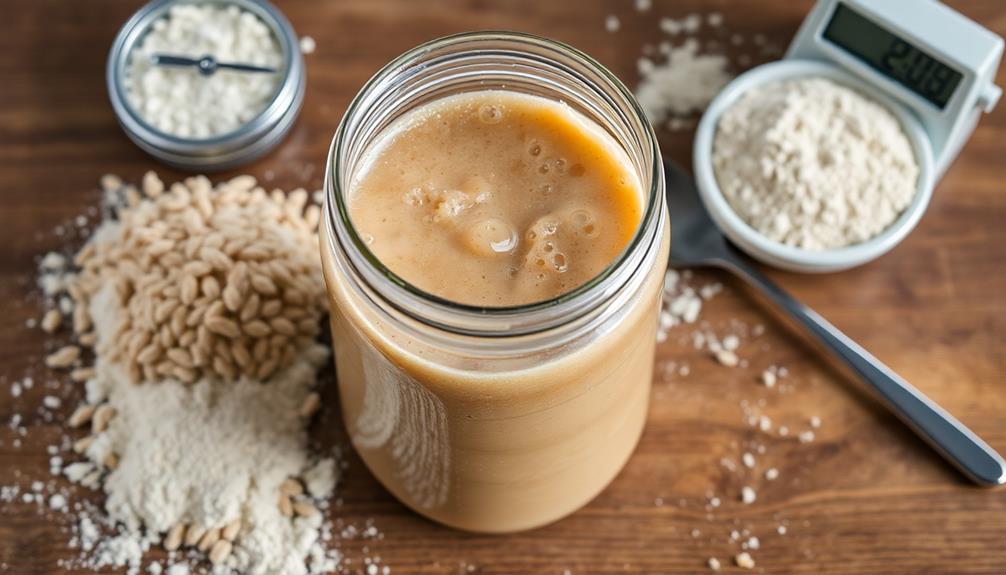
Sourdough starter is the foundation for making delicious homemade sourdough bread. Creating your own starter from scratch may seem daunting, but it's a rewarding process that allows you to tailor the flavor to your preferences.
With patience and a little attention, you can cultivate a thriving sourdough culture that will serve you well for years to come.
The process of making a sourdough starter involves capturing wild yeast and beneficial bacteria from the air and nurturing them in a flour-and-water mixture. As the starter matures, it develops a complex flavor profile that can range from tangy to sweet, depending on factors such as the type of flour used and the fermentation time.
Ingredients:
- 50g all-purpose flour
- 50g whole wheat flour
- 100g filtered water
Instructions:
In a clean glass or non-reactive container, combine the all-purpose flour and whole wheat flour. Add the filtered water and stir until a thick, smooth batter forms.
Cover the container with a breathable cloth or loosely fitting lid and let the mixture sit at room temperature for 24 hours.
After 24 hours, discard half of the starter and feed the remaining portion with another 50g each of all-purpose flour and filtered water.
Repeat this process of discarding and feeding the starter for the next 5-7 days, or until the starter becomes active and doubles in size within 8-12 hours of being fed.
Tips:
- Use filtered or bottled water, as chlorinated tap water can inhibit the growth of the desired microorganisms.
- Adjust the ratio of flour to water if the starter appears too dry or too wet.
- Once the starter is established, you can store it in the refrigerator, feeding it once a week to keep it alive and active.
- Experiment with different flours, such as rye or whole wheat, to create unique flavor profiles in your sourdough.
Cooking Steps
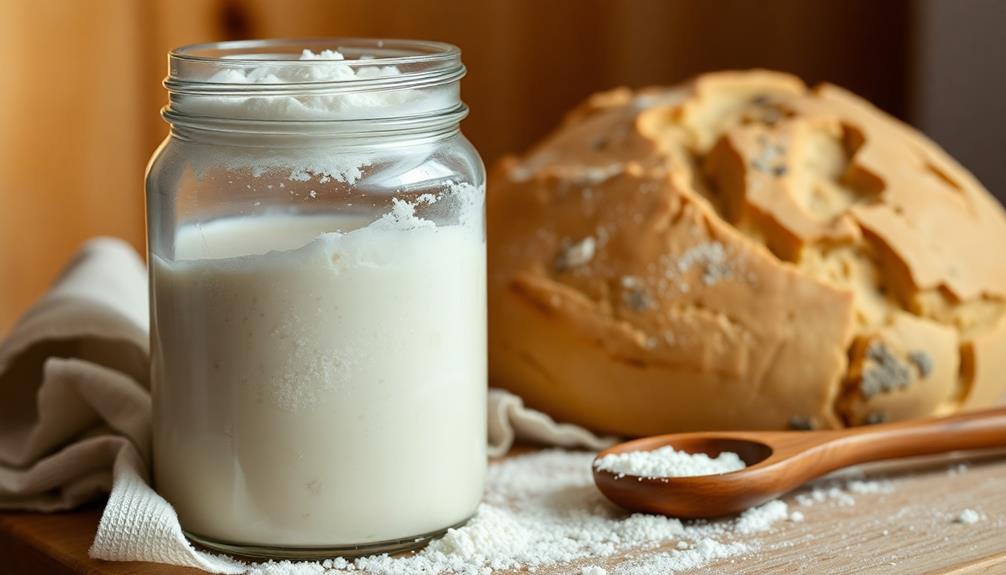
Feed your sourdough starter regularly, covering it with a cloth to allow it to ferment.
Before each feeding, discard any excess starter – you can use this discarded portion to bake with, saving you from wasting precious dough.
Step 1. Feed the Starter
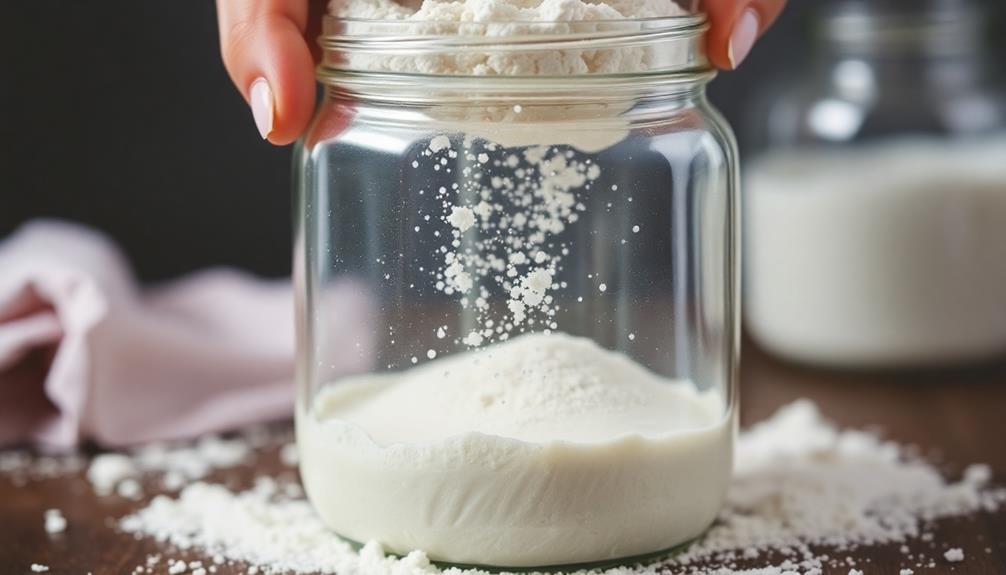
Once your sourdough starter has matured, it's time to start feeding it regularly. Feeding your starter is crucial to keeping it healthy and active.
Take your mature starter and discard all but a few tablespoons. Then, add an equal amount of flour and warm water. For example, if you have 2 tablespoons of starter, add 2 tablespoons each of flour and water.
Stir the mixture well until it's smooth and lump-free. Cover the container and let the starter sit at room temperature for 8-12 hours. During this time, the yeast will consume the new food, causing the starter to become bubbly and expand.
After the feeding period, your starter is ready to use in your sourdough baking.
Repeat this feeding process every 12-24 hours to keep your starter strong and active. Pay attention to the consistency and aroma of your starter, adjusting the feeding schedule as needed.
With regular care, your homemade sourdough starter will be ready to use for delicious breads and pastries.
Step 2. Cover With Cloth
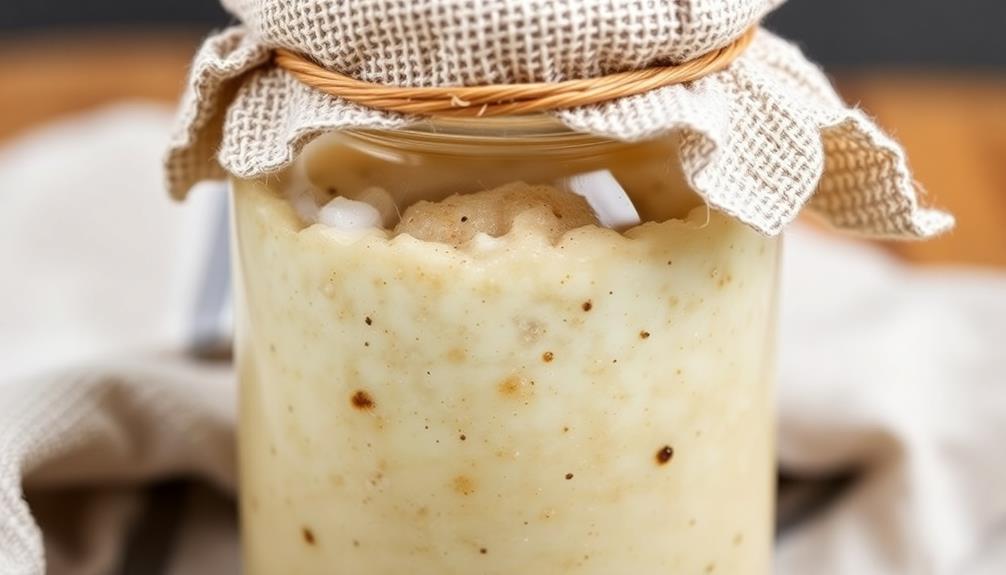
After feeding your sourdough starter, it's important to cover the container with a clean cloth. This helps maintain the ideal environment for your starter to thrive.
Use a breathable fabric like a tea towel or cheesecloth, avoiding anything airtight. The cloth will allow air circulation while keeping out any unwanted debris or critters.
Secure the cloth over the top of the jar or container, using a rubber band or piece of string to hold it in place. This protects your starter while still allowing it to ferment.
Avoid tightly sealing the container, as your starter needs to "breathe" and release the gases it produces.
Check on your starter regularly, ensuring the cloth remains in place. If it becomes dirty or dried out, replace it with a fresh, clean cloth.
Maintaining this simple cover will create the perfect environment for your sourdough starter to grow and develop its incredible flavor.
Step 3. Let the Starter Ferment
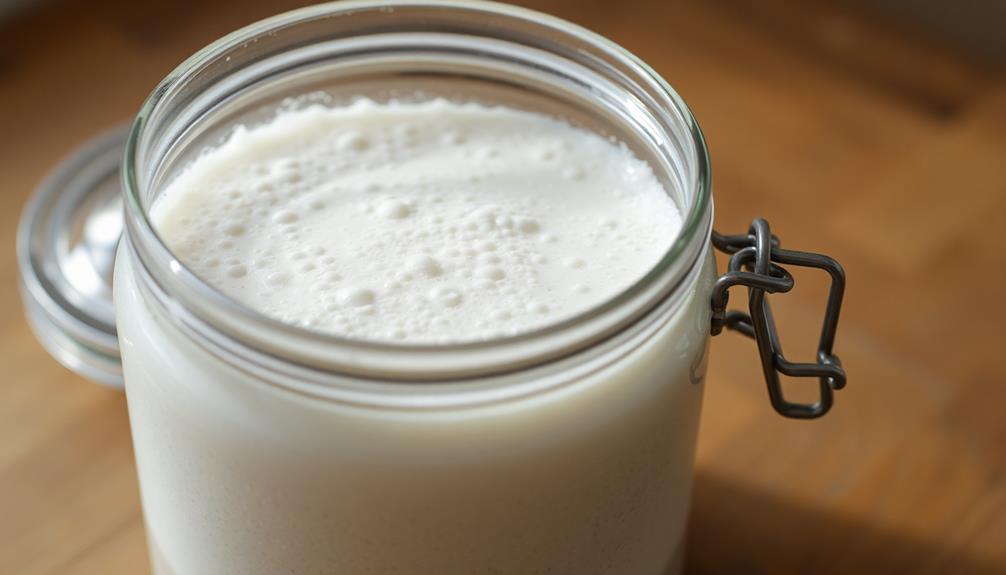
With your sourdough starter now covered, allow it to ferment at room temperature for the next 12-24 hours. During this time, you'll notice the mixture begin to bubble and expand as the yeast gets to work. This is a sign that the fermentation process is underway!
Keep the starter in a warm, draft-free area, checking on it periodically. You might even see some bubbles forming on the surface, indicating the yeast is active and healthy.
Don't worry if the mixture doesn't double in size – as long as you see some bubbles, your starter is doing its job.
After the initial fermentation, your starter should have a slightly sour aroma. This is perfectly normal and means the bacteria are developing nicely.
At this point, you can either use the starter in your baking or continue to feed it to keep it alive and thriving.
Get ready – the next step is feeding your sourdough starter!
Step 4. Discard Excess Starter Before Feeding
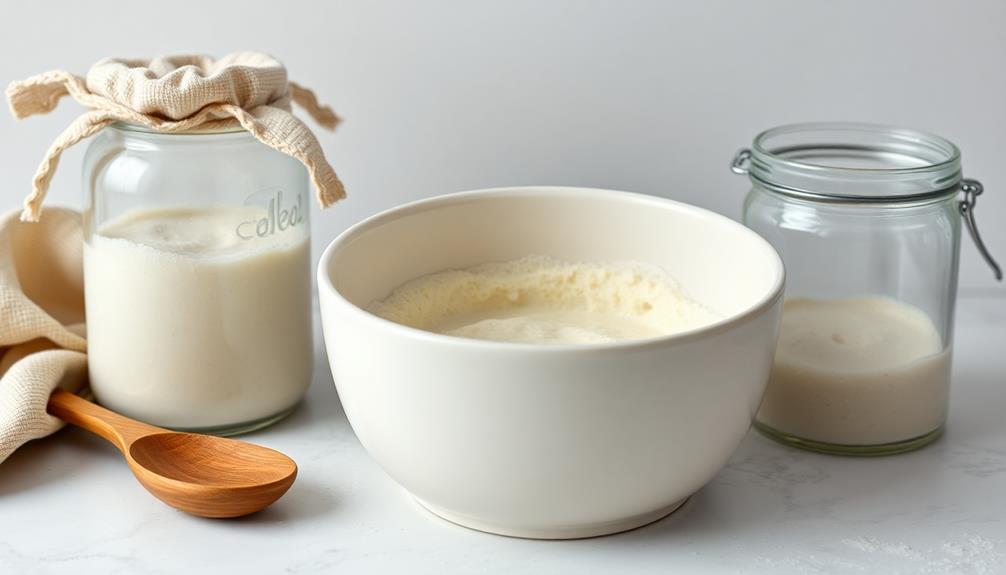
Before you feed your sourdough starter, you'll need to discard a portion of it. This excess starter can be used in all sorts of baking – think pancakes, waffles, or even pizza dough!
But first, you need to make room for the new flour and water you'll be adding.
Grab a spoon and scoop out about half of your starter, leaving the remaining half in the jar. Don't worry, your starter isn't going to waste – that discarded portion is still alive and ready to be used. Just store it in the fridge until you're ready to bake.
Now that you've made space, it's time to feed your starter. Add the fresh flour and water, stir until combined, and let it sit at room temperature.
In 8-12 hours, your starter will be bubbly and active, ready for its next batch of baking. Discard and feed your starter regularly to keep it happy and healthy. This cycle is key to maintaining a strong sourdough culture.
Step 5. Bake With Excess Discarded Starter
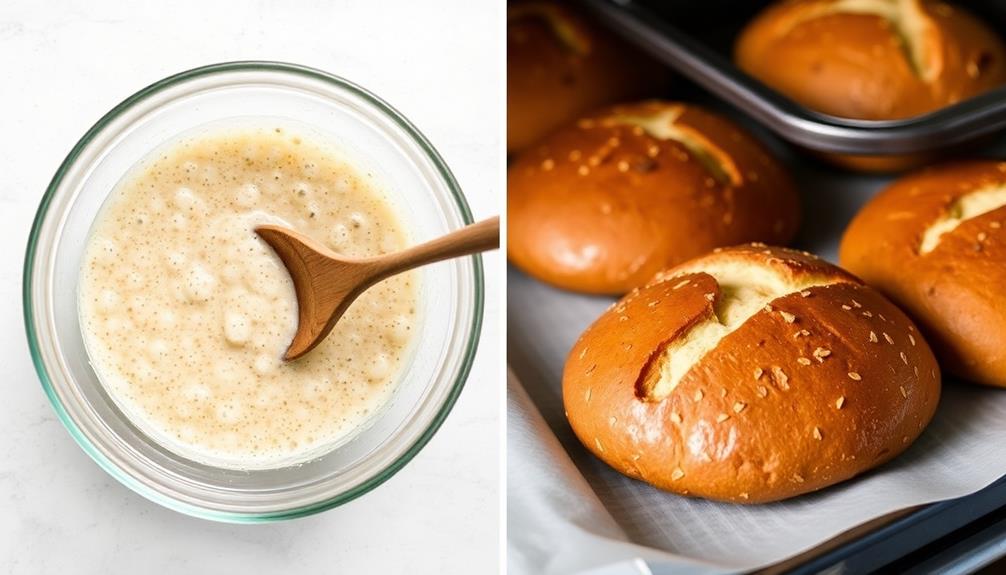
Don't let that discarded sourdough starter go to waste! You can easily use it to bake all sorts of delicious treats. Simply mix the discard with a few basic ingredients, and you've got a quick, flavorful recipe on your hands.
Try making savory pancakes or waffles by adding the starter to your batter. The tangy flavor pairs perfectly with savory toppings like cheese, bacon, or scallions.
For a sweet treat, stir the discard into muffin or quick bread batters. The natural leavening will result in fluffy, moist baked goods.
You can even use the discard to make crackers or flatbreads. Just mix it with flour, salt, and a bit of oil or butter, then roll and bake. They make a wonderful accompaniment to soups, dips, or cheese plates.
The possibilities are endless! Get creative and experiment with your discarded starter. It's the perfect way to reduce food waste and enjoy homemade baked goods.
Final Thoughts
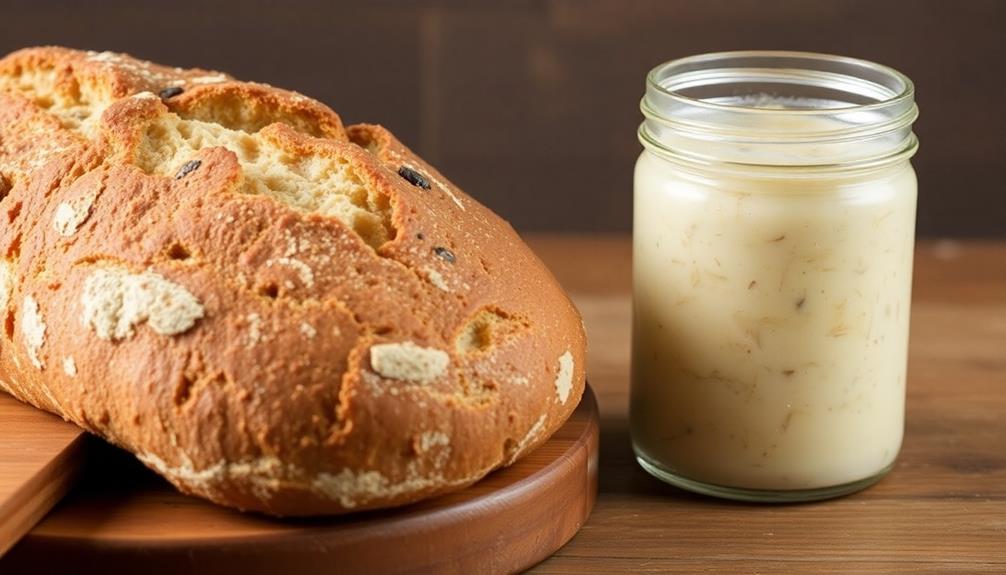
Cultivating your own sourdough starter is a rewarding journey that rewards patience and attention.
You've learned how to feed and maintain your starter, and even how to use the discarded portion for tasty baked goods. Now, as you reach the final steps, it's time to reflect on all you've accomplished.
Creating a thriving sourdough culture from scratch is no small feat. Be proud of the care and dedication you've shown. Your starter is a living, breathing organism that will continue to evolve, providing you with endless baking possibilities.
Remember, every sourdough journey is unique – embrace the quirks and discoveries along the way.
As you move forward, don't be afraid to experiment. Try new feeding schedules, flours, and baking techniques.
The joy of sourdough is in the process, so have fun and enjoy the journey. Your homemade starter is a true labor of love, and the delicious results will be all the more satisfying.
Frequently Asked Questions
How Do I Maintain My Sourdough Starter Long-Term?
To maintain your sourdough starter long-term, you'll need to feed it regularly with flour and water. Keep it at room temperature, discard some before feeding, and you'll have a thriving starter for years to come.
Can I Substitute Any Flour in My Sourdough Starter?
You can substitute different flours in your sourdough starter, but the performance may vary. Experiment with whole wheat, rye, or other flours to find the combination that works best for your preferences and baking needs.
What Are the Signs of a Healthy Sourdough Starter?
A healthy sourdough starter will have an airy, bubbly texture, a slightly sour odor, and it'll double in size after feeding. You'll see robust growth and fermentation activity, indicating the starter is thriving and ready for baking.
How Do I Revive a Dormant Sourdough Starter?
To revive a dormant sourdough starter, feed it equal parts flour and water. Let it sit at room temperature for 12-24 hours, checking for signs of bubbles and expansion. Once active, maintain it with regular feedings.
Can I Use My Sourdough Starter for Other Baked Goods?
Yes, you can use your sourdough starter for other baked goods. The tangy flavor it imparts can be a great addition to breads, pizza doughs, pancakes, and more. Just be sure to adjust the recipe accordingly.


