
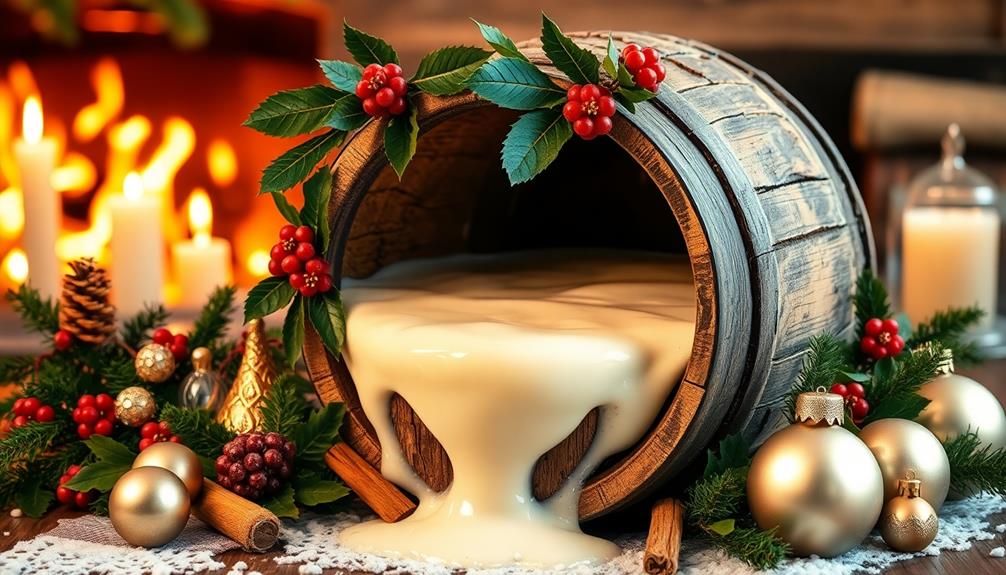
Eggnog's rich, creamy heritage dates back centuries to 14th-century England, where aristocrats sipped the warm dairy-based drink. As the beverage spread to American colonies, it evolved with local ingredients like rum and bourbon. Today, eggnog remains a beloved holiday tradition, enjoyed by families across the country. To make it yourself, you'll whisk eggs and sugar into a custard-like base, then gently fold in whipped egg whites for an airy texture. After chilling, the eggnog's flavors will meld perfectly. Want to learn more about eggnog's history and how to customize it for your holiday gathering?
Key Takeaways
- Eggnog originated in 14th-century England and became a cherished holiday tradition in the American colonies, often with the addition of rum or bourbon.
- A classic eggnog recipe calls for 6 large eggs, 3/4 cup sugar, 2 cups milk, 1 cup cream, and 1 cup bourbon or rum (optional).
- The preparation involves whisking egg yolks and sugar, then blending with cream and milk, and gently folding in whipped egg whites.
- The eggnog should be chilled for at least 2 hours before serving, and leftovers can be stored in the refrigerator for up to 5 days.
- Customize the flavor by experimenting with additional spices or liqueurs, and serve the eggnog chilled in festive glasses, garnished with nutmeg or cinnamon.
Top picks for "eggnog recipe holiday"
Open Amazon search results for this keyword.
As an affiliate, we earn on qualifying purchases.
History
The origins of eggnog can be traced back to 14th-century England, where a warm, dairy-based beverage made from eggs, cream, and sherry was enjoyed by the aristocracy.
Over time, the recipe evolved, and the drink spread to the American colonies, where it became a popular holiday tradition.
Eggnog's name is derived from the word "noggin," which referred to a small, wooden cup used to serve the drink.
As the recipe traveled, it was adapted to local ingredients and preferences. In the United States, the use of rum or bourbon became common, and the drink was often served chilled rather than warm.
Today, eggnog is a beloved part of the holiday season, with many families enjoying the rich, creamy texture and festive flavors.
Whether made from scratch or purchased ready-to-drink, eggnog remains a cherished tradition that connects us to the past and brings a touch of holiday cheer to the present.
Recipe
Eggnog is a classic holiday drink that's rich, creamy, and perfect for celebrating the season. Whether you're hosting a festive party or cozying up by the fire, this homemade eggnog recipe is sure to delight.
The key to a truly delicious eggnog is using high-quality, fresh ingredients. This recipe calls for a mix of eggs, cream, milk, sugar, and a touch of vanilla and nutmeg to create a perfectly balanced flavor profile.
Ingredients:
- 6 large eggs
- 1 cup granulated sugar
- 2 cups heavy cream
- 2 cups whole milk
- 1 teaspoon vanilla extract
- 1/4 teaspoon ground nutmeg, plus more for garnish
Instructions:
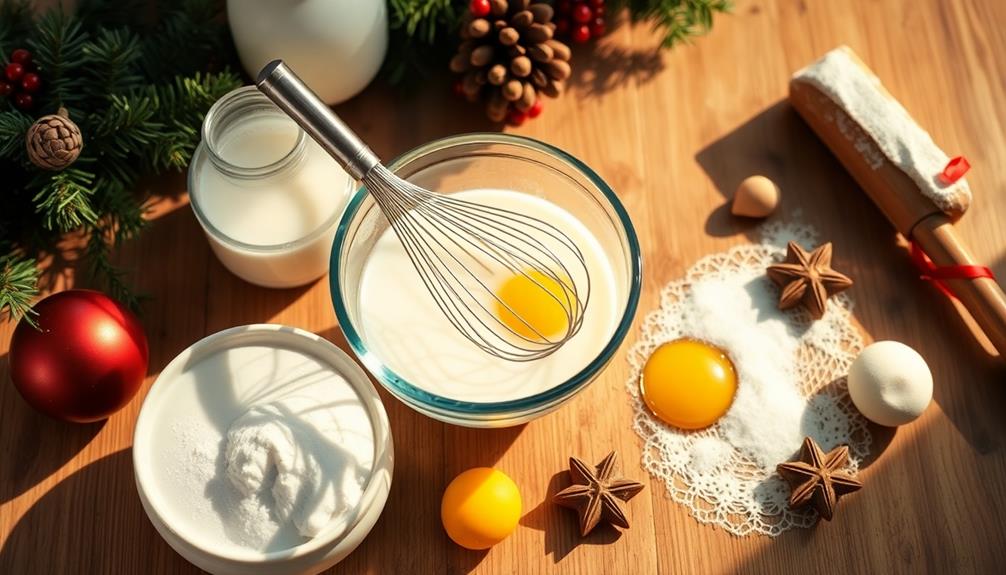
In a large bowl, whisk the eggs and sugar together until the mixture is light and fluffy. Gradually pour in the heavy cream and milk, whisking constantly to incorporate.
Stir in the vanilla extract and nutmeg. Transfer the mixture to a saucepan and cook over medium heat, stirring frequently, until it thickens slightly and reaches 160°F on a thermometer, about 10-15 minutes. Be careful not to let the mixture boil.
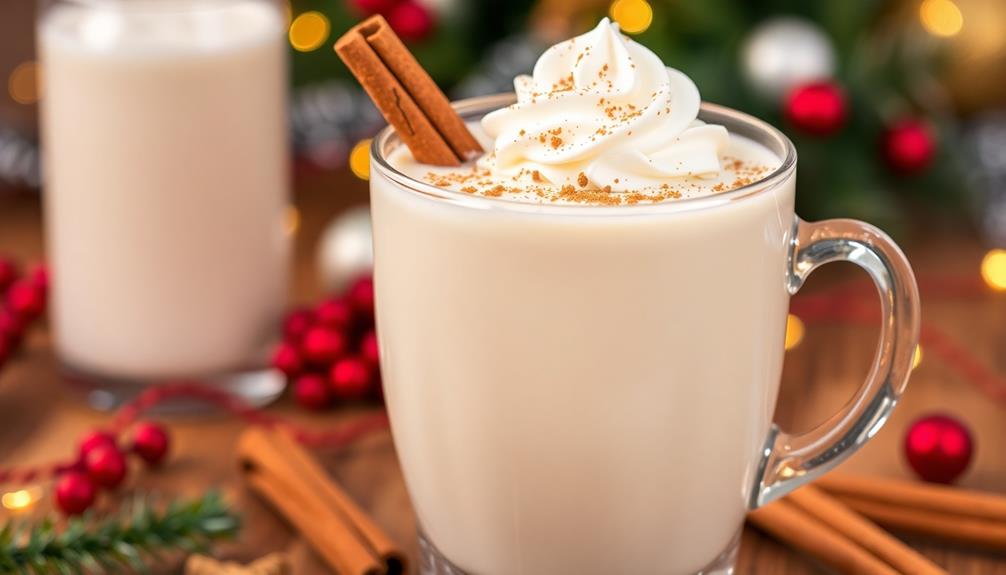
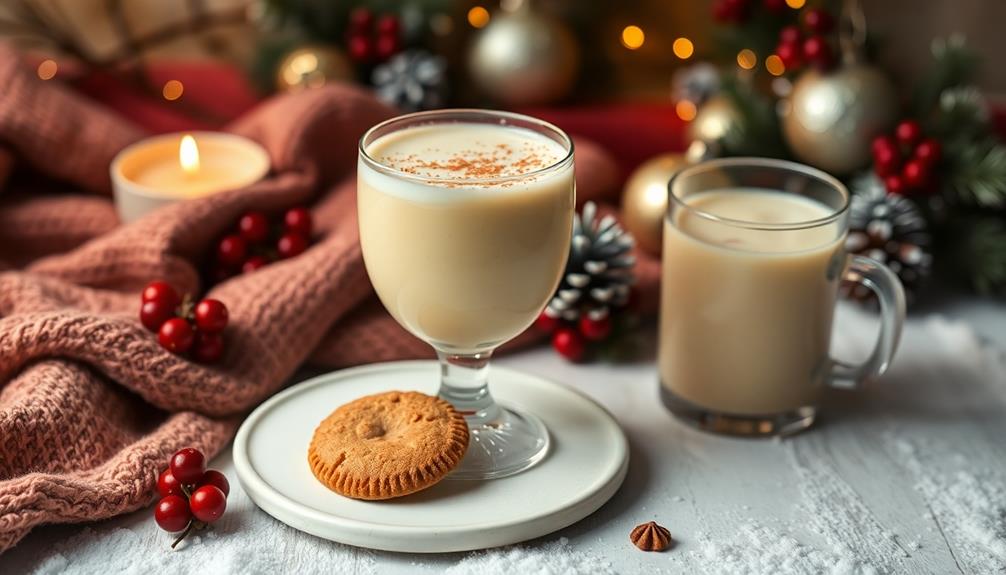
Once the desired thickness is achieved, remove the eggnog from the heat and let it cool completely. Serve chilled, garnished with additional nutmeg if desired.
For best results, chill the eggnog for at least 2 hours before serving to allow the flavors to meld. You can also add a splash of rum or brandy for an adults-only version. Enjoy your homemade eggnog and savor the comforting flavors of the holiday season!
Cooking Steps
Separate the egg yolks and whites first.
Then, whisk the yolks together with the sugar until the mixture is smooth and creamy.
Next, slowly add the cream and milk, blending everything together.
Step 1. Separate Egg Yolks and Whites
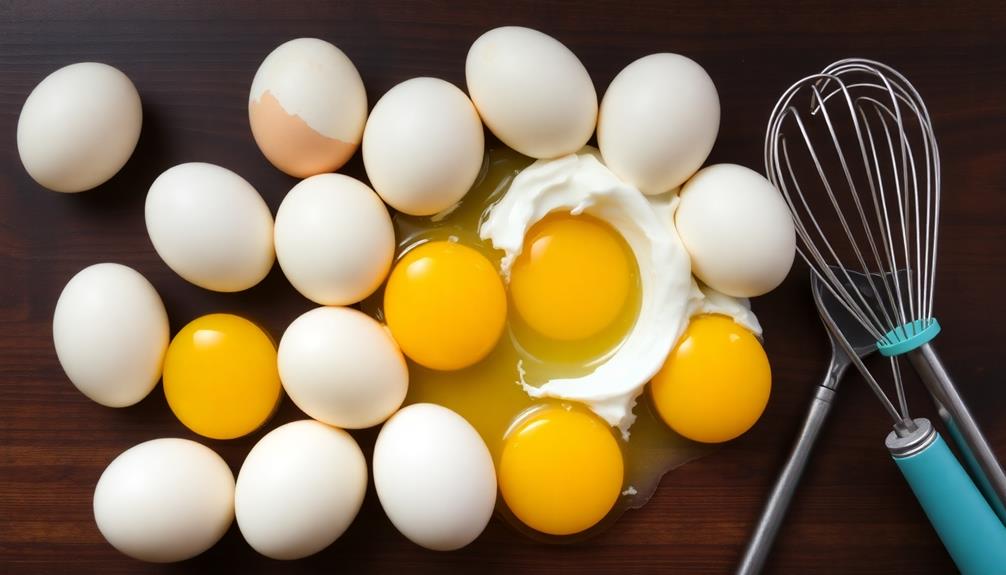
To make the eggnog, you'll first need to separate the egg yolks from the whites. This is a crucial step in the recipe, as the yolks and whites will be used for different purposes.
Start by cracking the eggs into a clean bowl. Gently separate the yolks from the whites, letting the whites fall into one bowl and the yolks into another. Be careful not to break the yolks – you want them to remain intact.
Once you've separated all the eggs, cover the bowl of egg whites and set it aside. You'll use these later in the recipe.
As for the yolks, give them a gentle whisk to break them up and prepare them for the next step.
Step 2. Whisk Egg Yolks and Sugar
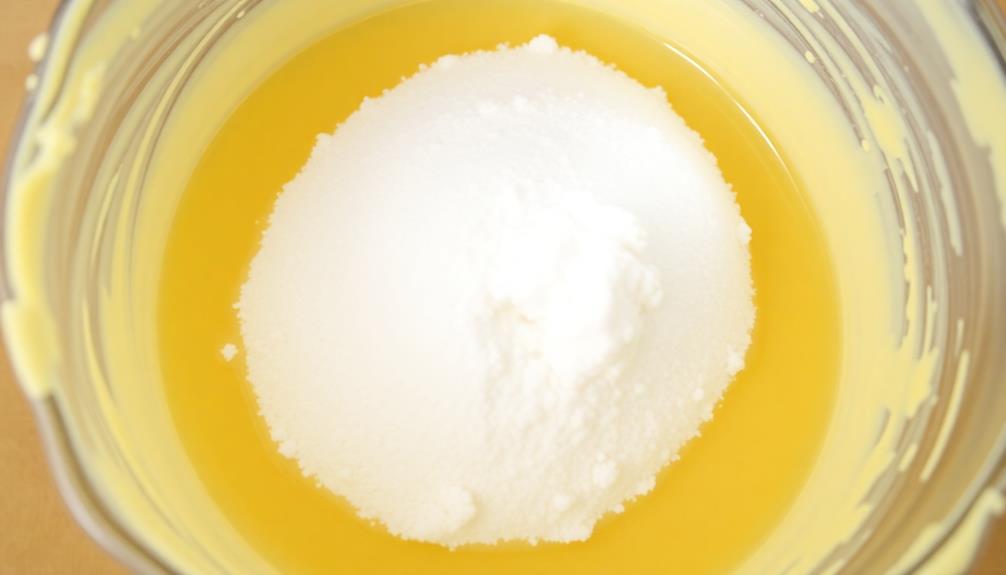
With the egg yolks ready, you'll want to whisk them together with the sugar. Using a medium-sized bowl, gently pour in the egg yolks.
Take your whisk and begin beating the yolks, incorporating more air with each stroke. As you whisk, slowly sprinkle in the sugar, a little at a time. The mixture should thicken and become a pale, creamy consistency.
Keep whisking until the sugar has fully dissolved and the yolks have a smooth, velvety texture. This process helps emulsify the ingredients, creating a rich, custard-like base for your eggnog.
Be patient and don't rush – the more you whisk, the lighter and fluffier the yolks will become. Once they've reached the desired consistency, you're ready to move on to the next step.
The whisked yolks and sugar provide a crucial foundation for your festive eggnog, so take the time to get it just right.
Step 3. Add Cream and Milk
Next, you'll add the cream and milk. In a separate bowl, pour in the heavy whipping cream and whole milk.
Use a whisk to gently combine the liquids until they're fully incorporated. The cream will add a rich, velvety texture to the eggnog, while the milk helps achieve the classic creamy consistency.
Be careful not to overmix, as that can cause the mixture to become too thick. You want a smooth, pourable consistency that will coat the back of a spoon.
Once the cream and milk are nicely blended, slowly pour the mixture into the bowl with the whisked egg yolks and sugar. Whisk everything together until it's well combined and the sugar has fully dissolved.
At this stage, your eggnog base is ready! You can now adjust the flavor to your liking by adding a touch of vanilla extract, a sprinkle of nutmeg, or even a splash of rum or brandy for an adult version.
Step 4. Whip Egg Whites Until Stiff
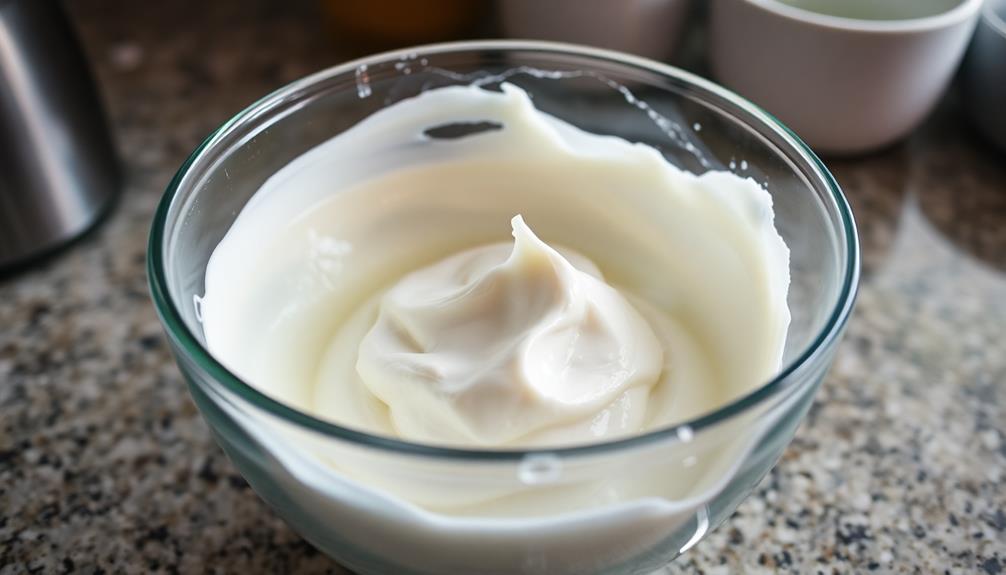
Now that you've combined the cream, milk, egg yolks, and sugar, it's time to whip the egg whites until they're stiff.
Grab a clean, dry bowl and your electric mixer or whisk. Separate the egg whites from the yolks, being careful not to get any yolk in the whites. They won't whip properly if there's any trace of fat.
Start whipping the egg whites on medium speed, gradually increasing the speed as they begin to thicken. Keep whipping until the whites form stiff, shiny peaks that hold their shape when you lift the beaters. This should take 2-3 minutes.
Be patient and don't overbeat, or the whites will become dry and crumbly.
Once the whites are whipped to perfection, gently fold them into the chilled egg yolk mixture, being careful not to deflate them.
This airy texture is what gives eggnog its signature rich, creamy mouthfeel. Now your eggnog base is ready to chill and serve!
Step 5. Gently Fold Egg Whites Into Mixture
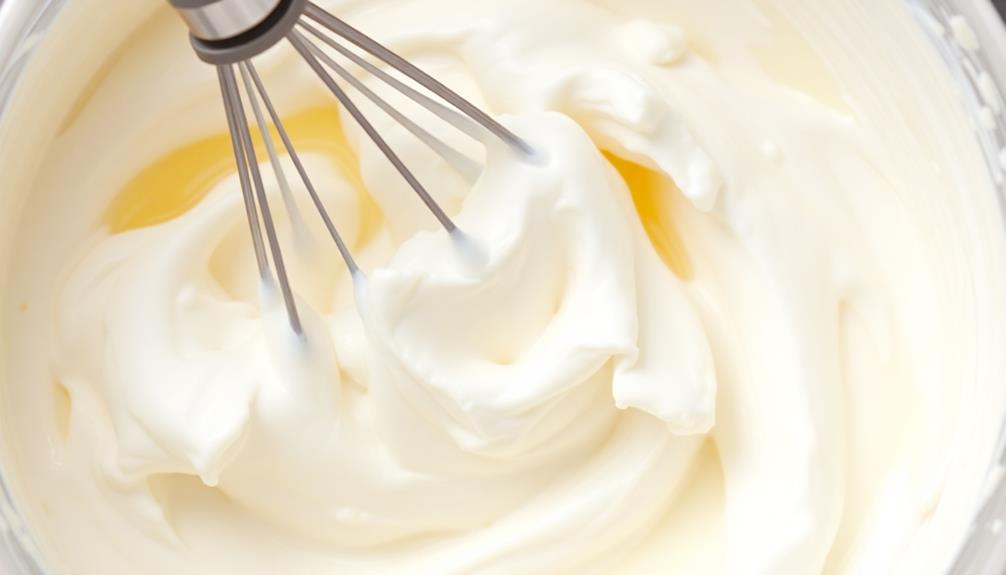
Having whipped the egg whites to stiff, shiny peaks, gently fold them into the chilled egg yolk mixture. This delicate process is crucial for achieving the desired light and airy texture of your homemade eggnog.
Use a rubber spatula to carefully incorporate the egg whites, folding from the bottom of the bowl up and over the mixture. Be gentle, but thorough, ensuring the whites are evenly distributed without deflating the structure you've created. Avoid stirring or beating, as this can cause the egg whites to lose their volume.
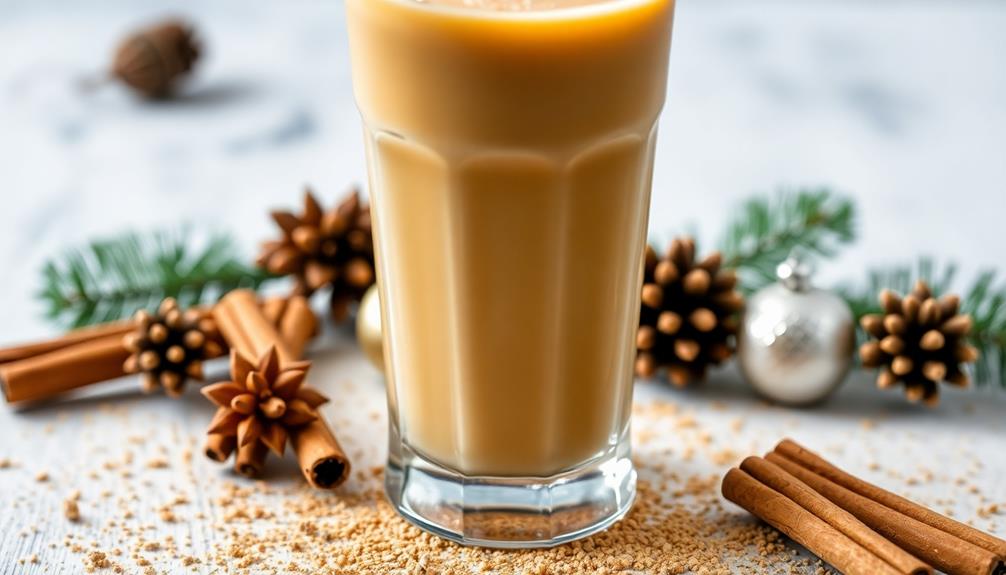
Once the mixture is combined, it's time to chill the eggnog. Transfer the mixture to a serving bowl or pitcher and refrigerate for at least 2 hours, or until ready to serve.
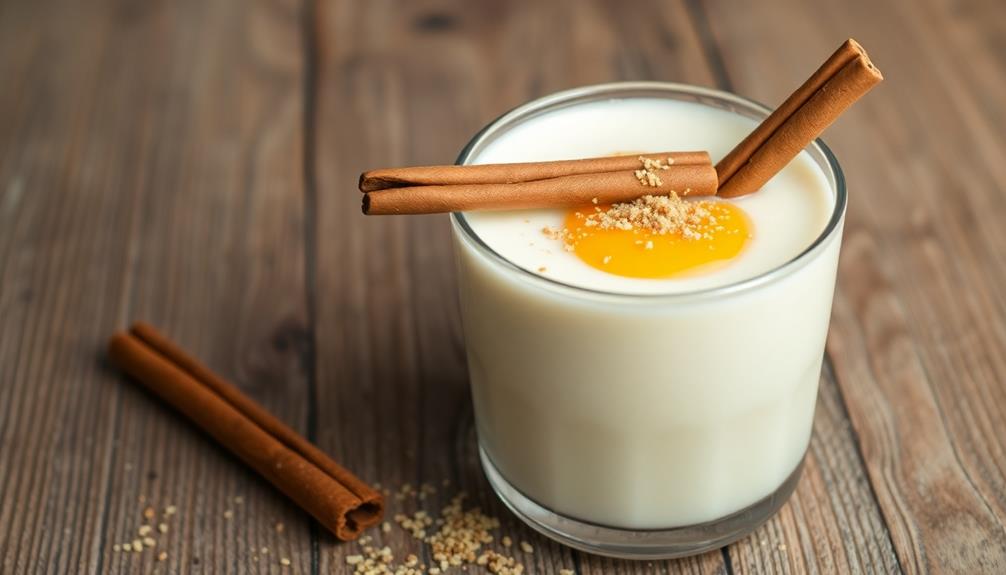
The chilled eggnog will be silky smooth, with a rich, decadent flavor and a luxurious, frothy texture. Enjoy this homemade treat as a special holiday indulgence.
Final Thoughts
One final note on this eggnog recipe – be sure to store any leftover eggnog in an airtight container in the refrigerator, where it'll keep for up to 5 days.
This way, you can enjoy the creamy, indulgent beverage even after your initial serving. Just give it a good stir before pouring, as the ingredients may separate a bit during storage.
While this recipe makes a delicious batch, you can easily adjust the quantities to suit your needs.
Feel free to scale it up or down depending on how many guests you're entertaining.
And don't be afraid to get creative! Try adding a splash of rum or brandy for an adult twist, or experiment with different spices like nutmeg, cinnamon, or even a hint of vanilla.
The beauty of homemade eggnog is that you can tailor it to your personal taste preferences.
Frequently Asked Questions
How Long Does Homemade Eggnog Last in the Refrigerator?
Homemade eggnog typically lasts 3-5 days in the refrigerator when stored properly. Be sure to keep it chilled and consume it within that timeframe for the best quality and safety. Enjoy your homemade treat!
Can I Use Raw Eggs in My Eggnog Recipe?
You can use raw eggs in your eggnog recipe, but it's important to take food safety precautions. Opt for pasteurized eggs or cook the eggs to a safe internal temperature to reduce the risk of foodborne illness.
Is Eggnog Safe for Pregnant Women to Consume?
Pregnant women should avoid consuming eggnog made with raw eggs due to the risk of salmonella poisoning. However, eggnog made with pasteurized eggs or egg substitutes is generally considered safe for pregnant women to enjoy in moderation.
Can I Make Eggnog Non-Alcoholic for Children?
Yes, you can make eggnog non-alcoholic for children. You can do this by omitting the brandy or rum typically found in eggnog recipes and using milk or cream instead. This will create a delicious and safe holiday treat for the little ones.
What Types of Spirits Can I Add to Eggnog?
You can add a variety of spirits to eggnog, such as brandy, rum, whiskey, or even Kahlua. The choice depends on your personal taste preferences and the desired flavor profile. Just be sure to adjust the recipe accordingly.