
Mastering homemade caramel is a sweet endeavor worth pursuing. Start with the essentials – sugar, water, cream, and butter. Follow the step-by-step process, monitoring temperatures closely to achieve that rich, amber hue. Avoid common pitfalls like over-stirring and overcooking. Savor the rewarding results, whether you drizzle it over desserts or simply enjoy it by the spoonful. Homemade caramel adds a touch of elegance and depth of flavor that store-bought just can't match. With a bit of practice, you'll be crafting caramel worthy of your culinary creations – and you'll be glad you explored this time-honored confection.
Key Takeaways
- The history of caramel dates back to ancient civilizations, with its evolution driven by experimentation with new ingredients and techniques.
- The primary ingredients for homemade caramel are granulated sugar, water, heavy cream, unsalted butter, and salt.
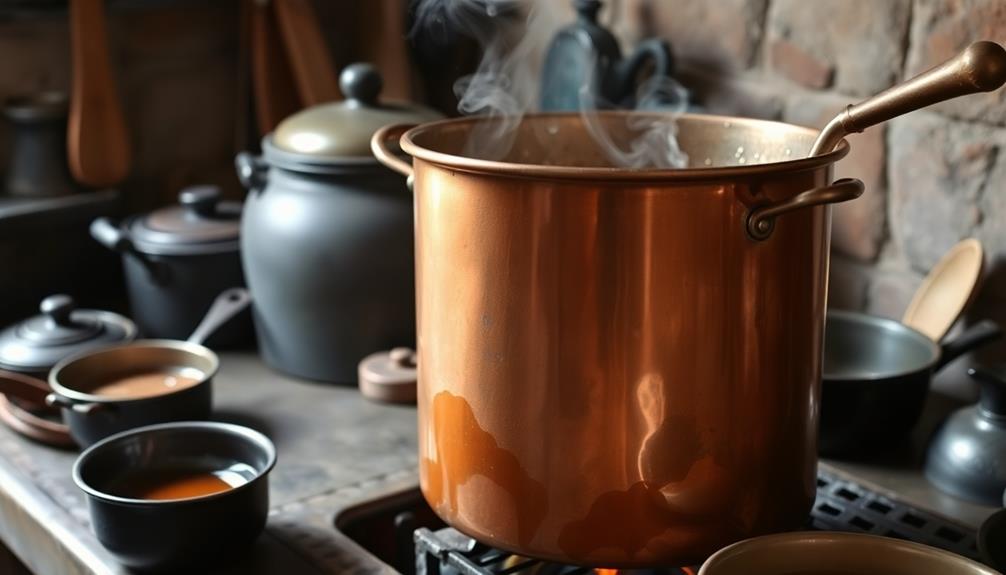
- Proper equipment, including a heavy-bottomed saucepan and a candy thermometer, is essential for successful caramel-making.
- The basic caramel-making process involves dissolving sugar in water, cooking until amber-colored, and then carefully adding cream and butter.
- Mastering key techniques, such as avoiding stirring during initial cooking and gradually adding cream, is crucial to prevent common caramel-making mistakes.
History
The origins of caramel can be traced back to the ancient Egyptians, who were among the first to discover the delightful transformation that occurs when you heat sugar.
They quickly realized that by carefully controlling the temperature, you could create a range of caramel-like syrups with unique flavors and textures.
Over the centuries, this knowledge spread to other cultures, with the ancient Greeks and Romans further refining the art of caramel-making.
In the Middle Ages, caramel became a prized ingredient in European cuisine, used to add depth and complexity to sweet and savory dishes alike.
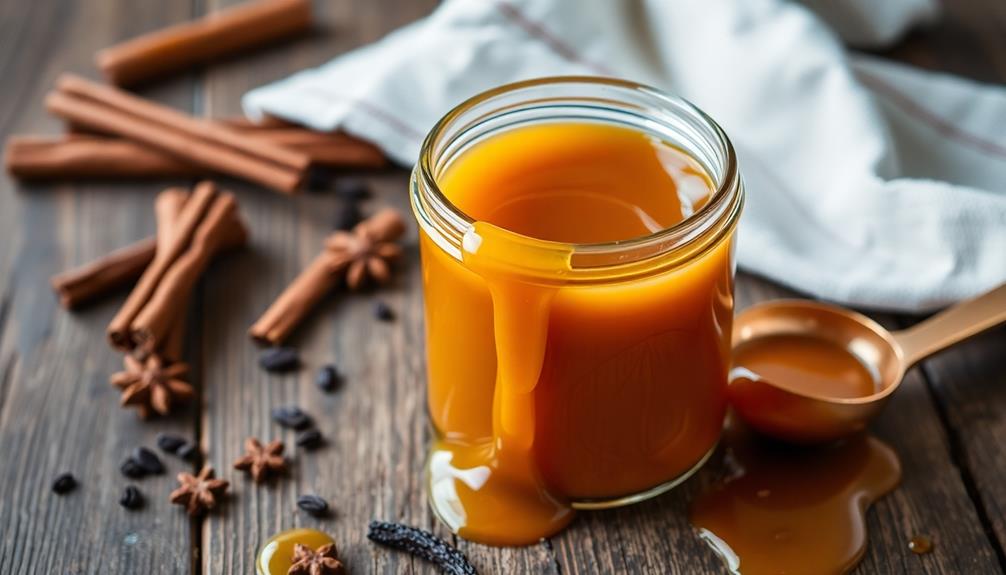
As trade routes expanded, new ingredients like vanilla and spices were introduced, allowing caramel-makers to experiment with ever-more-sophisticated flavors.
Recipe
Caramel is a delightful, versatile treat that can be enjoyed in countless ways. Whether drizzled over ice cream, incorporated into baked goods, or savored on its own, homemade caramel is a true delight.
The process of transforming simple sugar into a rich, golden elixir may seem daunting, but with a few key techniques, you can easily create this culinary wonder in your own kitchen.
The key to successful caramel-making lies in patience and attention to detail. As the sugar heats, it undergoes a remarkable transformation, transitioning from crystalline granules to a smooth, velvety liquid. This process requires vigilance, as the sugar can quickly go from perfectly caramelized to burnt if left unattended.
Ingredients:
- 1 cup (200g) granulated sugar
- 1/4 cup (60ml) water
- 1/2 cup (120ml) heavy cream
- 1 teaspoon (5ml) vanilla extract
- 1/4 teaspoon (1.25ml) salt
Instructions:
In a medium saucepan, combine the sugar and water. Cook over medium-high heat, swirling the pan occasionally, until the sugar has dissolved and the mixture comes to a boil.
Continue cooking, without stirring, until the mixture turns a deep amber color, approximately 8-10 minutes.
Once the desired color is reached, carefully and slowly pour in the heavy cream, as the mixture will bubble and steam vigorously. Whisk the mixture until smooth, then stir in the vanilla extract and salt.
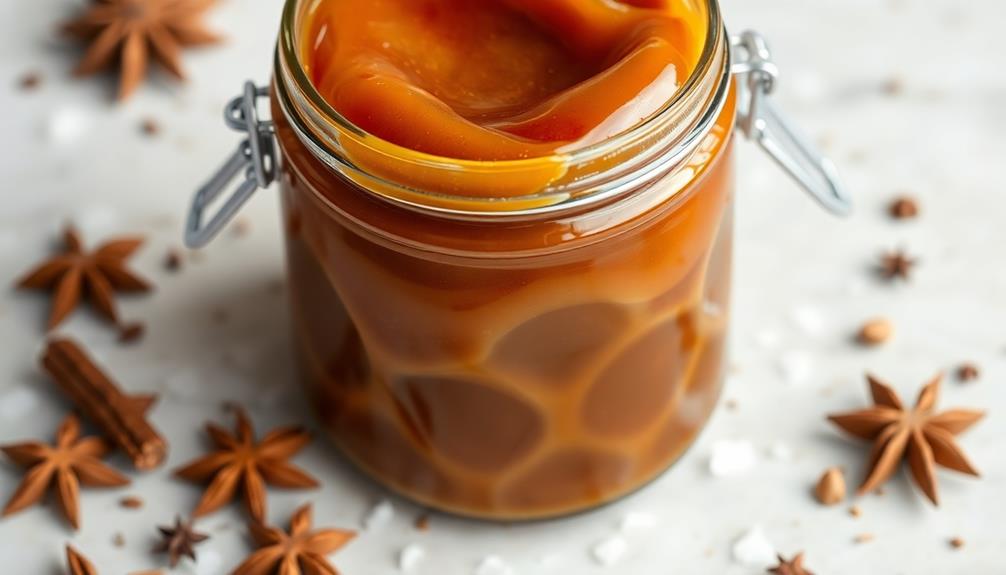
Allow the caramel to cool slightly before using or transferring to a jar for storage.
Cooking Steps
First, you'll need to bring the sugar to a rich caramel color.
Slowly pour in the cream, being careful as it may splatter.
Once the cream is incorporated, stir in the vanilla extract to finish the caramel.
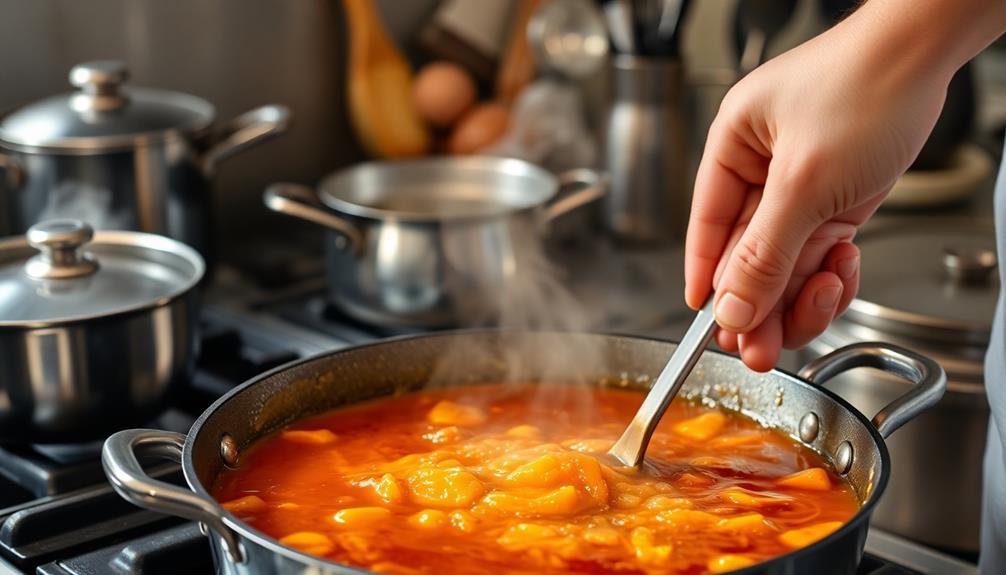
Step 1. Bring Sugar to a Caramel Color
Once the sugar has melted completely, crank up the heat and keep a close eye on it. The transformation is about to begin!
As the temperature rises, the sugar will start to change color, shifting from clear to pale yellow. Don't be tempted to stir – just let it do its thing.
Soon, the yellow will deepen to a rich, golden hue. This is where the magic happens. Keep watching carefully, as the caramel can go from perfect to burnt in the blink of an eye.
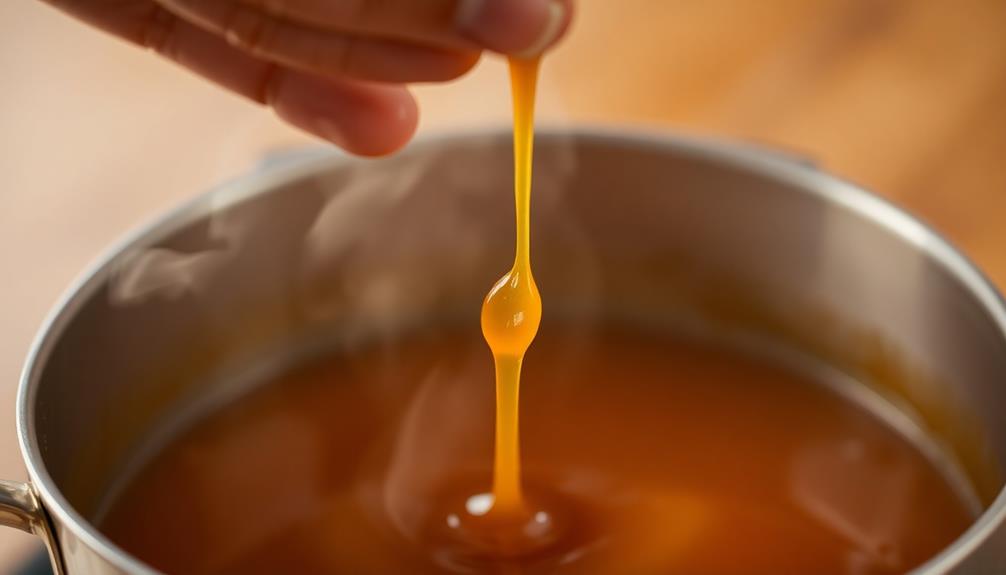
Once it reaches a deep amber color, with a slightly nutty aroma, it's ready. Immediately remove the pan from the heat to stop the cooking process.
The caramel will continue to darken off the heat, so don't wait too long. With a little practice, you'll be able to nail that perfect caramel color every time.
Patience and vigilance are key – you've got this!
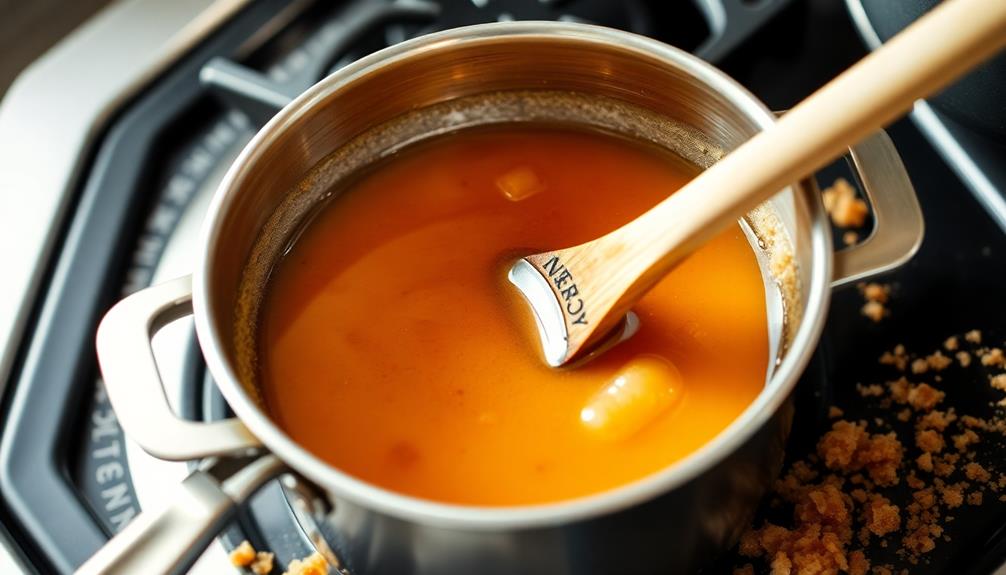
Step 2. Add Cream Slowly
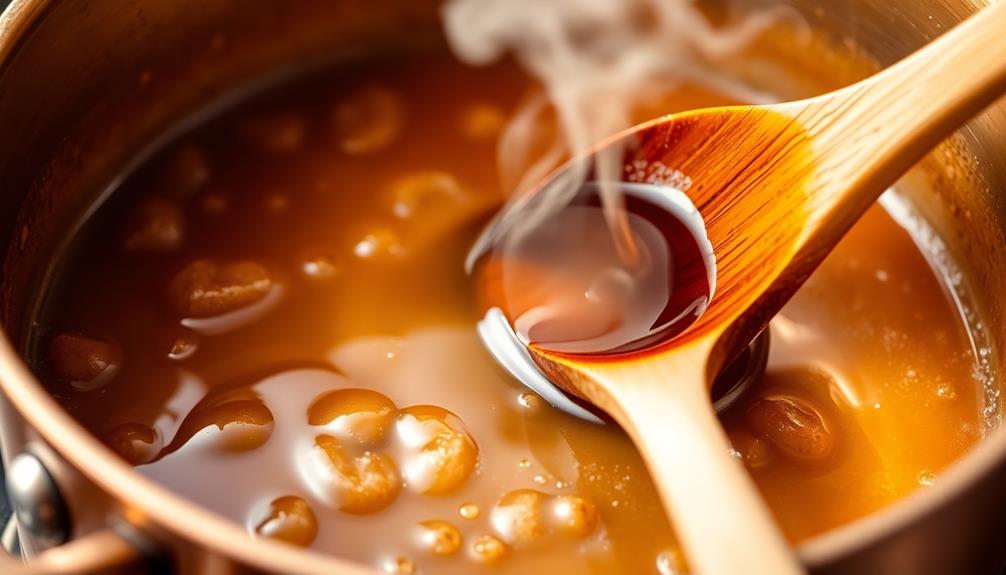
With the caramel removed from the heat, it's time to slowly pour in the cream. Be cautious, as the mixture will bubble and spit when the cool cream meets the hot caramel. Gently pour the cream in a steady stream, continuously stirring to incorporate it.
Avoid adding the cream all at once, as this can seize the caramel and cause it to harden. Take your time, taking 30 seconds to a minute to pour in the full amount of cream. Keep stirring vigorously to ensure the cream blends smoothly.
The caramel will thicken and darken as the cream is incorporated. Once all the cream has been added, continue cooking over medium-low heat, stirring constantly, until the mixture is smooth and silky.
Be patient – the process of adding the cream and allowing it to fully blend can take 5-10 minutes. Resist the urge to rush, as taking it slow will result in a beautifully glossy, pourable caramel sauce. With a little care, you'll have a rich, creamy homemade caramel in no time.
Step 3. Stir in Vanilla Extract
After the cream has been carefully blended into the caramel, it's time to add the vanilla extract. This step not only enhances the flavor but also adds a delightful aroma to your homemade caramel.
Simply measure out 1 to 2 teaspoons of pure vanilla extract and gently stir it into the simmering caramel mixture. Be sure to use real vanilla extract, as the artificial variety won't provide the same depth of flavor.
As you stir, you'll notice the caramel taking on a richer, more complex taste. The vanilla extract perfectly complements the sweet, buttery notes of the caramel, creating a harmonious balance.
Take your time and stir the mixture thoroughly, ensuring the vanilla is evenly distributed throughout. Remember to keep a close eye on the caramel, as it can quickly go from perfectly smooth to burnt if left unattended for too long.
With the addition of vanilla extract, your homemade caramel is now one step closer to perfection.
Get ready to drizzle, dip, or enjoy this flavorful treat in your favorite desserts or as a standalone indulgence.
Step 4. Let Caramel Cool Slightly
Now that you've added the vanilla extract, let the caramel cool slightly before proceeding. This brief rest period is crucial, as it allows the caramel to thicken up a bit, making it easier to work with.
Don't worry, you won't have to wait long – just a minute or two should do the trick.
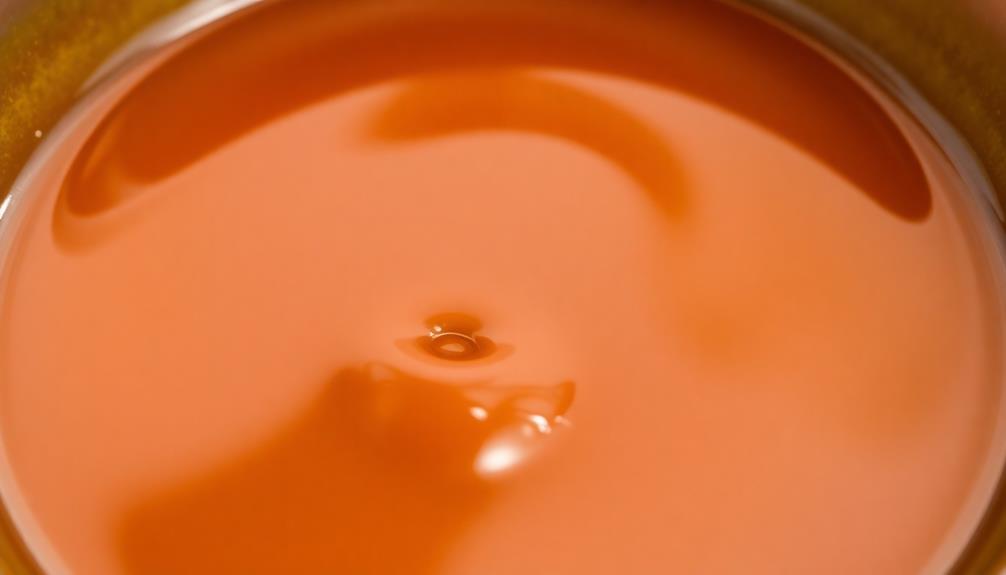
As the caramel cools, you may notice it start to change color slightly, taking on a deeper, richer hue. This is perfectly normal and a sign that the sugars are continuing to caramelize.
Be patient and resist the urge to stir or mess with the caramel during this time. Letting it sit undisturbed is key to achieving the perfect consistency.
Once the caramel has cooled just enough to be handleable, you're ready to move on to the next step.
Keep a close eye on it, though, as you don't want it to cool completely and become too thick and difficult to pour. Timing is everything when it comes to homemade caramel!
Step 5. Pour Into Prepared Containers
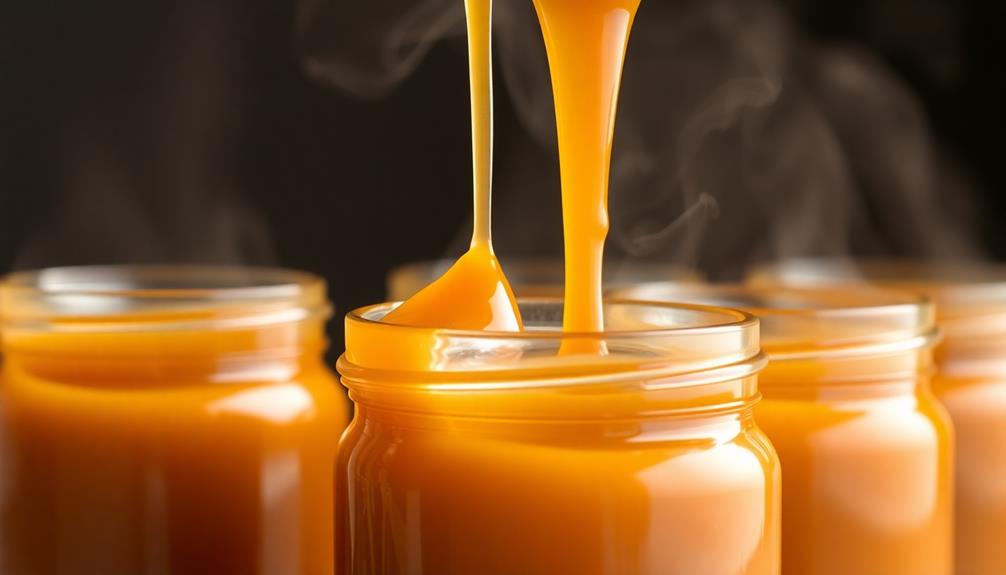
Once the caramel has reached the desired consistency, it's time to pour it into your prepared containers.
Gather your molds, ramekins, or any other heat-safe vessels you plan to use. It's best to have them ready to go before you start pouring, as the caramel will start to set quickly.
Carefully ladle or pour the hot caramel into the prepared containers, filling them about three-quarters full. Be mindful of the temperature and use caution to avoid any burns.
If you need to transfer the caramel to a pitcher or squeeze bottle, do so now to make the pouring process easier.
Take your time and work in batches if necessary. Once all the containers are filled, you can tap them gently on the counter to release any air bubbles.
Allow the caramel to cool completely at room temperature before handling or removing it from the molds. This step is crucial for ensuring the caramel sets properly and retains its smooth, glossy texture.
Final Thoughts
Homemade caramel is a rewarding endeavor that allows you to control the flavor, texture, and quality of the final product.
Whether you prefer a rich, buttery caramel or a subtler, more nuanced version, the joy of creating it from scratch is unmatched.
As you've learned, the process may seem daunting at first, but with a little practice, you'll be whipping up batch after batch of homemade caramel perfection.
Frequently Asked Questions
How Do I Store Homemade Caramel Properly?
To store your homemade caramel properly, pour it into an airtight container and refrigerate it. It'll keep for up to 2 weeks in the fridge. Be sure to bring it to room temperature before using it again.
Can I Make Caramel With a Different Type of Sugar?
Yes, you can make caramel with different types of sugar. White granulated sugar is the most common, but you can also use brown sugar, honey, or maple syrup to create unique caramel flavors.
What Are Some Creative Uses for Homemade Caramel?
You can get creative with homemade caramel! Drizzle it over ice cream, use it as a dip for apples, or swirl it into coffee and hot chocolate. The possibilities are endless when you've got that rich, golden caramel on hand.
How Can I Prevent My Caramel From Becoming Grainy or Crystallized?
To prevent your caramel from becoming grainy or crystallized, avoid stirring it excessively, use a clean pot, and add a small amount of corn syrup or lemon juice to the mixture. This will help maintain a smooth, glossy texture.
Is Homemade Caramel Healthier Than Store-Bought?
Homemade caramel can be healthier than store-bought, as you control the ingredients and avoid preservatives. However, it's still a high-calorie treat, so enjoy it in moderation as part of an overall balanced diet.