
Making homemade butter is easier than you think! Just pour some heavy cream into a mixer and whip it up. As you whip, the cream will thicken into whipped cream, then suddenly separate into butter and buttermilk. Strain out the butter, knead it to remove excess liquid, and rinse it under cold water. That's it! This fresh, all-natural butter is perfect for spreading, baking, or enjoying on its own. Plus, it's often cheaper than store-bought and lets you control the flavor and saltiness. Ready to try your hand at homemade butter? Let's dive into the full recipe…
Key Takeaways
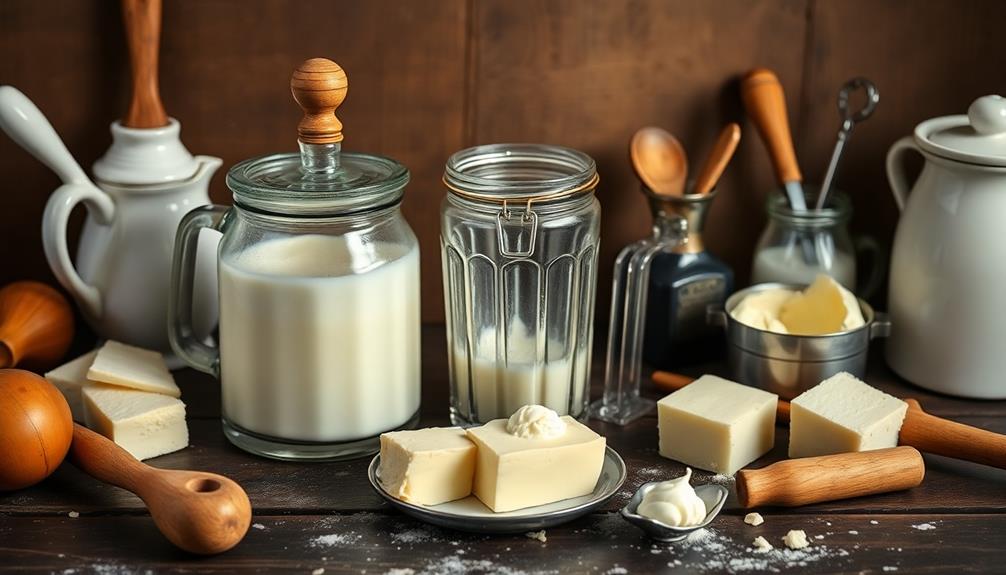
- Gather the necessary ingredients: heavy cream, salt (optional), and a mixer or food processor for churning.
- Agitate the cream until it separates into butter and buttermilk, a process that takes approximately 10-15 minutes.
- Strain the mixture to separate the butter from the buttermilk, and then knead the butter to remove any remaining buttermilk.
- Rinse the butter under cold water to solidify the texture and enhance the quality.
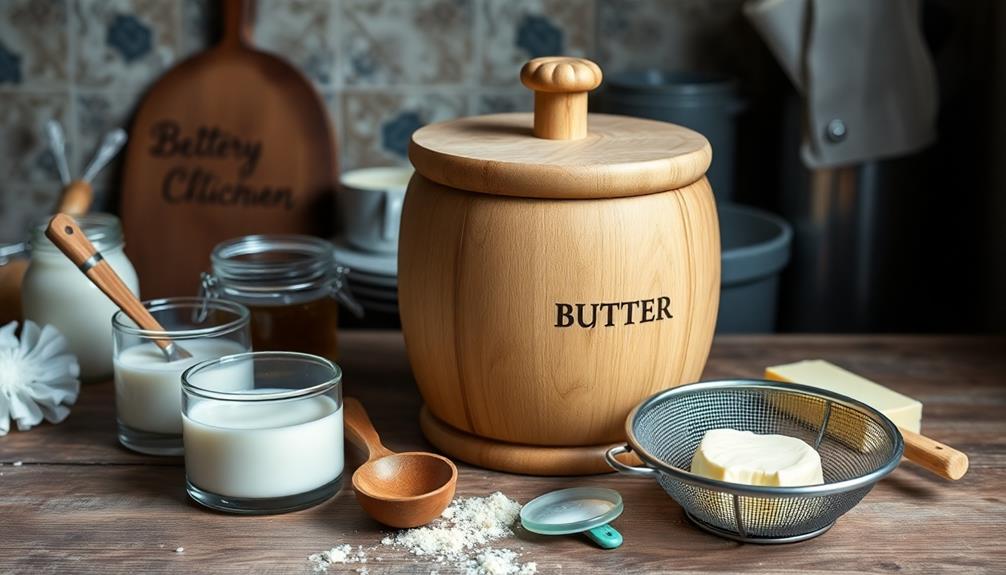
- Store the homemade butter in a clean jar or container in the refrigerator for up to 2 weeks, or in the freezer for longer storage.

National Geographic Amazing Chemistry Set with 100+ Experiments Ages 8-12
- Number of Experiments: Over 100 science experiments
- Included Materials: All materials for 15 experiments
- Bonus Experiments: 85 additional experiments included
As an affiliate, we earn on qualifying purchases.
History
Although butter has been produced for thousands of years, the modern process of making it at home has evolved significantly over time.
In ancient times, people would churn butter by hand, using simple tools like carved wooden bowls and paddles. The late 19th century brought advancements such as the cream separator, which increased efficiency in butter production.
As technology progressed, butter-making became more efficient with the introduction of mechanical churns powered by hand, water, or even steam.
Today, consumers are increasingly drawn to the health benefits of natural fats, leading to a resurgence in homemade butter production.
Recipe
Making homemade butter is a rewarding and satisfying process. The rich, creamy texture and pure flavor of homemade butter are unparalleled compared to store-bought varieties. This simple recipe will guide you through the steps to create your own delectable butter right in your kitchen.
Homemade butter isn't only delicious, but it also allows you to control the ingredients and enjoy the satisfaction of producing something from scratch. The process is surprisingly straightforward and can be a fun activity for the whole family.
Ingredients:
- Heavy whipping cream (1 pint or 2 cups)
- Pinch of salt (optional)
Instructions:
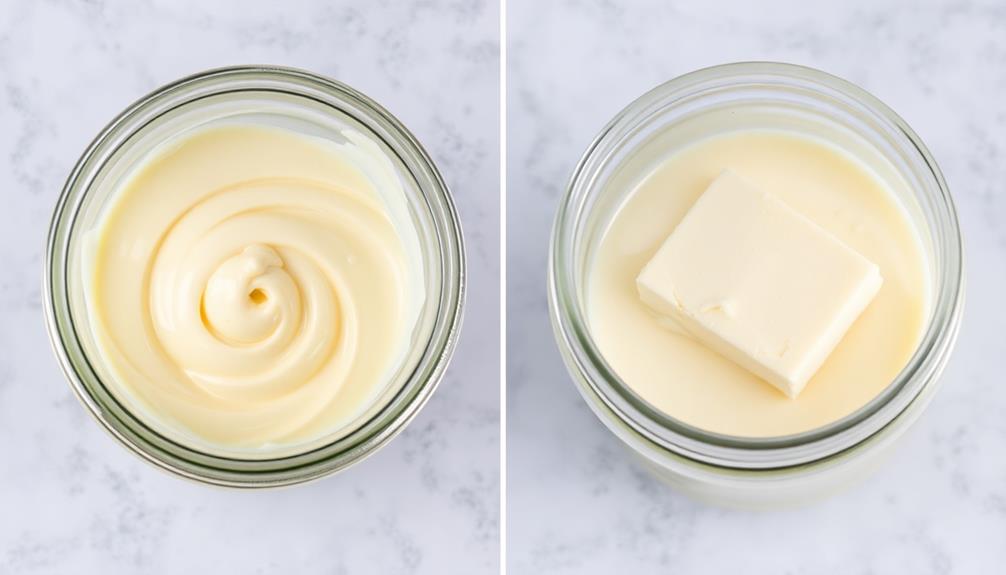
In a large bowl or a stand mixer with a whisk attachment, beat the heavy whipping cream on high speed until it thickens and forms stiff peaks.
Continue beating the cream until it separates into solid yellow butter and a thin, watery liquid (buttermilk). This process may take 10-15 minutes.
Once the butter has formed, strain the mixture through a fine-mesh sieve or cheesecloth to separate the butter from the buttermilk. Squeeze any remaining buttermilk from the butter.
If desired, add a pinch of salt to the butter and knead it in to distribute evenly.
Store the homemade butter in an airtight container in the refrigerator for up to 1 week. The leftover buttermilk can be used in baking or enjoyed as a refreshing drink.
Cooking Steps
Pour the cream into a bowl and start agitating it. As you continue to whip the cream, the fat molecules will begin to clump together, eventually forming butter.
This process can be enhanced with the use of specialized butter tools that streamline butter preparation. Keep going until the butter forms, then separate the buttermilk from the butter solids.
Step 1. Pour Cream Into Bowl

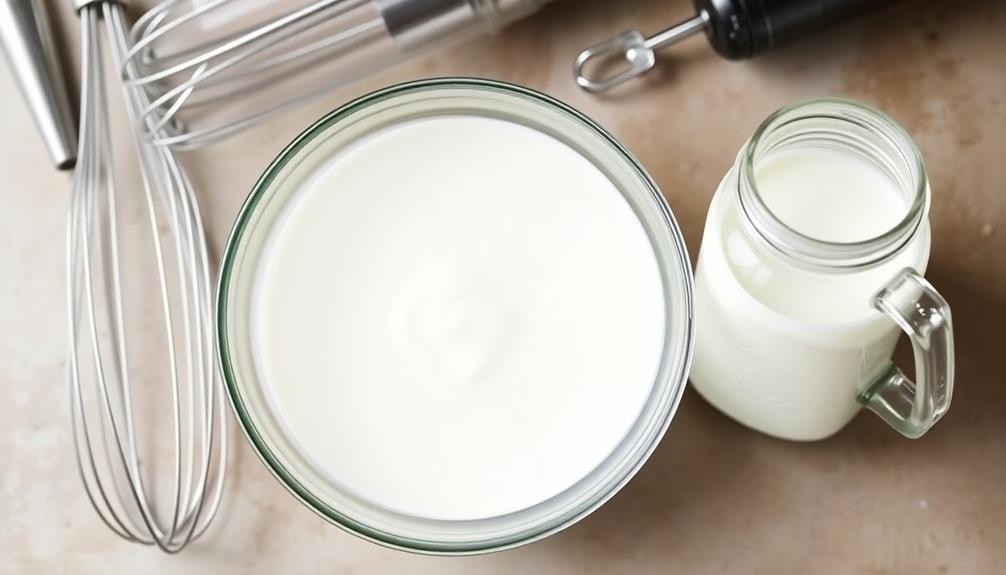
Take the heavy cream and pour it into a large, clean bowl.
Make sure the bowl is sturdy and can accommodate the volume of cream you're using. You'll want to choose a bowl that's at least twice the size of the amount of cream, as the butter-making process will cause the cream to expand.
Gently pour the cream into the bowl, being careful not to splash or spill.
Once all the cream is in the bowl, take a moment to look it over. The cream should have a smooth, consistent texture, without any lumps or impurities. If you notice anything unexpected, now is the time to address it before moving on to the next step.
With the cream safely in the bowl, you're ready to begin the butter-making process.
The next step is to start agitating the cream, which will gradually transform it into creamy, delicious homemade butter. Get ready for the fun part!
Step 2. Agitate Cream Until Butter Forms
How do you begin agitating the cream to transform it into rich, creamy homemade butter? Start by grabbing a bowl and a whisk, or even better, a stand mixer with a whisk attachment.
Gently pour the chilled cream into the bowl, making sure not to spill a drop. Now it's time to get to work! Turn on the mixer and let it run at a medium-high speed.
You'll notice the cream start to thicken and become frothy as it's whipped. Keep an eye on it, as the transformation happens quickly. Soon, you'll see small bits of solid butter start to form, separating from the buttermilk.
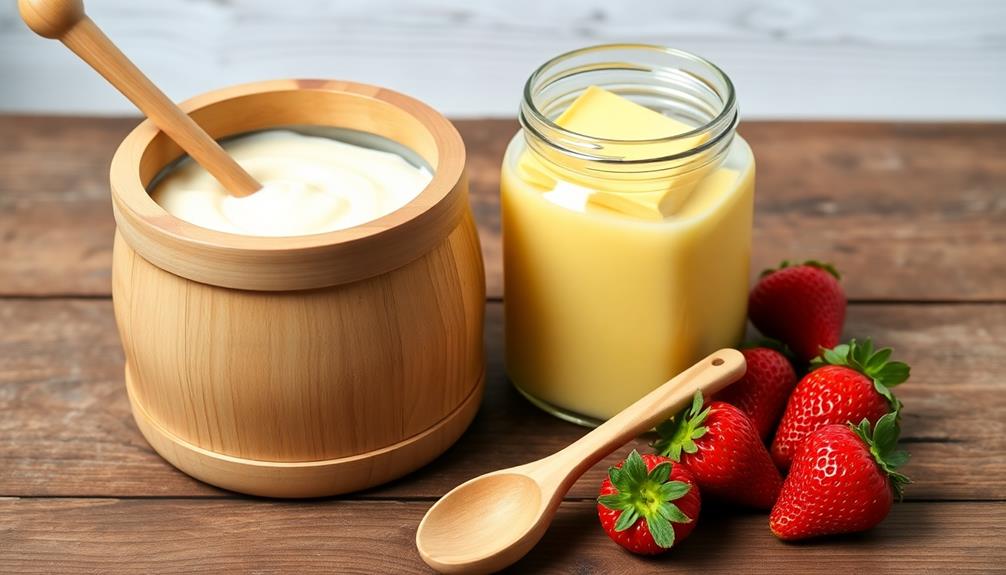
Once the butter has fully coalesced, it's time to stop the mixer. Carefully scoop out the golden, creamy butter and transfer it to a clean surface.
Your homemade butter is now ready to be rinsed, shaped, and enjoyed!
Step 3. Separate Buttermilk From Butter Solids

Once the butter has fully formed, you'll need to separate the buttermilk from the butter solids.
First, pour the contents of your jar or bowl through a fine-mesh strainer, reserving the liquid buttermilk. The buttermilk can be used in baking or enjoyed as a refreshing drink.
Next, place the butter solids back into the jar or bowl and add some cold water. Gently knead and squeeze the butter while pouring off the cloudy water. Repeat this process several times until the water runs clear. This step helps remove any remaining buttermilk, which can make the butter spoil more quickly.
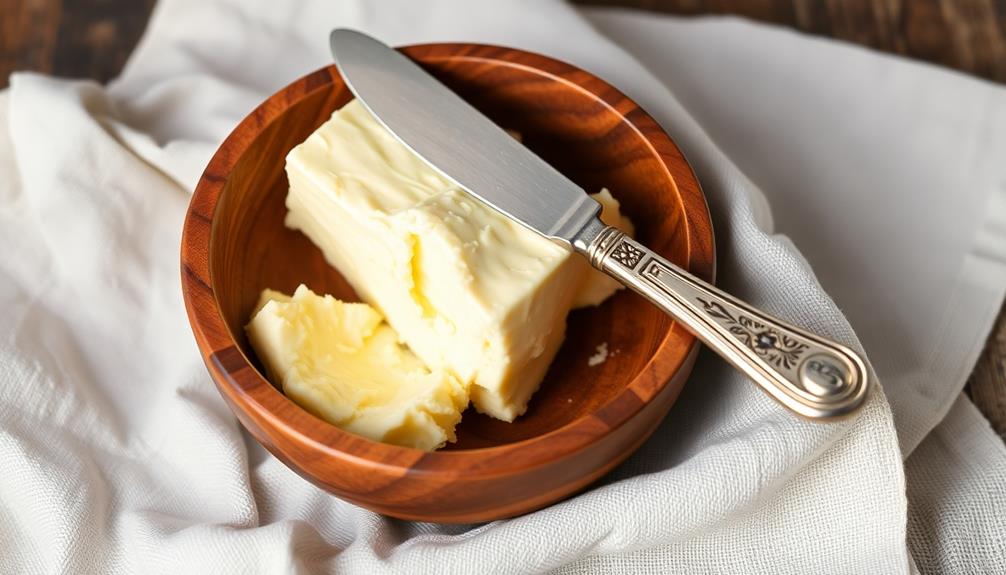
Once the butter is clean, shape it into a ball or log and rinse it one final time under cold running water. Pat it dry with a clean towel, and your homemade butter is ready to use!
Store it in an airtight container in the refrigerator for up to 1 week.
Step 4. Knead Butter to Remove Excess Buttermilk
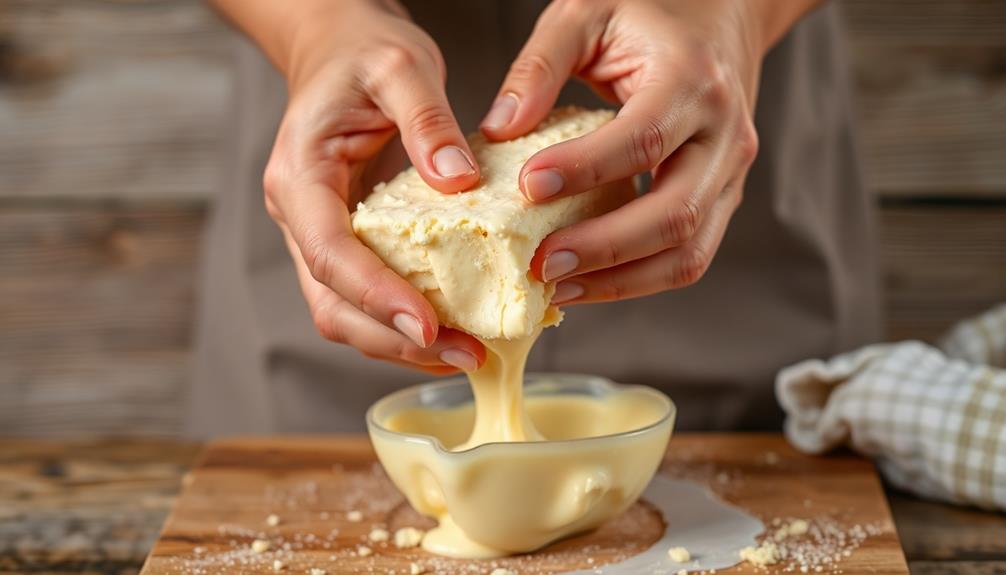
After straining the buttermilk, place the butter solids back into the jar or bowl.
Now it's time to knead the butter to remove any excess buttermilk. Gently press and fold the butter with your hands, squeezing out the remaining liquid. You'll see the buttermilk oozing out. Keep kneading until the liquid runs clear and the butter becomes smooth and cohesive.
Don't be afraid to get in there with your hands! Kneading helps develop the butter's texture and consolidates the fat globules. As you work, the temperature of your hands will also help soften the butter. Periodically rinse your hands in cold water to prevent the butter from becoming too soft.
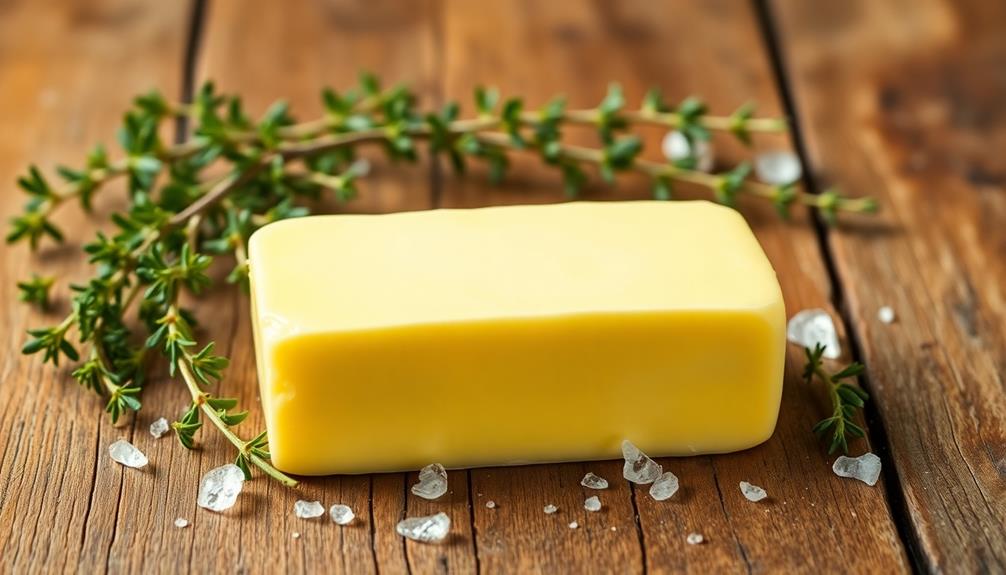
Once the butter is kneaded and the excess buttermilk is removed, you can shape it into a pat or roll. Wrap it in parchment paper or plastic wrap and refrigerate until ready to use.
Homemade butter will keep for up to 1 week in the fridge. Enjoy your fresh, creamy butter on toast, rolls, or anywhere you'd use store-bought!
Step 5. Rinse Butter Under Cold Water
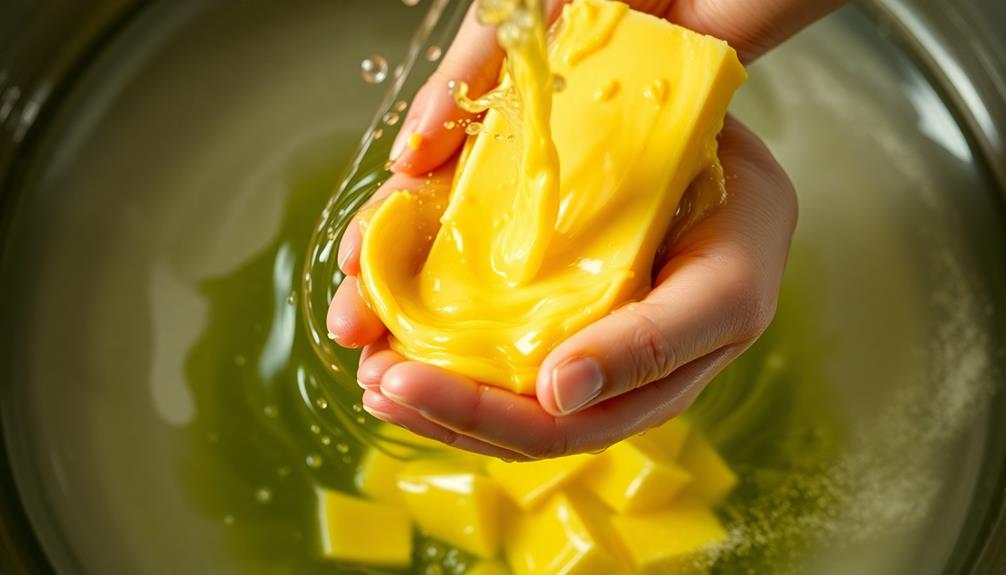
Next, rinse the butter under cold running water. This helps remove any remaining buttermilk, which can cause the butter to spoil more quickly.
Place the kneaded butter under a steady stream of cold water and gently work it with your hands. The water will become cloudy as it washes away the last traces of buttermilk. Continue rinsing until the water runs clear.
Be careful not to over-rinse, as this can result in a loss of flavor. After the final rinse, gather the butter into a ball and pat it dry with a clean paper towel or cloth. This simple step ensures your homemade butter will stay fresh for longer.
With the excess buttermilk removed, your butter is now ready for the next phase of the process – shaping and storing. Keep up the great work!
Final Thoughts
Overall, making homemade butter is a satisfying and rewarding process. You've now successfully transformed fresh cream into a rich, creamy delight.
The creamy texture of butter is influenced by the emulsification process during churning, which you can master at home. The final step of rinsing the butter under cold water not only removes any remaining buttermilk but also helps to solidify the texture, ensuring you have high-quality butter varieties at your fingertips.
With your homemade butter ready, the possibilities are endless. Spread it on fresh bread, use it for baking, or simply enjoy it on its own.
The flavor and texture will be far superior to store-bought options. Plus, you can take pride in the fact that you made it yourself from scratch.
Frequently Asked Questions
How Long Does Homemade Butter Last in the Refrigerator?
Homemade butter will typically last 1-2 weeks in the refrigerator when stored properly. The exact shelf life can vary depending on factors like the freshness of the cream used and how it's stored. Keep it tightly sealed to maintain quality.
Can I Use a Food Processor Instead of a Stand Mixer?
Yes, you can use a food processor instead of a stand mixer to make homemade butter. The process will be slightly quicker and more efficient in a food processor compared to a stand mixer.
Do I Need to Use Heavy Cream or Can I Use Milk?
You can use milk to make homemade butter, but the process won't be as straightforward. Heavy cream works best, as it contains more fat which is necessary for the butter-making process. Using milk may require additional steps and yield less butter.
Is It Possible to Make Flavored Homemade Butter?
Yes, you can make flavored homemade butter! Simply add your desired herbs, spices, or other flavorings to the butter after it's been churned. Get creative and experiment with different flavor combinations to find your favorite.
Can I Freeze Homemade Butter for Long-Term Storage?
Yes, you can freeze homemade butter for long-term storage. Just make sure to wrap it tightly in plastic wrap or place it in an airtight container before freezing. It'll stay fresh for several months.