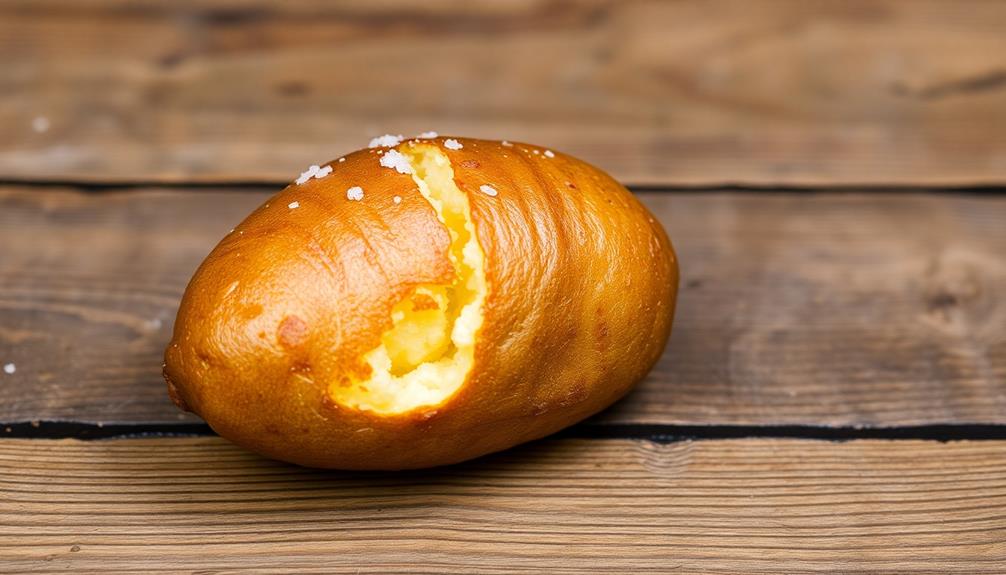
Baking up a classic baked potato couldn't be easier! Start by washing and pricking the russet potatoes, then rub them with olive oil and sprinkle on some salt. Pop them in the oven at 400°F for 50-60 minutes until fork-tender. Let them cool just a bit, then slice open the fluffy insides and load 'em up with your favorite toppings – butter, sour cream, bacon, or shredded cheese. This comfort food staple is endlessly customizable, so get creative! Discover even more baked potato variations and cooking tips if you keep reading.
Key Takeaways
- Bake russet potatoes at 400°F for 50-60 minutes until fork-tender, pricking them with a fork to allow steam to escape during cooking.
- Coat the potatoes in a thin layer of olive oil and optionally season with salt, pepper, garlic powder, or paprika for enhanced flavor.
- Allow the baked potatoes to cool for 5 minutes before cutting them open and fluffing the insides with a fork.
- Top the baked potatoes with a variety of options, such as butter, sour cream, bacon bits, chives, and shredded cheese.
- Baked potatoes can be served as a side dish or a main course, and they can be customized with international flavors or made healthier by using sweet potatoes.
History
The humble baked potato has a rich history dating back to the Andes Mountains of South America, where indigenous communities cultivated the tuber for centuries.
These early potatoes were quite different from the varieties we enjoy today, with bumpy, colored skins and irregular shapes. It wasn't until Spanish conquistadors arrived in the 16th century that the potato began its journey around the world.
As the potato spread through Europe, it faced initial skepticism and even outright rejection in some areas. However, its hardy nature, versatility, and nutritional value eventually won over the masses.
By the 18th century, the baked potato had become a staple food across the continent.
In the United States, the potato took a little longer to gain popularity, but by the 19th century, it had become a beloved comfort food, often served with simple toppings like butter, sour cream, and chives.
Today, the baked potato remains a classic dish, beloved for its satisfying texture and endless flavor possibilities.
Recipe

Baked potatoes are a classic and comforting dish that can be enjoyed as a side or a main course. They're easy to prepare and can be customized with a variety of toppings to suit your taste. Whether you're looking for a simple side dish or a hearty meal, this baked potato recipe is sure to hit the spot.
Baking potatoes in the oven allows them to develop a crispy, flavorful skin while the interior becomes fluffy and light. The key to achieving the perfect baked potato is to start with high-quality, starchy potatoes and to bake them at a high temperature to ensure a crisp exterior.
Ingredients:
- 4 medium-sized russet potatoes
- Olive oil
- Kosher salt
- Butter (optional)
- Sour cream (optional)
- Bacon bits (optional)
- Chives (optional)
- Shredded cheese (optional)
Instructions:
Preheat your oven to 400°F (200°C). Wash the potatoes and use a fork to prick them several times. Rub the potatoes with a thin layer of olive oil and sprinkle them with kosher salt.
Place the potatoes directly on the oven rack and bake for 50-60 minutes, or until a knife can easily pierce through the center.
Tips:
For extra-crispy skin, consider brushing the potatoes with melted butter or oil halfway through the baking time.
Additionally, you can experiment with different toppings to create your own unique baked potato masterpiece. From savory bacon and cheese to tangy sour cream and chives, the possibilities are endless.
Enjoy your freshly baked potatoes and savor the comforting flavors of this classic dish.
Cooking Steps
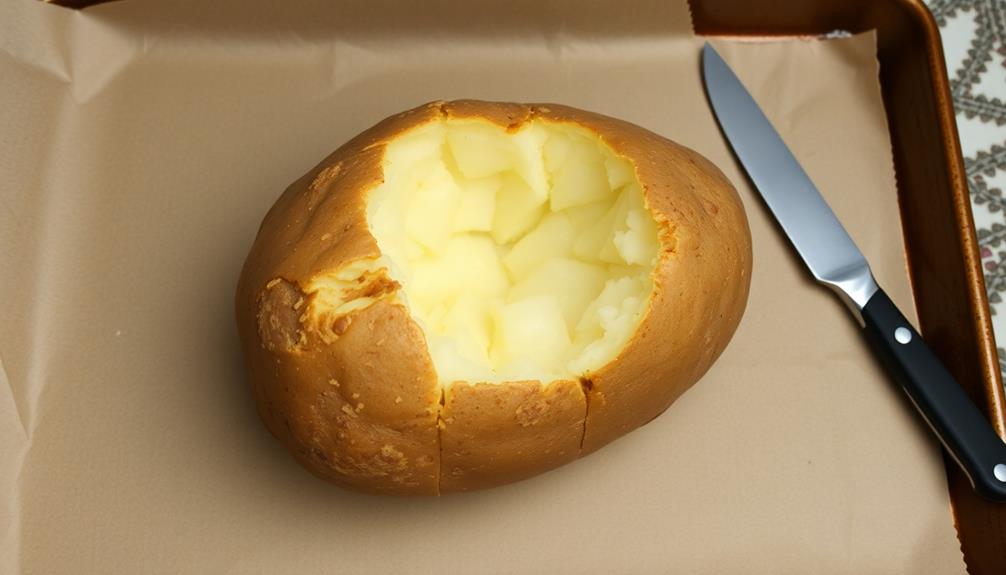
First, you'll want to wash the potatoes thoroughly to remove any dirt or debris.
Next, use a fork to prick the potatoes several times – this helps them cook evenly.
Step 1. Wash Potatoes Thoroughly
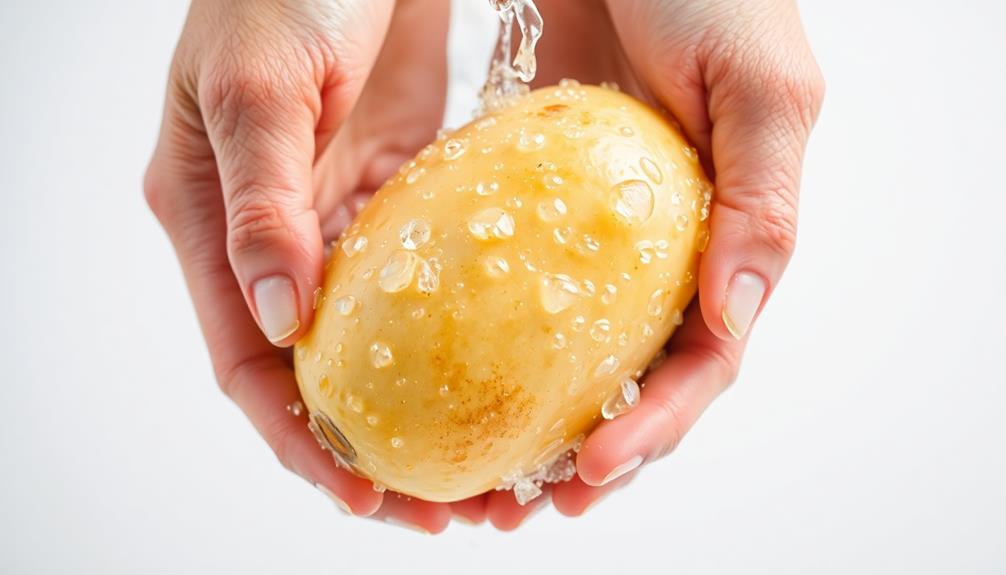
Thoroughly rinsing the potatoes under cool running water helps remove any dirt or debris that may be clinging to their skins.
Take the time to gently scrub each potato with a vegetable brush, paying close attention to any nooks and crannies. This step ensures your baked potatoes will be clean and ready for the oven.
Once the potatoes are free of any visible grime, pat them dry with a clean towel or paper towels. Be sure to remove any sprouts or discolored spots, as these can affect the flavor and texture of your final dish.
By taking the time to thoroughly wash the potatoes, you'll start with a clean foundation that will allow their natural flavors to shine through.
With this simple prep work done, you're one step closer to enjoying fluffy, delicious baked potatoes.
Step 2. Prick Potatoes With Fork Several Times
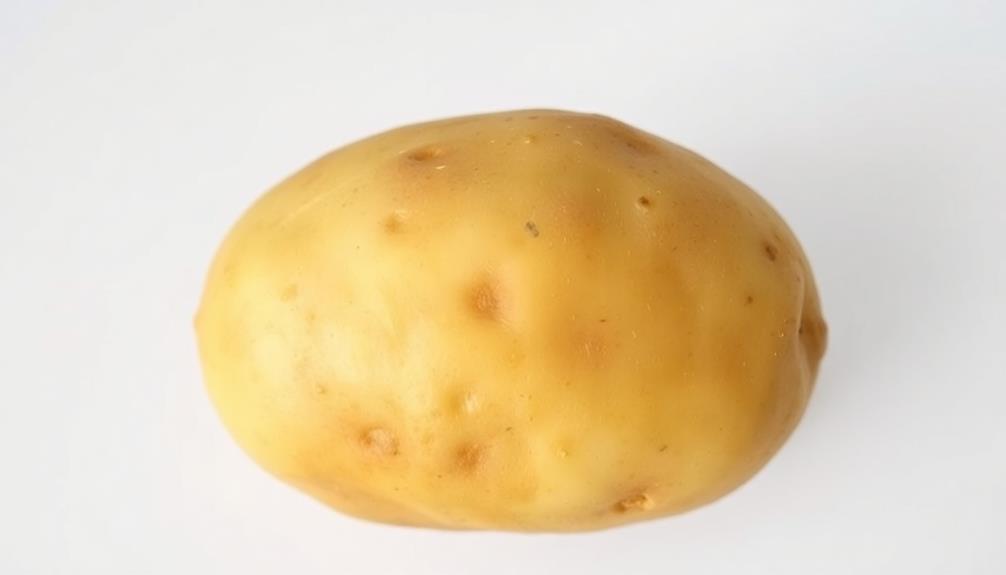
With the potatoes now cleaned and dried, it's time to prepare them for baking. Using a fork, prick the potatoes several times all over. This step is crucial, as it allows the steam to escape during the baking process. If you skip this part, the potatoes might burst in the oven, making a mess and potentially ruining your baked potato dreams.
Don't be shy – give those spuds a good stabbing! Aim for around 6-8 fork pricks per potato. This will help the insides cook evenly and prevent any unwanted explosions.
Be sure to prick all sides of the potato, not just the top. This ensures the steam can escape from multiple angles as it builds up during baking.
Once you've given your potatoes a thorough fork-over, they're ready for the oven. The pricking step is simple but important, so don't overlook it. With this preparatory work done, you're one step closer to enjoying a fluffy, perfectly baked potato.
Step 3. Rub Potatoes With Oil
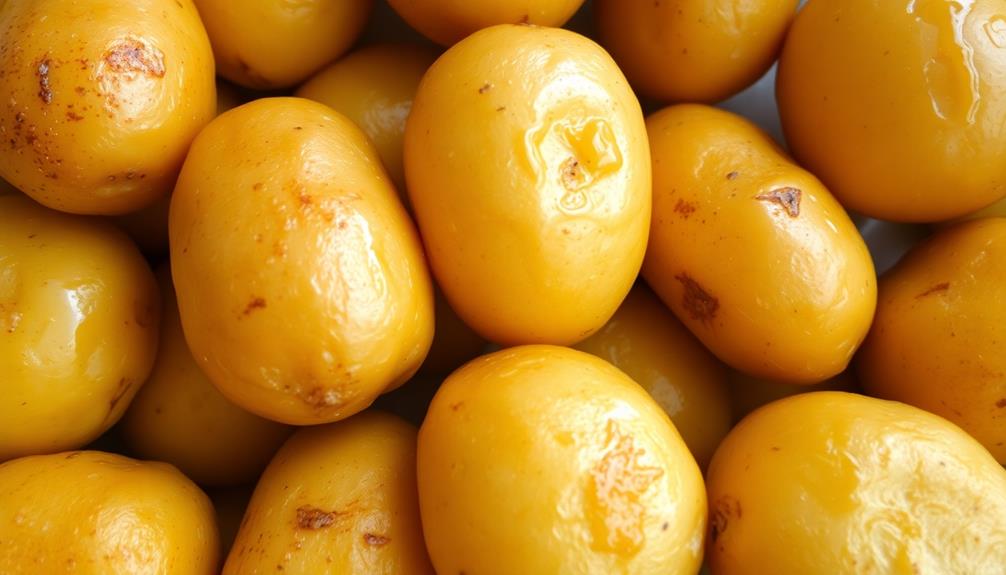
After pricking the potatoes with a fork, the next step is to rub them with oil. This helps the skin get nice and crispy while the potatoes bake.
You'll want to use a thin, neutral-flavored oil like vegetable or canola oil. Gently rub the oil all over the surface of each potato, making sure to get into all the nooks and crannies.
Don't be afraid to use your hands – they're the best tool for the job! Once the potatoes are fully coated, you're ready to pop them in the oven.
This simple step adds a wonderful texture and flavor to your baked potatoes. Feel free to experiment with different oils or even try sprinkling on a bit of salt and pepper before baking.
The key is to get that outer layer nice and crispy. With a little oil and some elbow grease, you'll have perfectly baked potatoes every time.
Step 4. Bake Potatoes in Oven

Preheat your oven to 400°F (200°C).
Choose a baking sheet or oven-safe dish and line it with foil or parchment paper. This will make cleanup a breeze later on.
Gently place the prepared potatoes onto the baking sheet, making sure they're not touching each other. This allows the hot air to circulate around each potato.
Bake the potatoes for 50-60 minutes, or until a fork can easily pierce through the center. The potatoes should feel soft when you give them a gentle squeeze.
If they still feel firm, let them bake a little longer. Once they're perfectly tender, remove the baking sheet from the oven using oven mitts. Be careful – the potatoes and baking sheet will be very hot!
Allow the baked potatoes to cool for 5 minutes before handling. This gives you time to prepare any toppings you'd like to add.
Now, your delicious baked potatoes are ready to enjoy!
Step 5. Let Potatoes Cool Before Serving
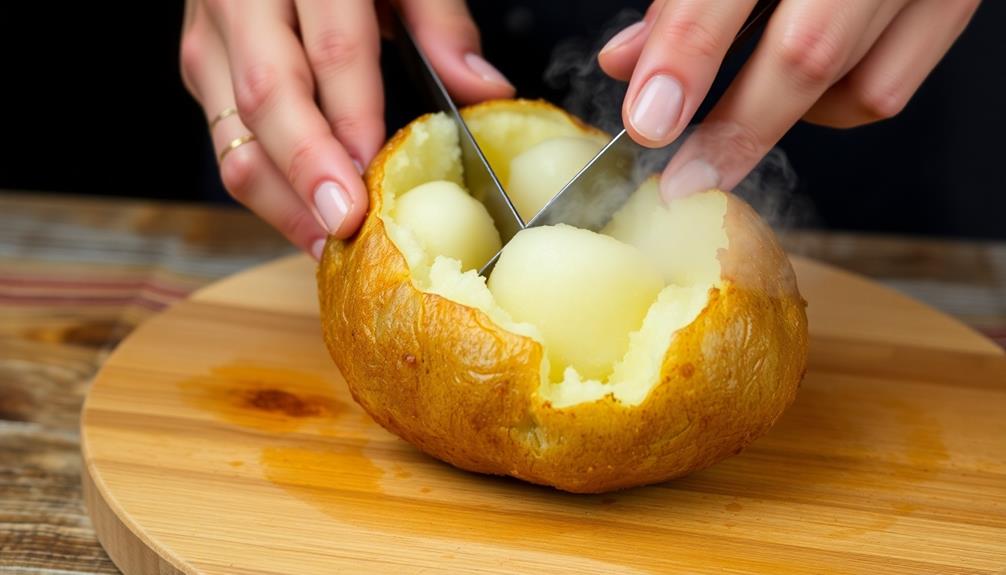
Why let the baked potatoes cool for 5 minutes before handling? It's all about safety and keeping your fingers intact!
Those spuds may look tempting, but they're piping hot right out of the oven. By letting them rest for just a few minutes, you'll give them a chance to cool down to a more manageable temperature.
This brief cool-down period serves two important purposes.
First, it prevents you from burning your fingers when you try to pick up the potatoes. Trust us, you don't want to experience that kind of ouch!
Second, it allows the insides to firm up a bit, making the potatoes easier to handle and less likely to fall apart. Nobody wants a mushy, crumbling mess on their plate.
Final Thoughts

With your perfectly baked potato in hand, you can now savor the simple pleasures of this classic dish. The aroma, the fluffy texture, and the endless topping possibilities make the humble baked potato a true delight.
As you take that first bite, you'll appreciate the time and care you've put into this recipe.
Remember, the key to a great baked potato lies in the small details – from choosing the right potatoes to mastering the baking technique.
By following the steps outlined in this guide, you've ensured your potato is cooked to perfection, ready to be dressed up however you like.
Whether you prefer classic toppings like butter and chives, or you're feeling adventurous with bacon and cheese, the baked potato is a versatile canvas for your culinary creativity.
Frequently Asked Questions
How Long Do Baked Potatoes Take to Cool Down?
Baked potatoes typically take 15-30 minutes to cool down enough to handle comfortably. The exact time can vary based on factors like the potato's size and how long it was baked. Be patient and let them cool before attempting to touch or eat them.
Can I Use Any Type of Potato for This Recipe?
You can use any type of potato for baking, but some varieties work better than others. Starchy potatoes like Russets or Yukon Golds produce the fluffiest, most baked-potato-like results. Waxy potatoes may not bake up as light and fluffy.
Is It Necessary to Wrap the Potato in Foil?
Wrapping the potato in foil isn't necessary, but it can help retain moisture and make the skin softer. However, you don't have to wrap it if you prefer a crispier skin.
Can I Bake Multiple Potatoes at the Same Time?
You can certainly bake multiple potatoes at the same time. Just be sure to arrange them on a baking sheet, leaving enough space between each potato for even cooking. The baking time may need to be adjusted slightly, depending on the number of potatoes.
How Can I Tell if a Baked Potato Is Done?
You can tell if a baked potato is done when it's soft to the touch, easily pierced with a fork, and the skin is crispy. Give the potato a gentle squeeze – if it gives easily, it's ready.

