To make soap, you mix fats like olive or coconut oil with lye and water, carefully measuring everything to guarantee safety. The chemical reaction called saponification transforms these ingredients into soap. After pouring the mixture into molds, you let it cure for four to six weeks, which allows excess water to evaporate and the soap to harden. If you keep going, you’ll discover detailed steps for customizing and perfecting your homemade soap.
Key Takeaways
- Combine fats or oils with lye and water carefully to initiate saponification.
- Mix ingredients thoroughly, ensuring precise measurements for proper soap formation.
- Pour the soap mixture into molds and let it cure for four to six weeks to harden and evaporate excess water.
- During curing, add fragrances or herbs and store in a cool, ventilated area without disturbing the soap.
- Once fully cured, cut into bars and enjoy your handmade soap, ensuring it’s safe and mild for skin.
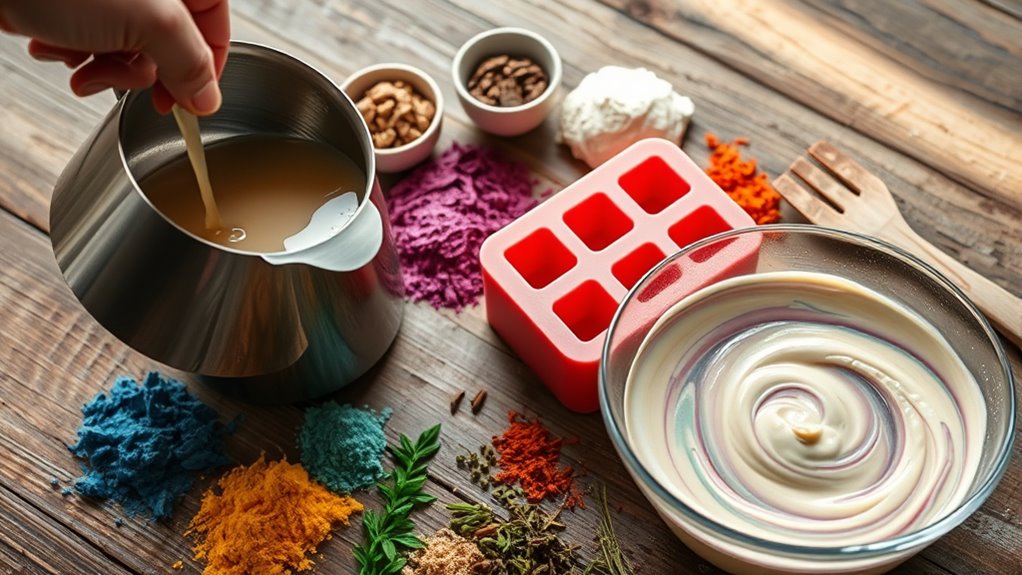
Have you ever wondered how to make your own soap at home? It’s a rewarding process that allows you to create personalized, natural products while gaining control over the ingredients you use. The first step is understanding the essential soap ingredients. Typically, soap is made from fats or oils, lye (sodium hydroxide), and water. The fats can be anything from olive oil and coconut oil to more exotic options like shea butter or cocoa butter. These ingredients determine the soap’s texture, lather, and moisturizing qualities. Once you gather your ingredients, you’ll need to carefully measure and mix them, paying attention to the chemical reaction called saponification, which transforms oils and lye into soap.
After mixing your soap ingredients, it’s vital to follow proper soap curing procedures. Soap curing is the process of letting your soap sit and harden over time, usually for about four to six weeks, depending on the recipe. During curing, excess water evaporates, which results in a firmer, longer-lasting bar. This step is indispensable because freshly made soap can be soft, and using it too early may cause it to be mushy or dissolve quickly. Proper curing also guarantees that any residual lye fully reacts with the oils, making your soap safer and milder for skin contact. To facilitate curing, you should pour your soap mixture into molds and let it sit in a cool, ventilated area, covered loosely with plastic or a towel.
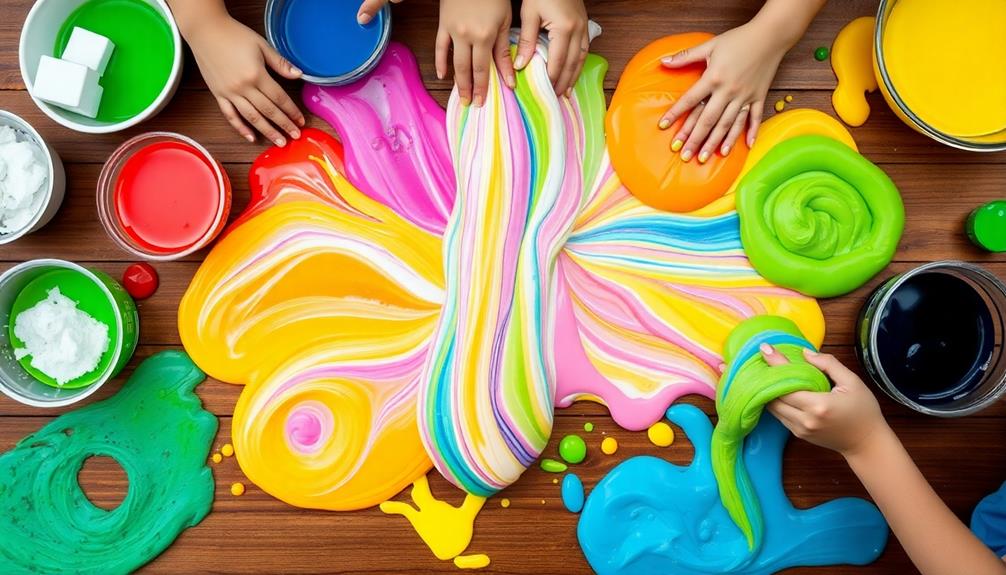
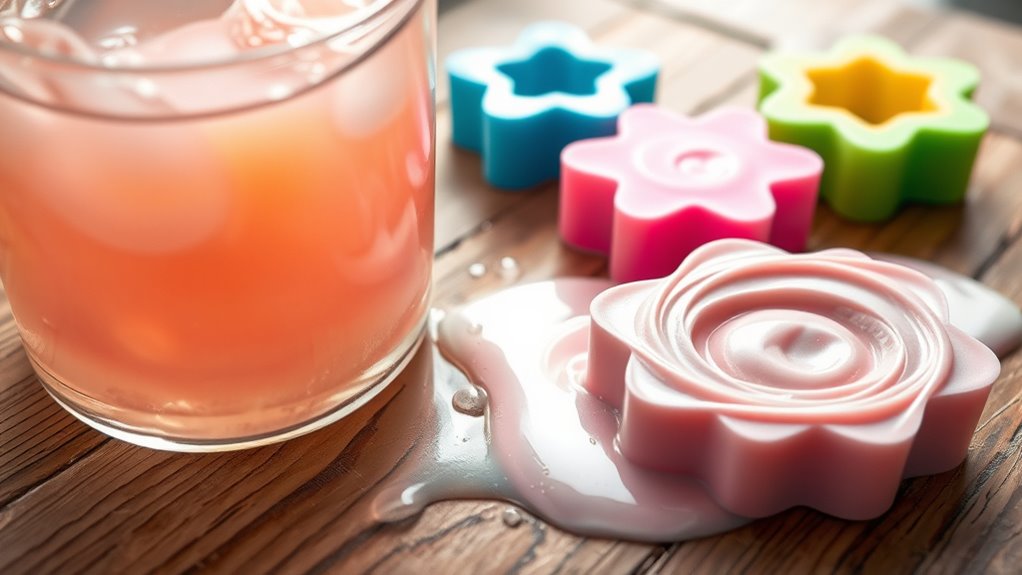
While your soap is curing, you don’t just wait around; you can also prepare for the next steps, such as decorating or scenting your soap with essential oils or herbs. However, it’s important to resist the urge to cut or use the soap prematurely. Patience is key here. During this period, keep your soap away from humidity and direct sunlight, which can affect the curing process and the final quality. After the curing time, the soap should be firm enough to cut into bars, and you’ll notice a mild, clean scent if you’ve added fragrance. The longer you wait, the better the soap will perform and last in use. Once fully cured, you can enjoy your homemade soap, knowing exactly what’s inside, and feel proud of a craft that’s both practical and creative.
Frequently Asked Questions
Can I Add Essential Oils for Fragrance?
Yes, you can add essential oils for fragrance in your soap. To do this safely, you should consider essential oil dilution, ensuring the oils are properly mixed to avoid skin irritation. Using aromatherapy blends can enhance your soap’s scent and therapeutic properties. Add the essential oils during the mixing stage, typically after the soap base is prepared, but before pouring into molds. This way, you preserve their aromatic benefits.
How Long Does Homemade Soap Last?
Imagine your soap as a vintage vinyl record—durable if stored properly. Homemade soap typically lasts 6 to 12 months, depending on ingredients and storage. To maximize shelf life, keep it in a cool, dry place away from direct sunlight. Use airtight containers or wrapping to prevent moisture, and always check for signs of spoilage like discoloration or a sour smell before use. Proper storage tips keep your soap fresh longer.
Is It Safe to Use Homemade Soap on Skin?
Yes, homemade soap is generally safe to use on your skin, but you should be cautious. It’s important to check for skin irritation or allergy testing before regular use, especially if you have sensitive skin or allergies. Some ingredients might cause reactions, so do a patch test first. If you notice redness, itching, or irritation, stop using the soap and consult a dermatologist.
Can I Make Soap Without Lye?
Think of making soap without lye like baking bread without yeast—you just can’t get the same results. While you can’t technically make traditional soap without lye, you can use lye alternatives like melt-and-pour bases for safety. These options are safer and still produce gentle soap. Always prioritize soap safety by choosing the right ingredients, and remember, lye-free soaps might lack the same depth of cleansing as traditional methods.
What Are Common Soap Making Mistakes?
You might encounter common soap making mistakes that affect soap texture and ingredient compatibility. For example, rushing the process can cause uneven curing, leading to crumbly or greasy soap. Not measuring ingredients precisely can result in separation or poor lather. Always double-check your ingredient compatibility and follow recipes carefully. Avoid overheating or under-mixing, which can compromise texture. Taking your time guarantees a smooth, well-crafted soap every time.
Conclusion
Making soap is like crafting a personal masterpiece; you blend simple ingredients into something revitalizing and new. Just like a chef transforms raw ingredients into a delicious dish, you turn oils and lye into something clean and invigorating. Remember, patience and care are your best tools—each batch is a small victory. So, embrace the process, and soon you’ll see your efforts wash away doubts, leaving behind a soap as unique and fulfilling as your own signature.