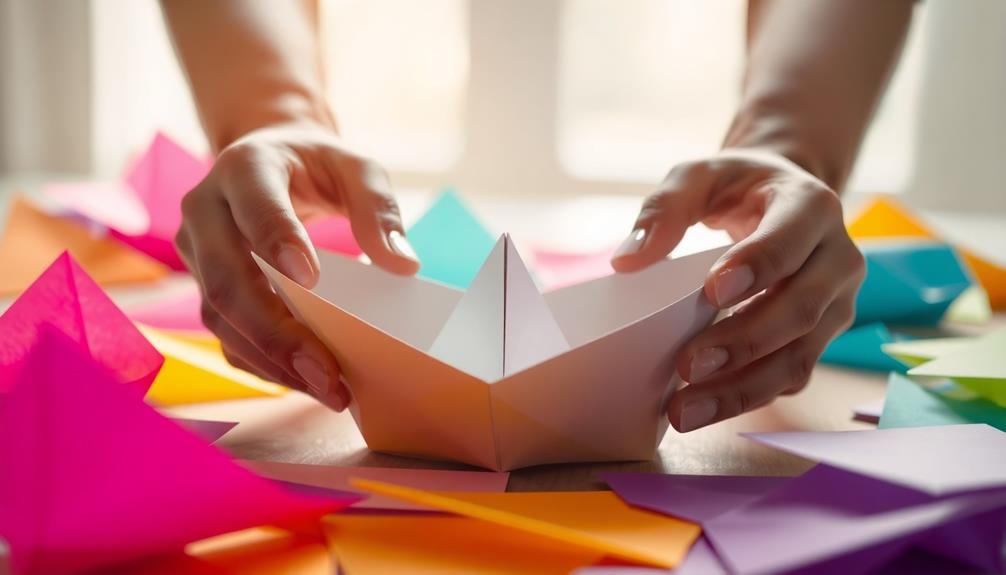
Crafting a paper boat is a fun and creative activity you can easily do with just a rectangular piece of paper. Start by folding it in half lengthwise, then bring the top corners down to form a triangle. Fold the bottom flap up, and tuck the triangle down over it for stability. You can decorate your boat with colors or even add a small sail for extra flair! Want to spice things up? Try different sizes, experiment with materials, or even organize a boat race with friends for some friendly competition. There's so much more to explore!
Key Takeaways
- Start with a rectangular paper (8.5 x 11 inches) and fold it in half lengthwise to create a center crease.
- Fold the top corners down to meet the center crease, forming a triangle shape.
- Secure the base by folding the bottom flap up to the triangle's base and then fold the triangle down.
- Enhance your boat's design by adding sails or using thicker paper for better buoyancy.
- Organize a paper boat race to engage in fun and teamwork while exploring physics and buoyancy.
Materials Needed for Crafting
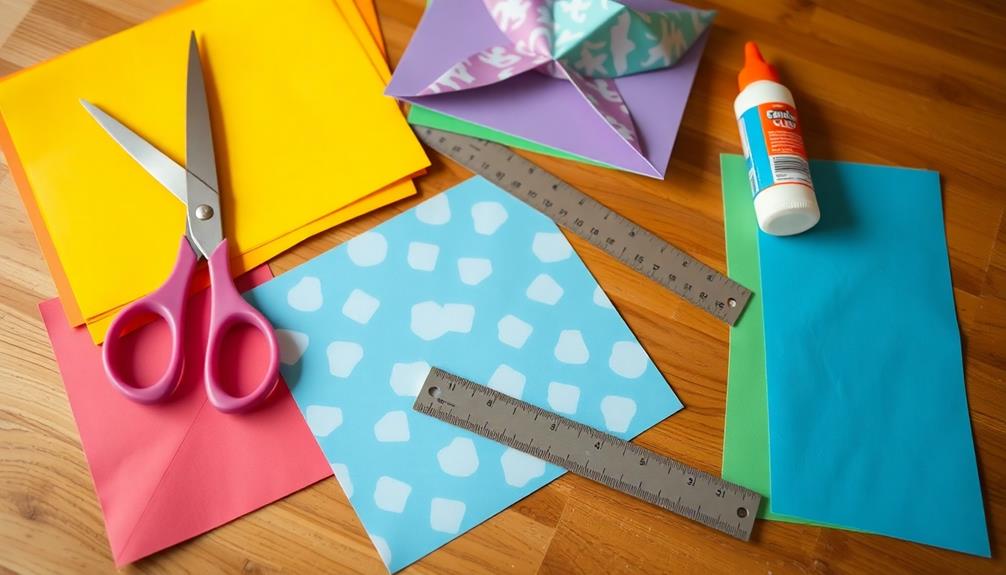
When you're ready to craft your paper boat, what materials do you need? First, grab a rectangular piece of paper; ideally, it should be around 8.5 x 11 inches, but any size works for different scales of boats. Regular printer paper or origami paper is perfect, especially if it's around 20 lb (75 gsm) in weight. This guarantees your paper is easy to fold while still being durable enough to hold its shape.
If you're starting with a larger sheet, you may need scissors to cut it down to the right dimensions. A flat surface is essential for folding, as it helps you create precise creases that enhance your boat's stability and appearance.
Don't forget about optional materials! You can use markers or colored pencils to decorate your boat, adding a personal touch and making it visually appealing. This is a great way to express your creativity while enjoying the process.
Step-by-Step Folding Instructions
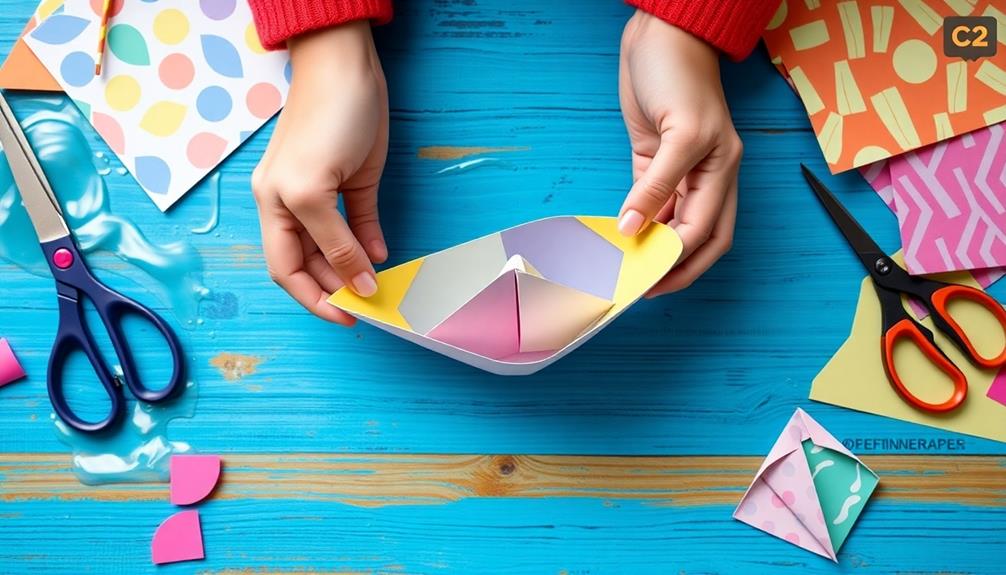
To craft your paper boat, start with a rectangular piece of paper, ideally 8.5 x 11 inches.
Begin by folding the paper in half lengthwise, then unfold it to create a center crease. This crease will guide your next folds.
Next, fold the top corners down to meet the center crease, forming a triangle at the top of the paper. Make sure the corners align neatly for a crisp point.
Now, take the bottom flap of the paper and fold it up to the base of the triangle. This will create a secure base for your boat.
Once you've folded the bottom flap, fold the triangle down over it to hold everything in place.
You should now see a shape with a triangle on top and a rectangle below.
Creative Variations and Designs
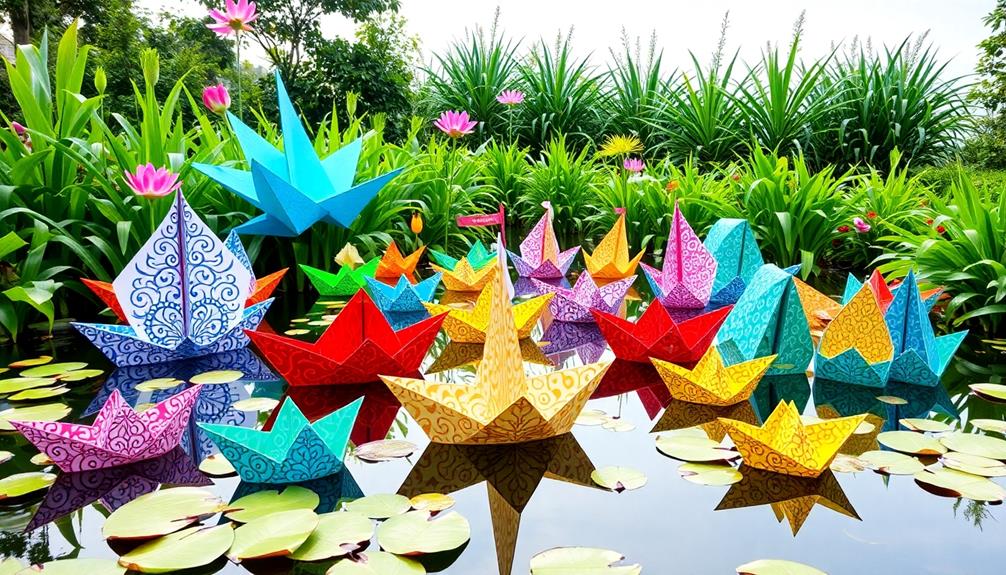
After mastering the basic folding technique for your paper boat, you can explore a range of creative variations and designs to make your project even more exciting. You can start with the classic origami style, which is simple yet effective. To enhance your creation, consider adding sails made from paper or toothpicks. This not only looks great but also improves functionality.
For those who want their boats to float longer, try incorporating waterproofing techniques using wax or plastic coatings. This way, you can enjoy your paper boats in water without worrying about them falling apart. If you're ready for a challenge, advanced designs like the "Sailing Paper Boat" require more complex folds, mimicking real sailboats.
Here's a quick overview of some creative ideas:
| Design Type | Materials Needed | Skill Level |
|---|---|---|
| Classic Origami | Square paper | Beginner |
| Paper Sailboat | Paper, toothpicks | Intermediate |
| Waterproof Boat | Wax or plastic coating | Intermediate |
| Sailing Paper Boat | Extra sheet, folding skills | Advanced |
Engaging in these variations can improve your fine motor skills and hand-eye coordination, making it fun for everyone!
Fun Activities With Paper Boats

Paper boats aren't just fun to make; they open up a world of enjoyable activities that can spark creativity and learning. As you craft these little vessels, you're not only engaging in a hands-on project but also enhancing fine motor skills. Folding and manipulating the paper helps develop dexterity, which is especially beneficial for children.
Once you've made your boats, why not organize a paper boat race? This friendly competition fosters teamwork and social interaction, bringing friends or family together for a fun-filled event. You can even use recycled materials, promoting an eco-friendly crafting experience while teaching the importance of sustainability.
Floating your boats in water can lead to exciting explorations of buoyancy and physics. You'll discover how different designs affect their ability to float, turning playtime into a lesson in science.
Plus, engaging in these hands-on activities can improve cognitive development and problem-solving skills, making it a well-rounded experience for young learners.
Tips for Successful Boat Making
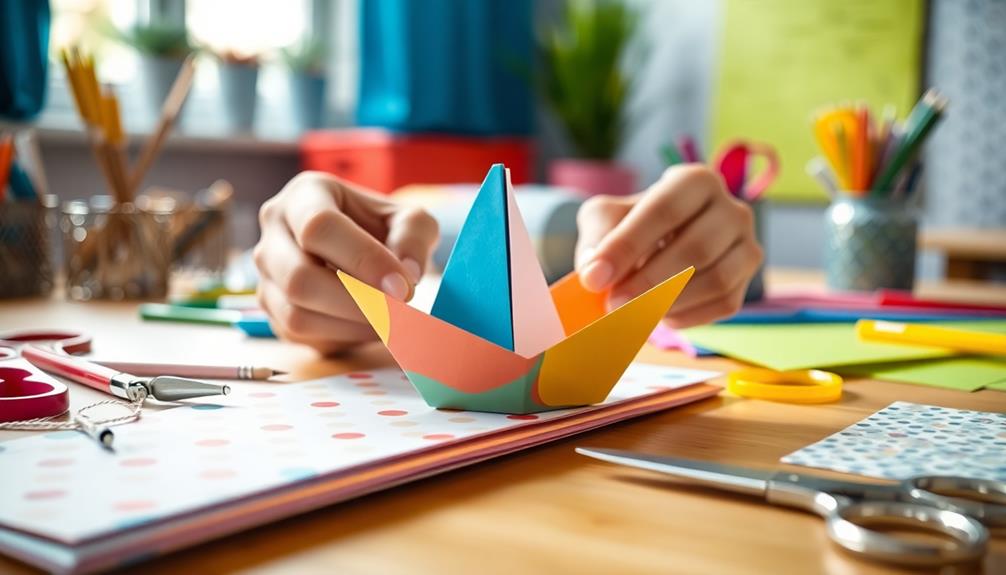
Creating paper boats can be a delightful experience, but ensuring they float well and look great requires some helpful tips. Start with a rectangular piece of paper, ideally 8.5 x 11 inches, for a balanced boat structure. Make precise folds; sharp creases enhance stability and aesthetics. Thicker paper or cardstock can add buoyancy, allowing your boat to support more weight in water.
Experiment with different sizes and shapes. Smaller boats may capsize easily, while larger ones can hold more cargo. To boost your boat's sailing capabilities, consider adding a small sail made from another piece of paper. Adjust its angle to catch the wind effectively.
Here's a quick reference table to guide you:
| Tip | Description |
|---|---|
| Paper Size | Use 8.5 x 11 inches for balance |
| Folds | Make precise, sharp creases |
| Material | Thicker paper or cardstock enhances buoyancy |
| Experiment | Try various sizes/shapes for performance |
Frequently Asked Questions
How to Make a Paper Boat Step by Step?
To make a paper boat, start with a rectangular paper, fold it in half, shape the top corners into a triangle, tuck the bottom edges, then open it up, adjusting for balance and stability.
How to Make a Boat Out of Paper Plates?
To make a boat out of paper plates, fold one plate in half for the hull, cut another into a triangle for the sail, and decorate it to enhance its visual appeal and identity.
How to Make Fun Paper Craft?
Think of your favorite childhood crafts—remember that joy? You can create fun paper crafts by folding, cutting, and gluing various paper types. Let your imagination soar, and don't forget to add colorful decorations!
What Paper Is Best for Origami Boats?
For origami boats, you'll want lightweight, flexible paper around 70-100 gsm. Washi paper's durability is great, but recycled magazines or newspapers work too, especially if they have glossy finishes to help repel water.
Conclusion
So, grab your materials and let your imagination set sail! With just a few folds, you can transform a simple sheet of paper into a tiny vessel ready to navigate the vast oceans of your creativity. Whether you race them in puddles or decorate them for a whimsical display, these boats bring joy and spark inspiration. Who knew that with a flick of your wrist, you could create a fleet of dreams afloat on paper waves?

