


Your bread maker settings matter more than the brand because they directly influence the dough’s texture, crust, and overall quality. Proper settings control kneading, rising, and baking, ensuring consistent, bakery-quality results. Adjusting these options lets you customize bread for your preferred crust and ingredients. Even a good brand can’t compensate for the wrong settings. If you want to access the full potential of your machine, understanding how these settings work will make a real difference.

Prime made for students and young adults
- Fast, free delivery for dorm and study essentials
- Prime Video and Amazon Music included
- Member-only deals
Key Takeaways
- Proper settings control dough texture, crust development, and overall bread quality regardless of the brand.
- Adjusting settings for ingredients and bread types ensures consistent results beyond brand differences.
- Different cycles and customization options influence kneading, rising, and baking, impacting final bread quality.
- Mastering machine settings allows for bakery-quality results, making brand less critical.
- Properly used settings optimize each machine’s features, ensuring better outcomes than relying solely on brand reputation.
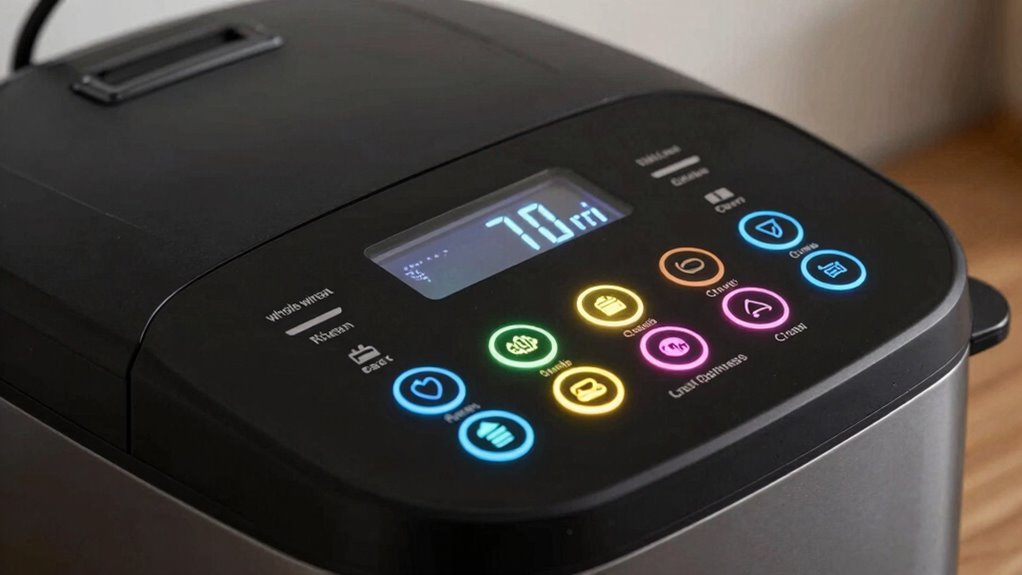
Using the right bread maker settings is essential for baking perfect loaves every time. When you select the correct cycle, you have more control over the dough texture and crust development, which directly impacts the quality of your bread. Different settings adjust the kneading, rising, and baking phases, allowing you to fine-tune your loaf according to your preferences. For example, a longer kneading cycle can give you a smoother, more elastic dough, leading to a better rise and a lighter crumb. Conversely, shorter kneading might produce a denser loaf if that’s what you’re aiming for.
Choosing the right settings controls dough texture and crust development for perfect bread every time.
Crust control is equally important and is often overlooked. Many bread makers include specific options for light, medium, or dark crusts, giving you the ability to customize the exterior of your bread. If you prefer a softer crust for sandwiches, selecting a lighter crust setting can prevent the bread from becoming overly hard or crunchy. On the other hand, if you love a robust, chewy crust, choosing a darker crust setting will help you achieve that desired texture. The key is understanding that these settings are designed to influence the baking process, ensuring the crust suits your taste while maintaining the ideal dough consistency. Additionally, understanding bread machine settings can help you troubleshoot common issues and improve your baking results.
Beyond crust and dough texture, the importance of choosing the right settings becomes clear when you consider the ingredients you use. Whole grains, seeds, or gluten-free flours often require specific adjustments in kneading and baking times. Your bread maker’s settings are tailored to accommodate these variations, ensuring the dough develops properly and the crust forms evenly. Recognizing the importance of ingredient adjustments can help you customize recipes more effectively and avoid common pitfalls. Being familiar with the various baking cycles also allows you to select the best options for different types of bread, such as sweet or artisan loaves. Ignoring these options can lead to uneven baking, dense textures, or overly thick crusts, which diminishes the quality of your bread.
While brand names might promise reliability, they often don’t account for the nuances of different recipes or personal preferences. The real game-changer is understanding how to use your bread maker’s settings to optimize dough texture and crust control. Learning to adjust these features allows you to produce bakery-quality loaves at home, regardless of the machine’s brand. By focusing on the settings, you gain the flexibility to experiment with recipes and achieve consistent results. Ultimately, it’s not about how expensive or well-known your bread maker is but about how well you utilize the options available to craft the perfect loaf every time. Understanding bread machine settings is key to unlocking your baking potential.
Frequently Asked Questions
Can I Use Different Types of Flour in My Bread Maker?
Yes, you can use different types of flour in your bread maker, but you’ll need to adjust the settings for *best* gluten development and flour adaptation. Whole wheat or gluten-free flours may require more liquid or different kneading times. Experiment carefully, and keep notes on each batch. This way, you *guarantee* your bread rises well and has the right texture, regardless of the flour type you choose.
How Do I Adjust Settings for Gluten-Free Bread?
You’ll want to make gluten-free adjustments to your bread maker settings to achieve the perfect loaf. Since gluten-free bread often needs extra mixing time for better bread consistency, increase the kneading cycle slightly. Opt for a shorter rise if your machine allows, and consider adding a splash of liquid if the dough seems dry. Ironically, the right tweaks can make gluten-free bread just as satisfying as traditional loaves.
What’s the Best Way to Troubleshoot Over-Rising Dough?
To troubleshoot over-rising dough, first check your dough consistency—if it’s too wet or sticky, it might rise excessively. Next, review the rising time in your bread maker settings; reduce the time if your dough tends to over-expand. You can also try lowering the yeast amount or adjusting the temperature. Keeping an eye on these factors helps control rising and prevents your bread from overflowing or collapsing.
Do All Bread Makers Have the Same Temperature Settings?
Not all bread makers have the same temperature settings. Some models offer precise temperature control, while others rely on basic calibration. Your bread machine calibration can affect how well it maintains consistent heat during baking. Setting customization allows you to adjust baking cycles, ensuring better bread quality. Always check your user manual to understand your machine’s capabilities; this helps you optimize settings for perfect bread every time, regardless of brand.
How Often Should I Clean and Maintain My Bread Maker?
Think of your bread maker as a trusted friend who deserves care. You should clean it after every use to keep it fresh and functioning smoothly. Follow a regular cleaning schedule, paying special attention to the kneading paddle and pan. Maintenance tips include wiping down the exterior and checking for buildup. This routine guarantees your bread maker remains reliable, like a loyal companion helping you create delicious bread every time.
Conclusion
Remember, choosing the right bread maker setting is more important than the brand name. It’s where you control the dough’s texture, rising, and crust. Did you know that 70% of home bakers find perfect results by customizing settings rather than sticking to default ones? So, don’t just rely on a brand’s reputation—experiment with the settings to reveal your bread maker’s full potential. Your perfect loaf is just a few adjustments away!
Fall Picks
fall essentials
As an affiliate, we earn on qualifying purchases.